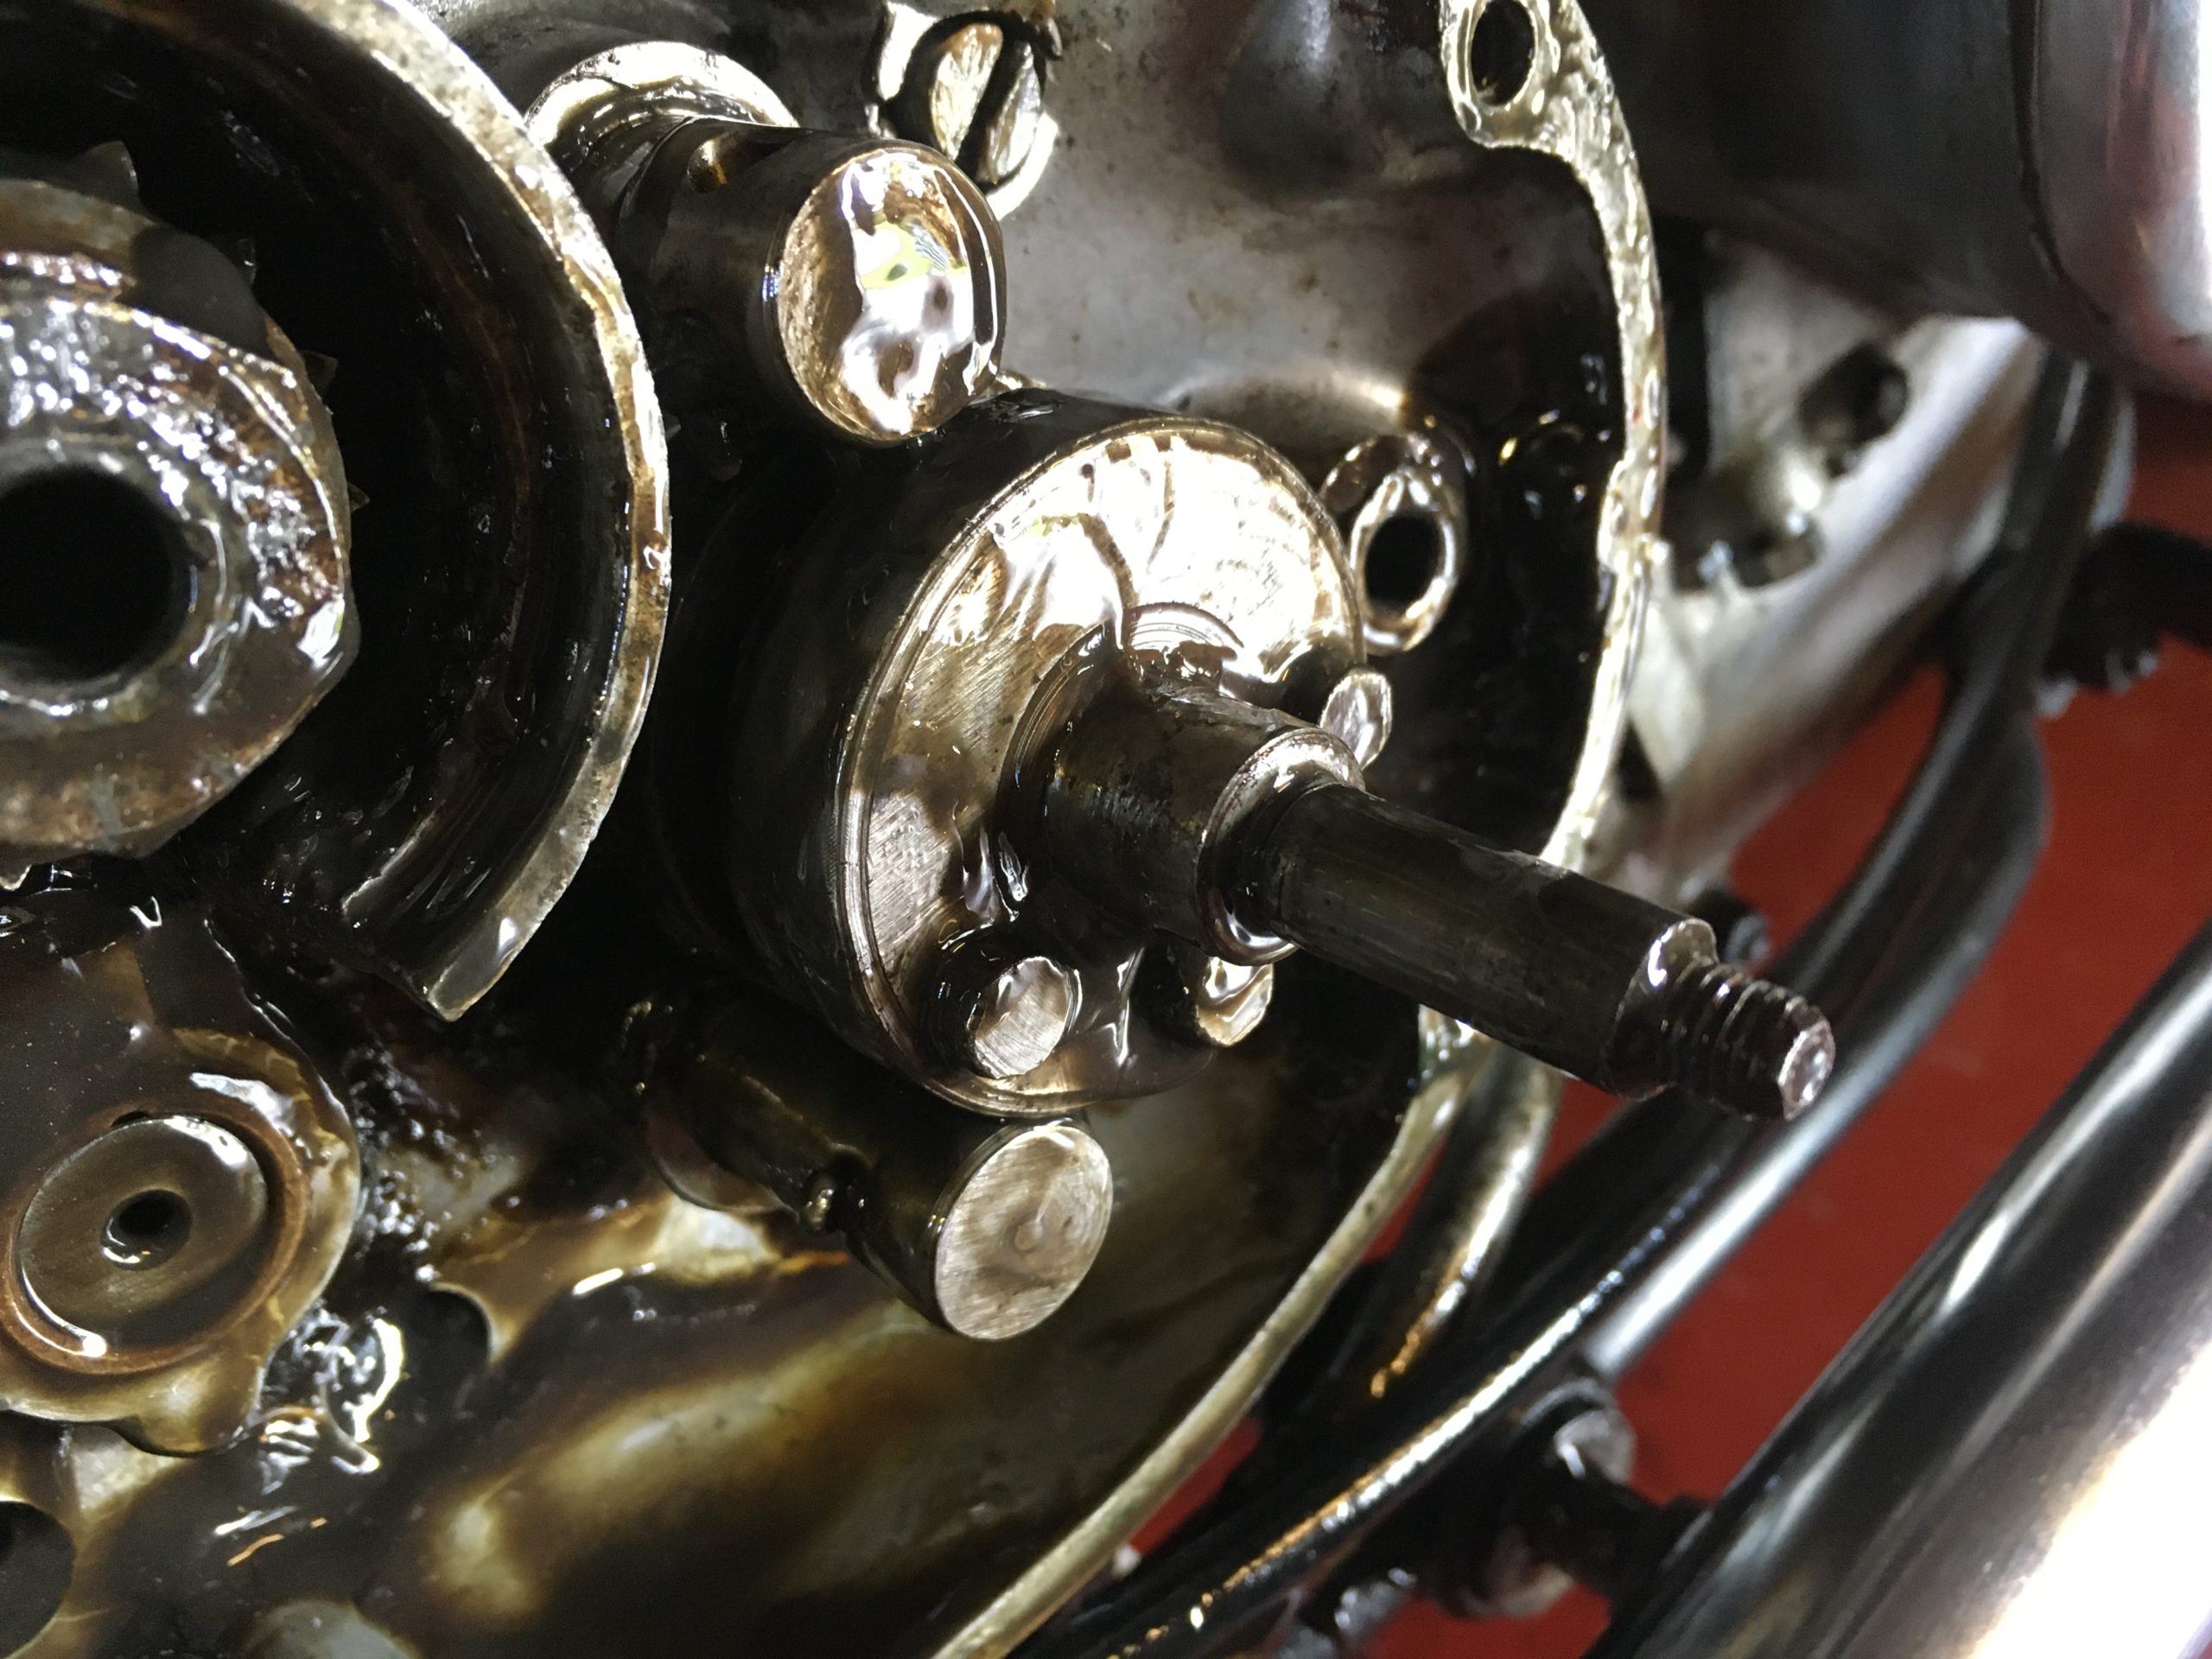
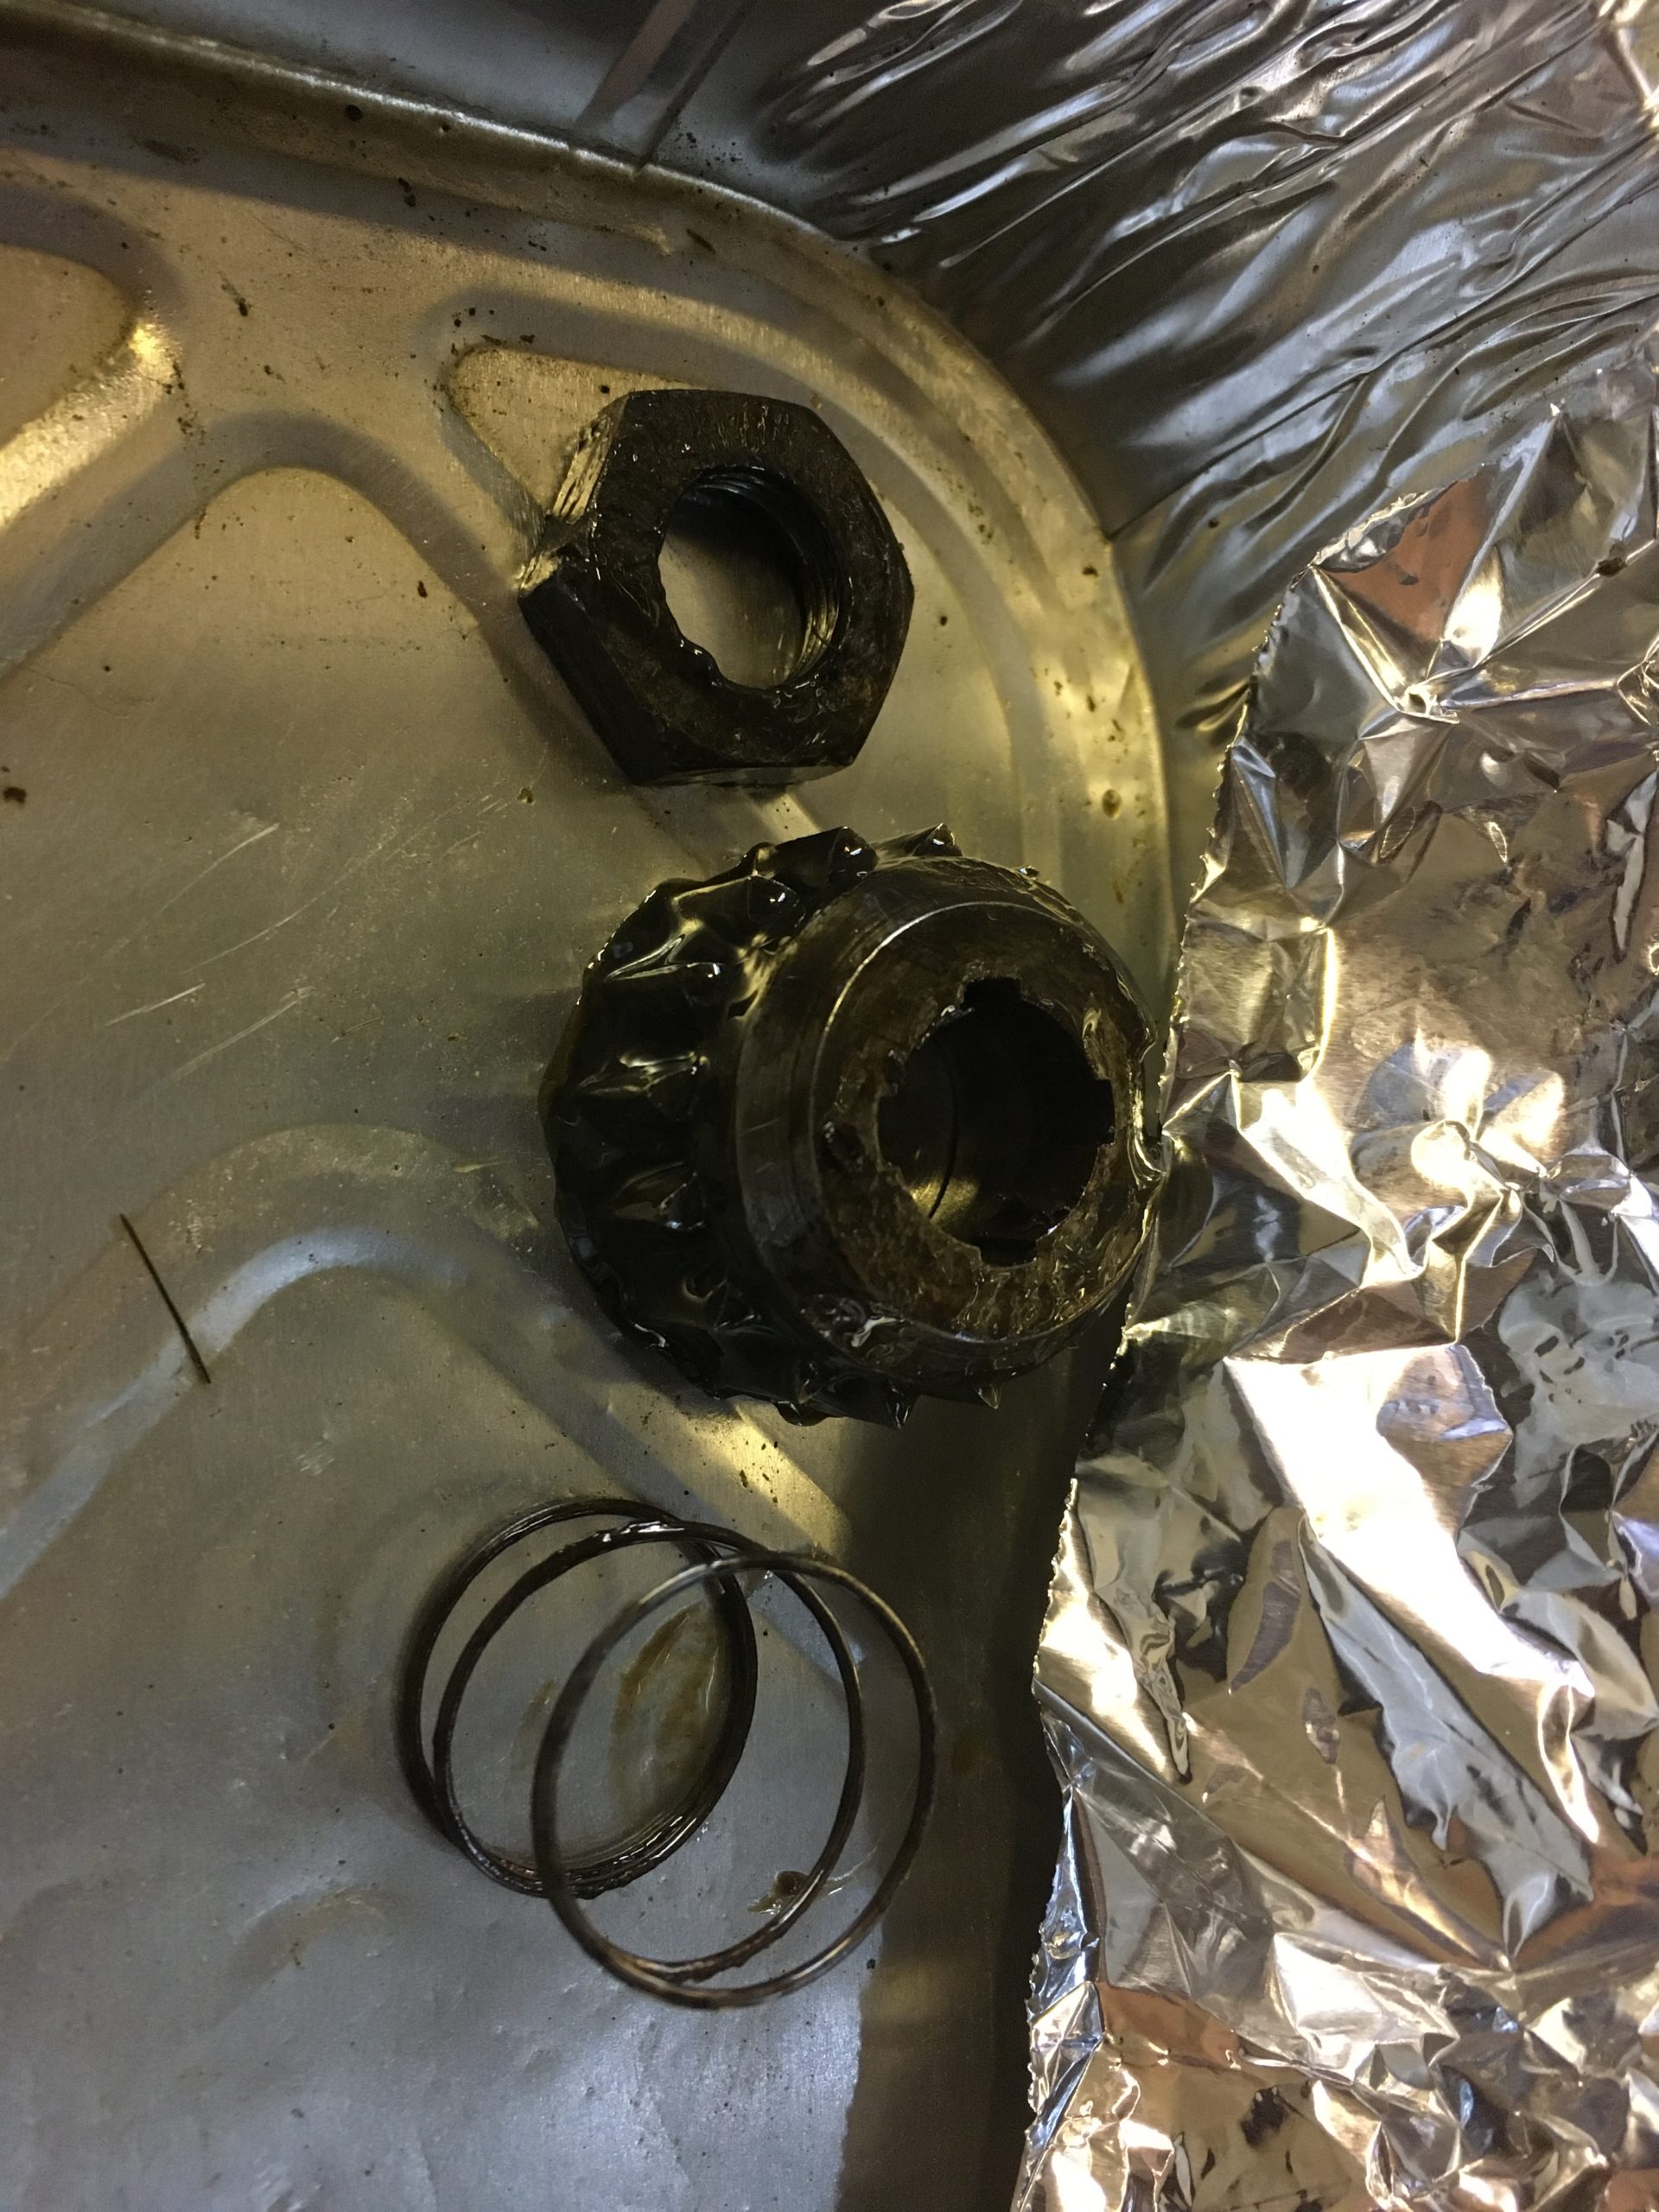
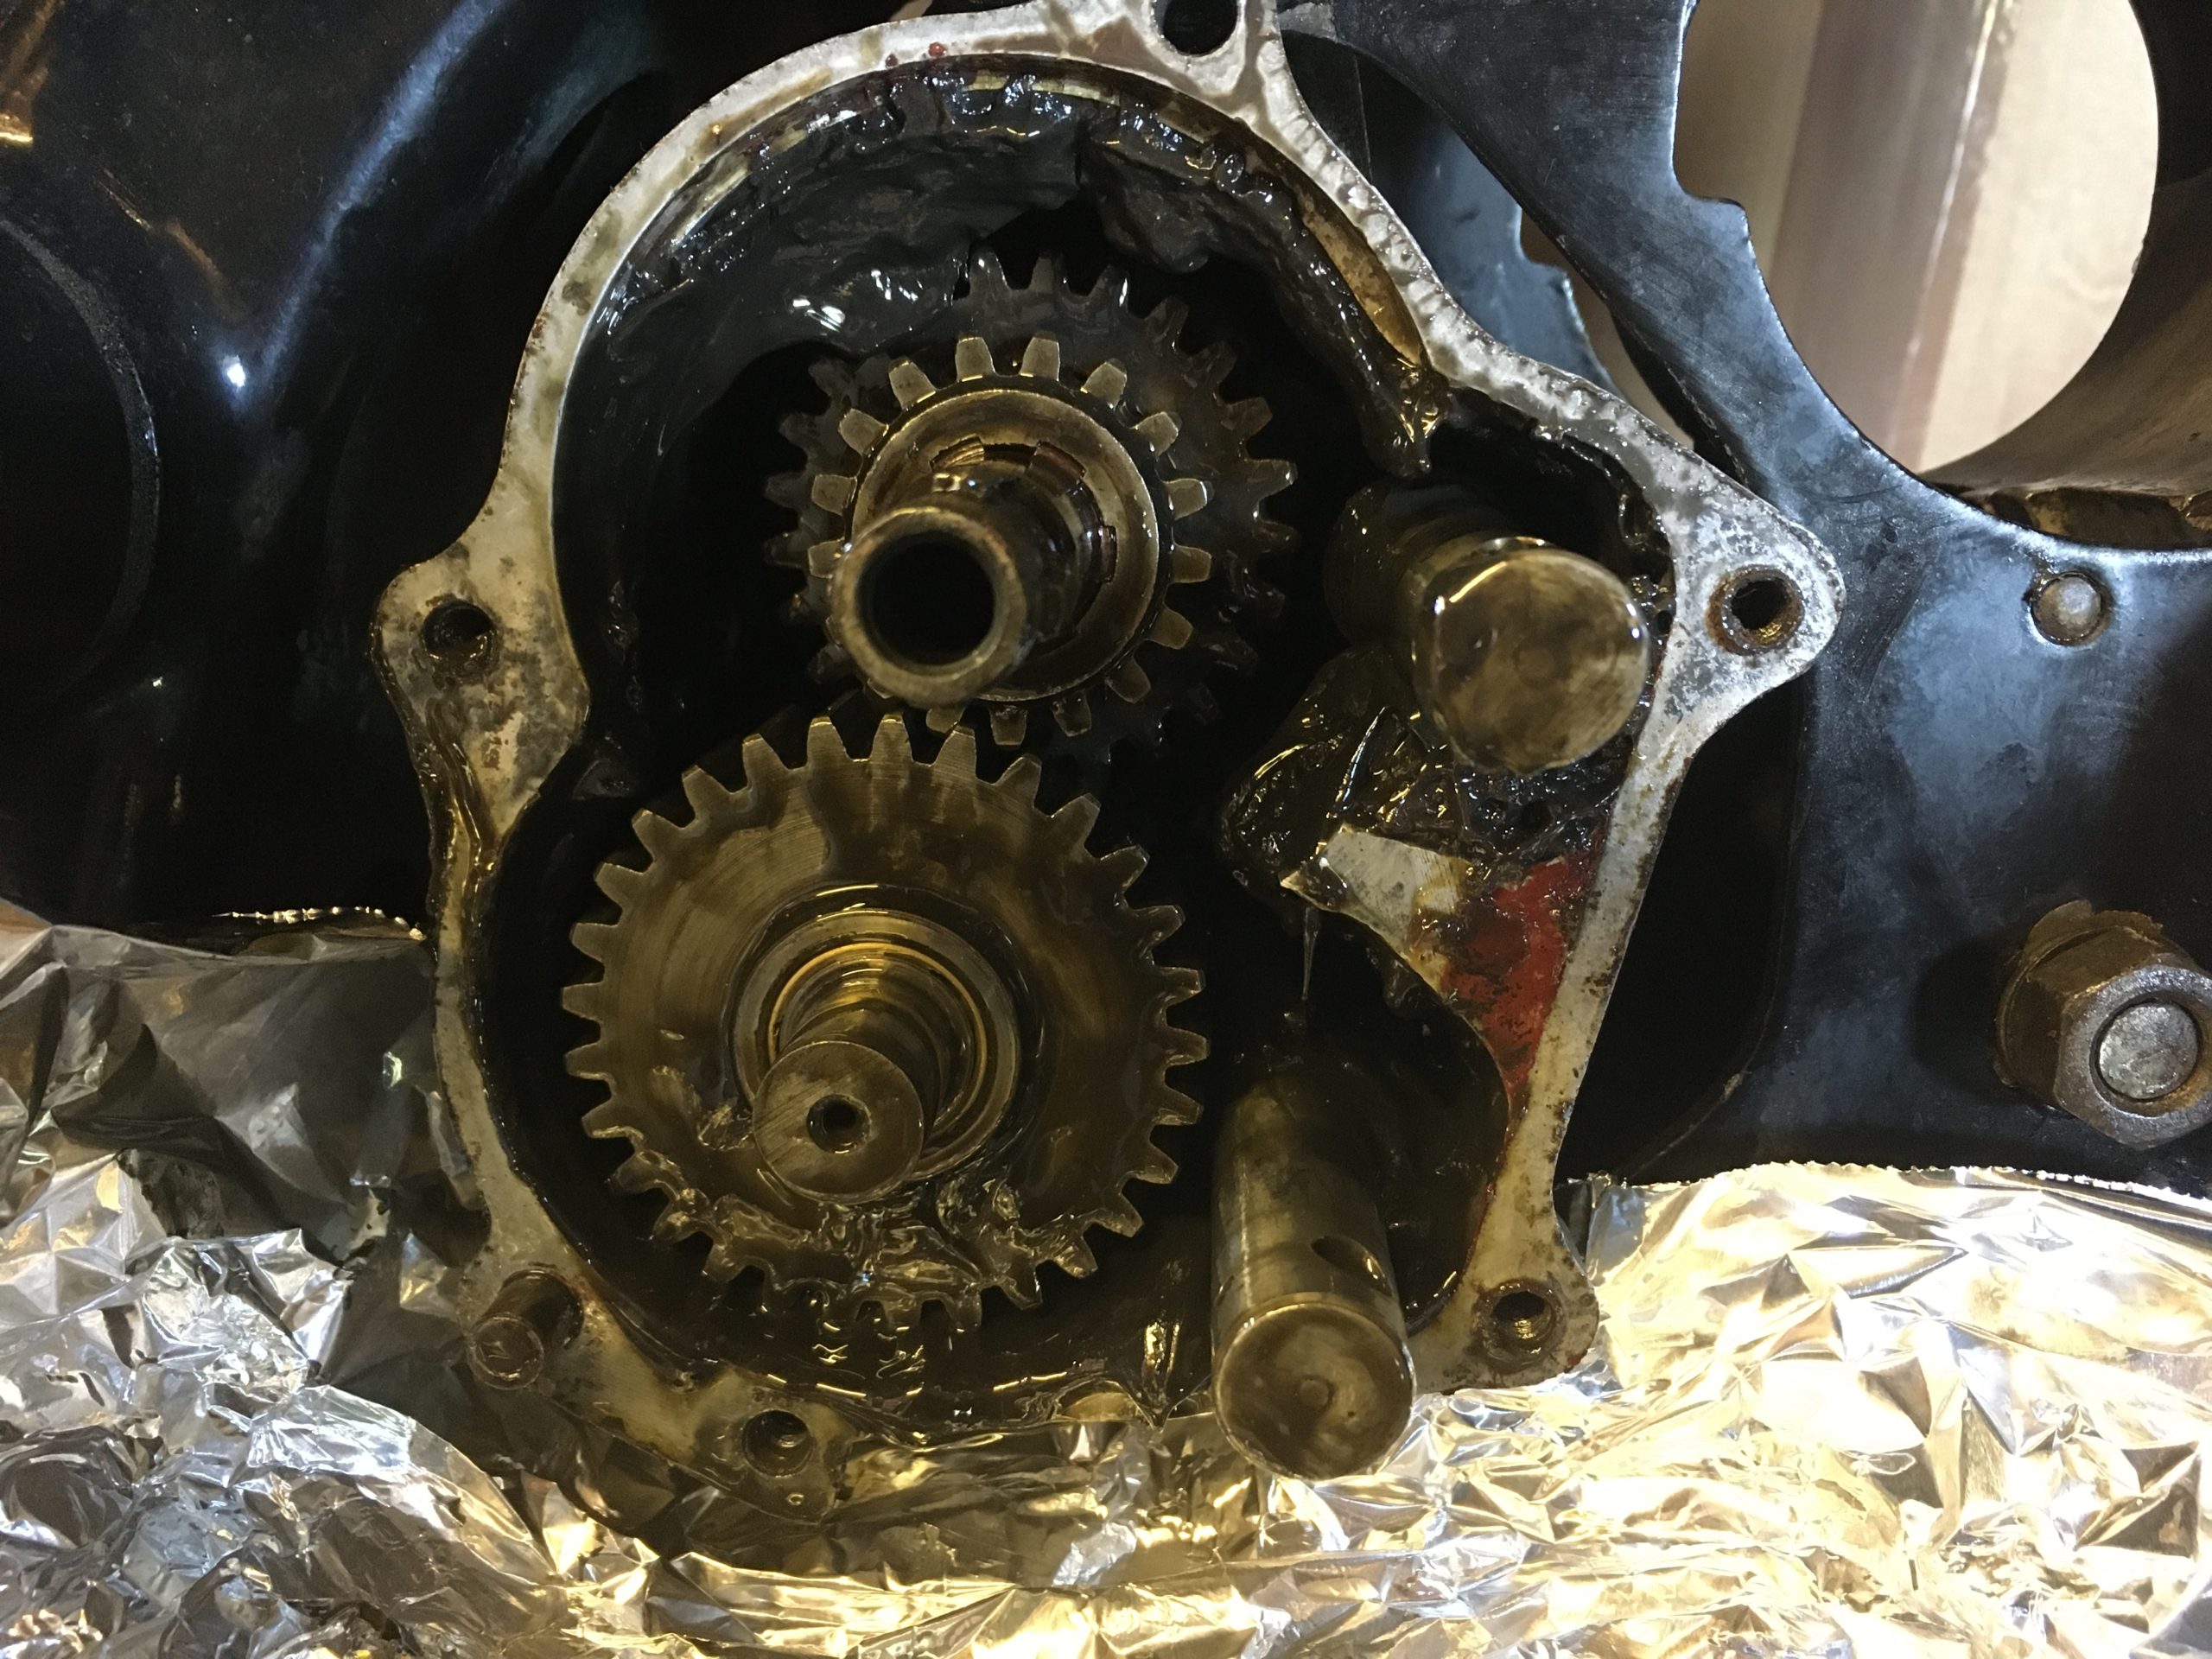
This is a lovely gearbox…when it works. It did work until the dynamo sprocket came off and made a mess.
For some reason I was quite daunted by rebuilding the gearbox but after watching a few videos on YouTube, decided I’d manage just fine and learn a few things too. If you read the Matchless and Burman manuals, they say that ordinary engine oil should be used in this gearbox, not the oil / grease mix used in earlier boxes. In fact it says DO NOT use the old mix. Some people still do as it results in fewer leaks. Mine had this nasty stuff in it..it was horrid, black and had to be thoroughly cleaned out by hand. There clearly wasn’t enough in it either, I think I got about a cup full out. There’s no way to check the level of this gunge and the correct amount of oil is one pint. I had been told ‘there’s nothing you need to worry about in there’…yet it seems there was. This was bad enough but it got worse.
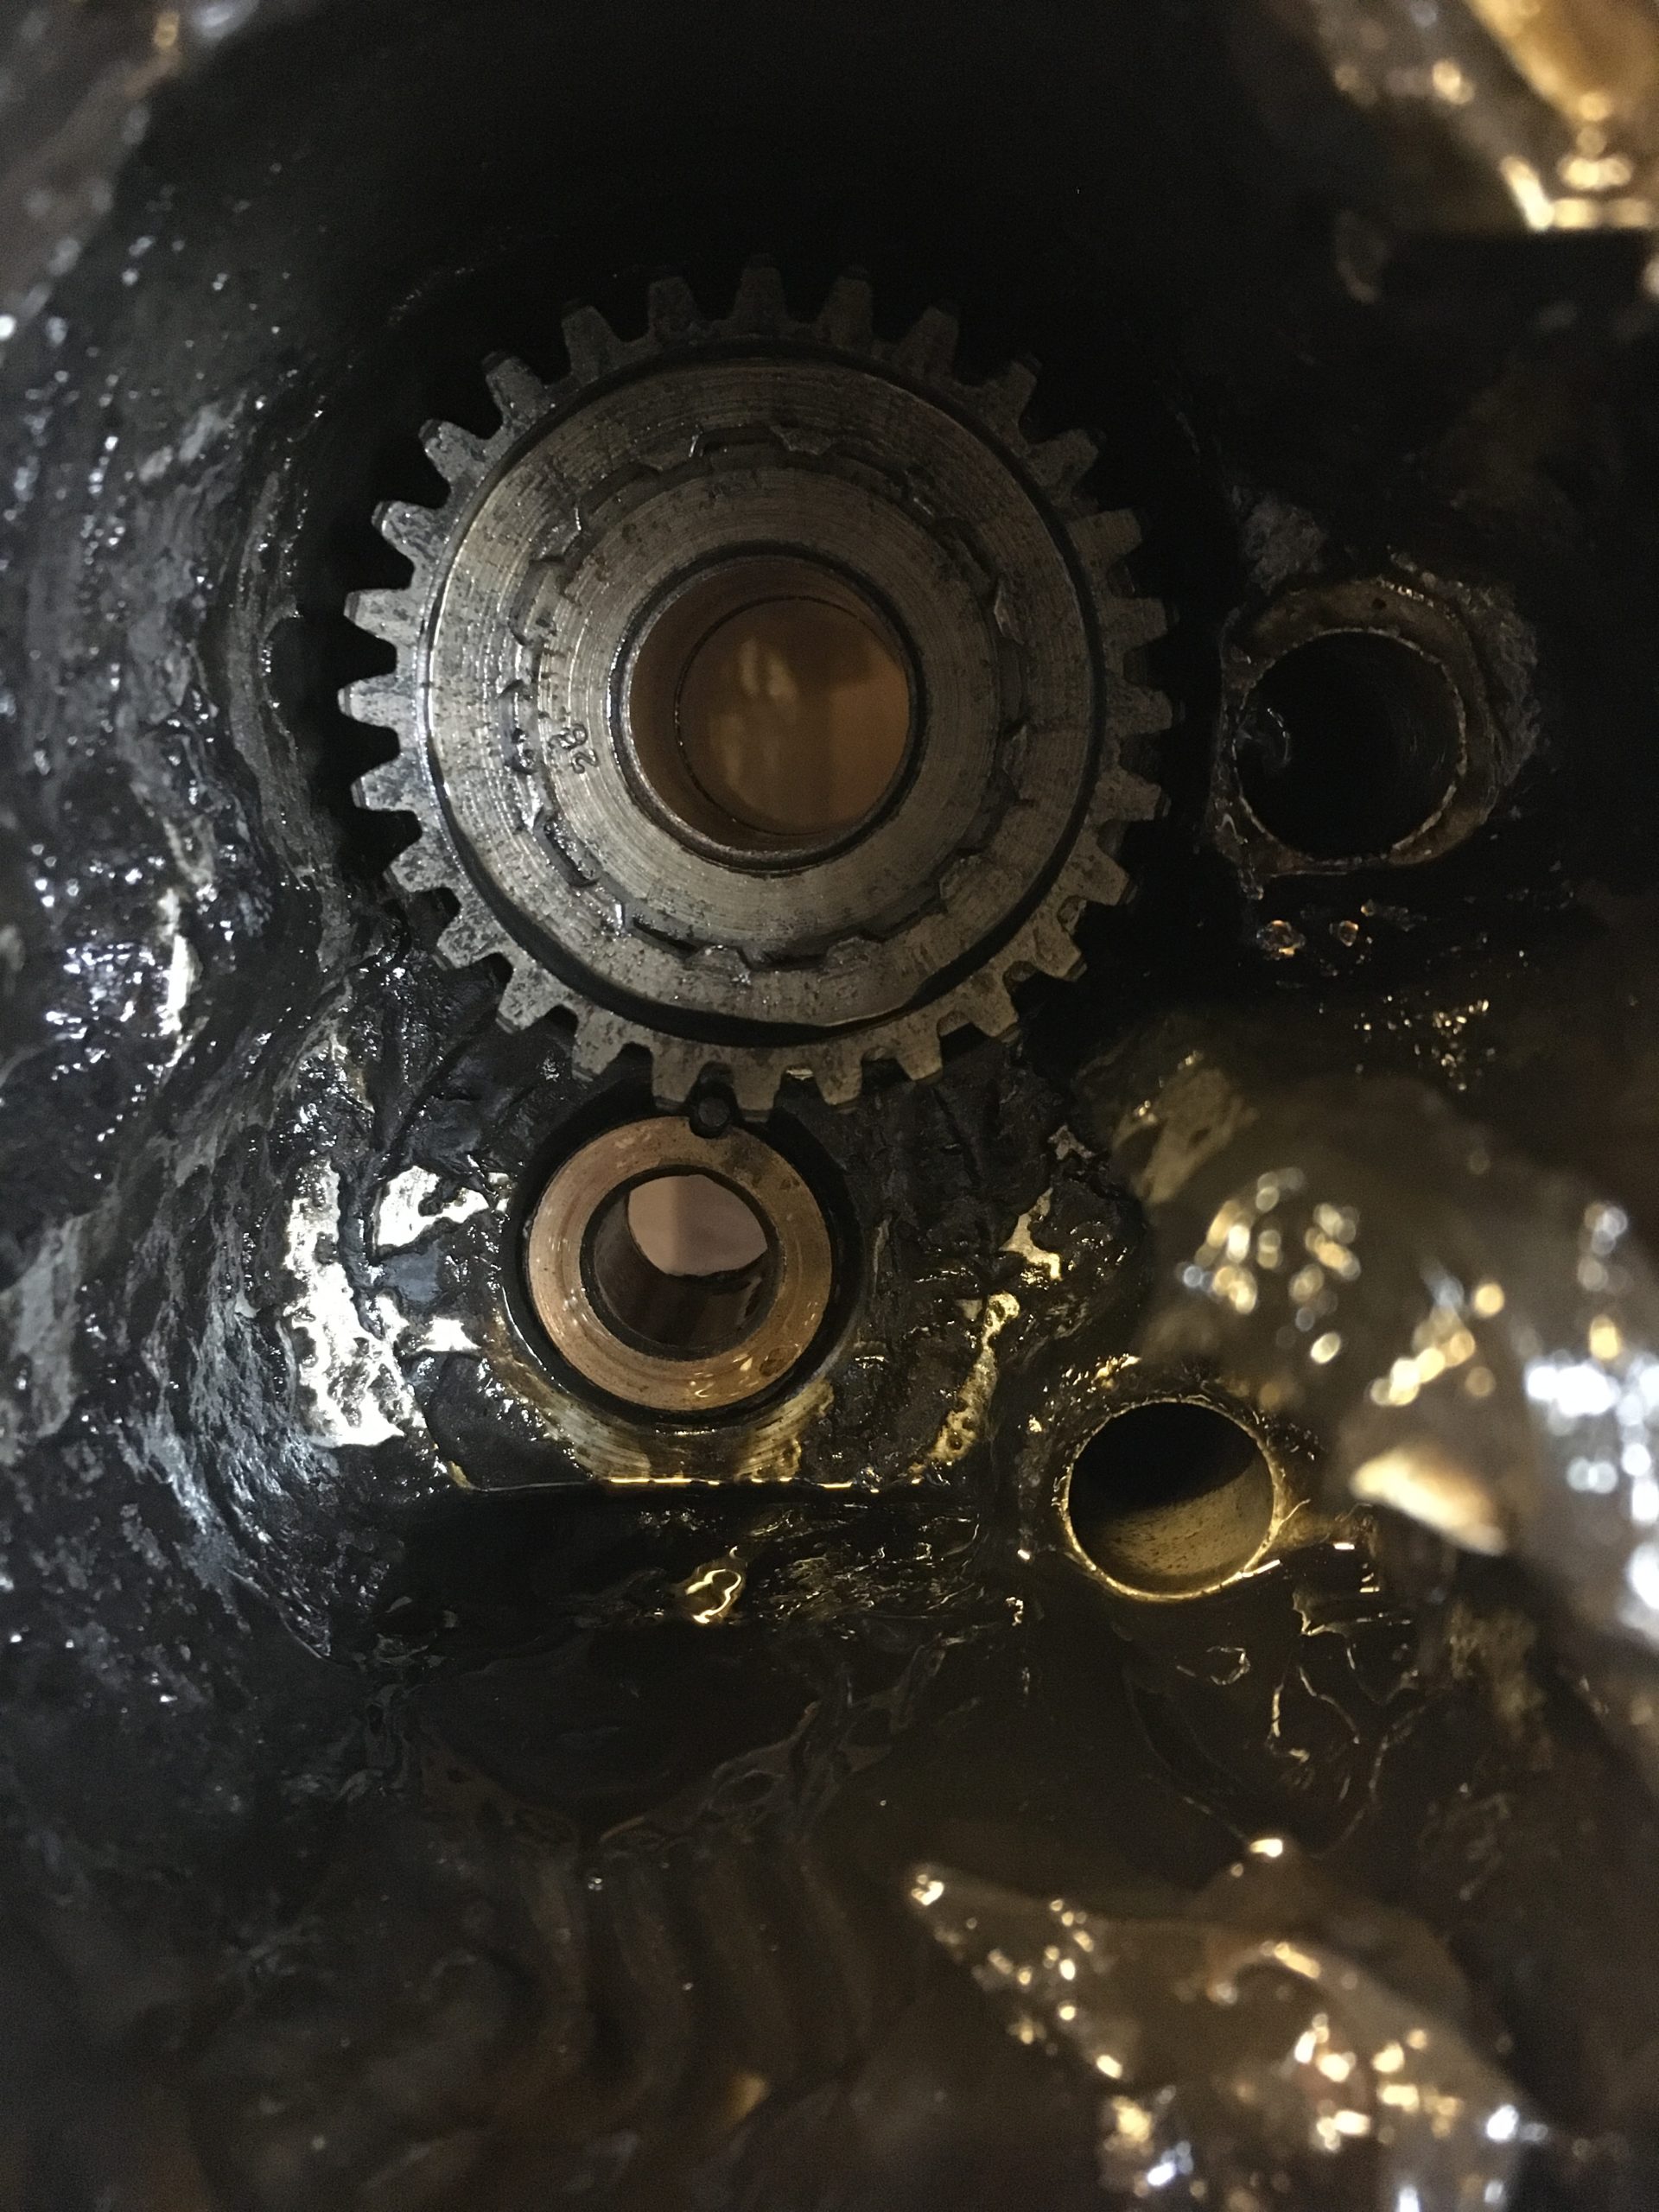
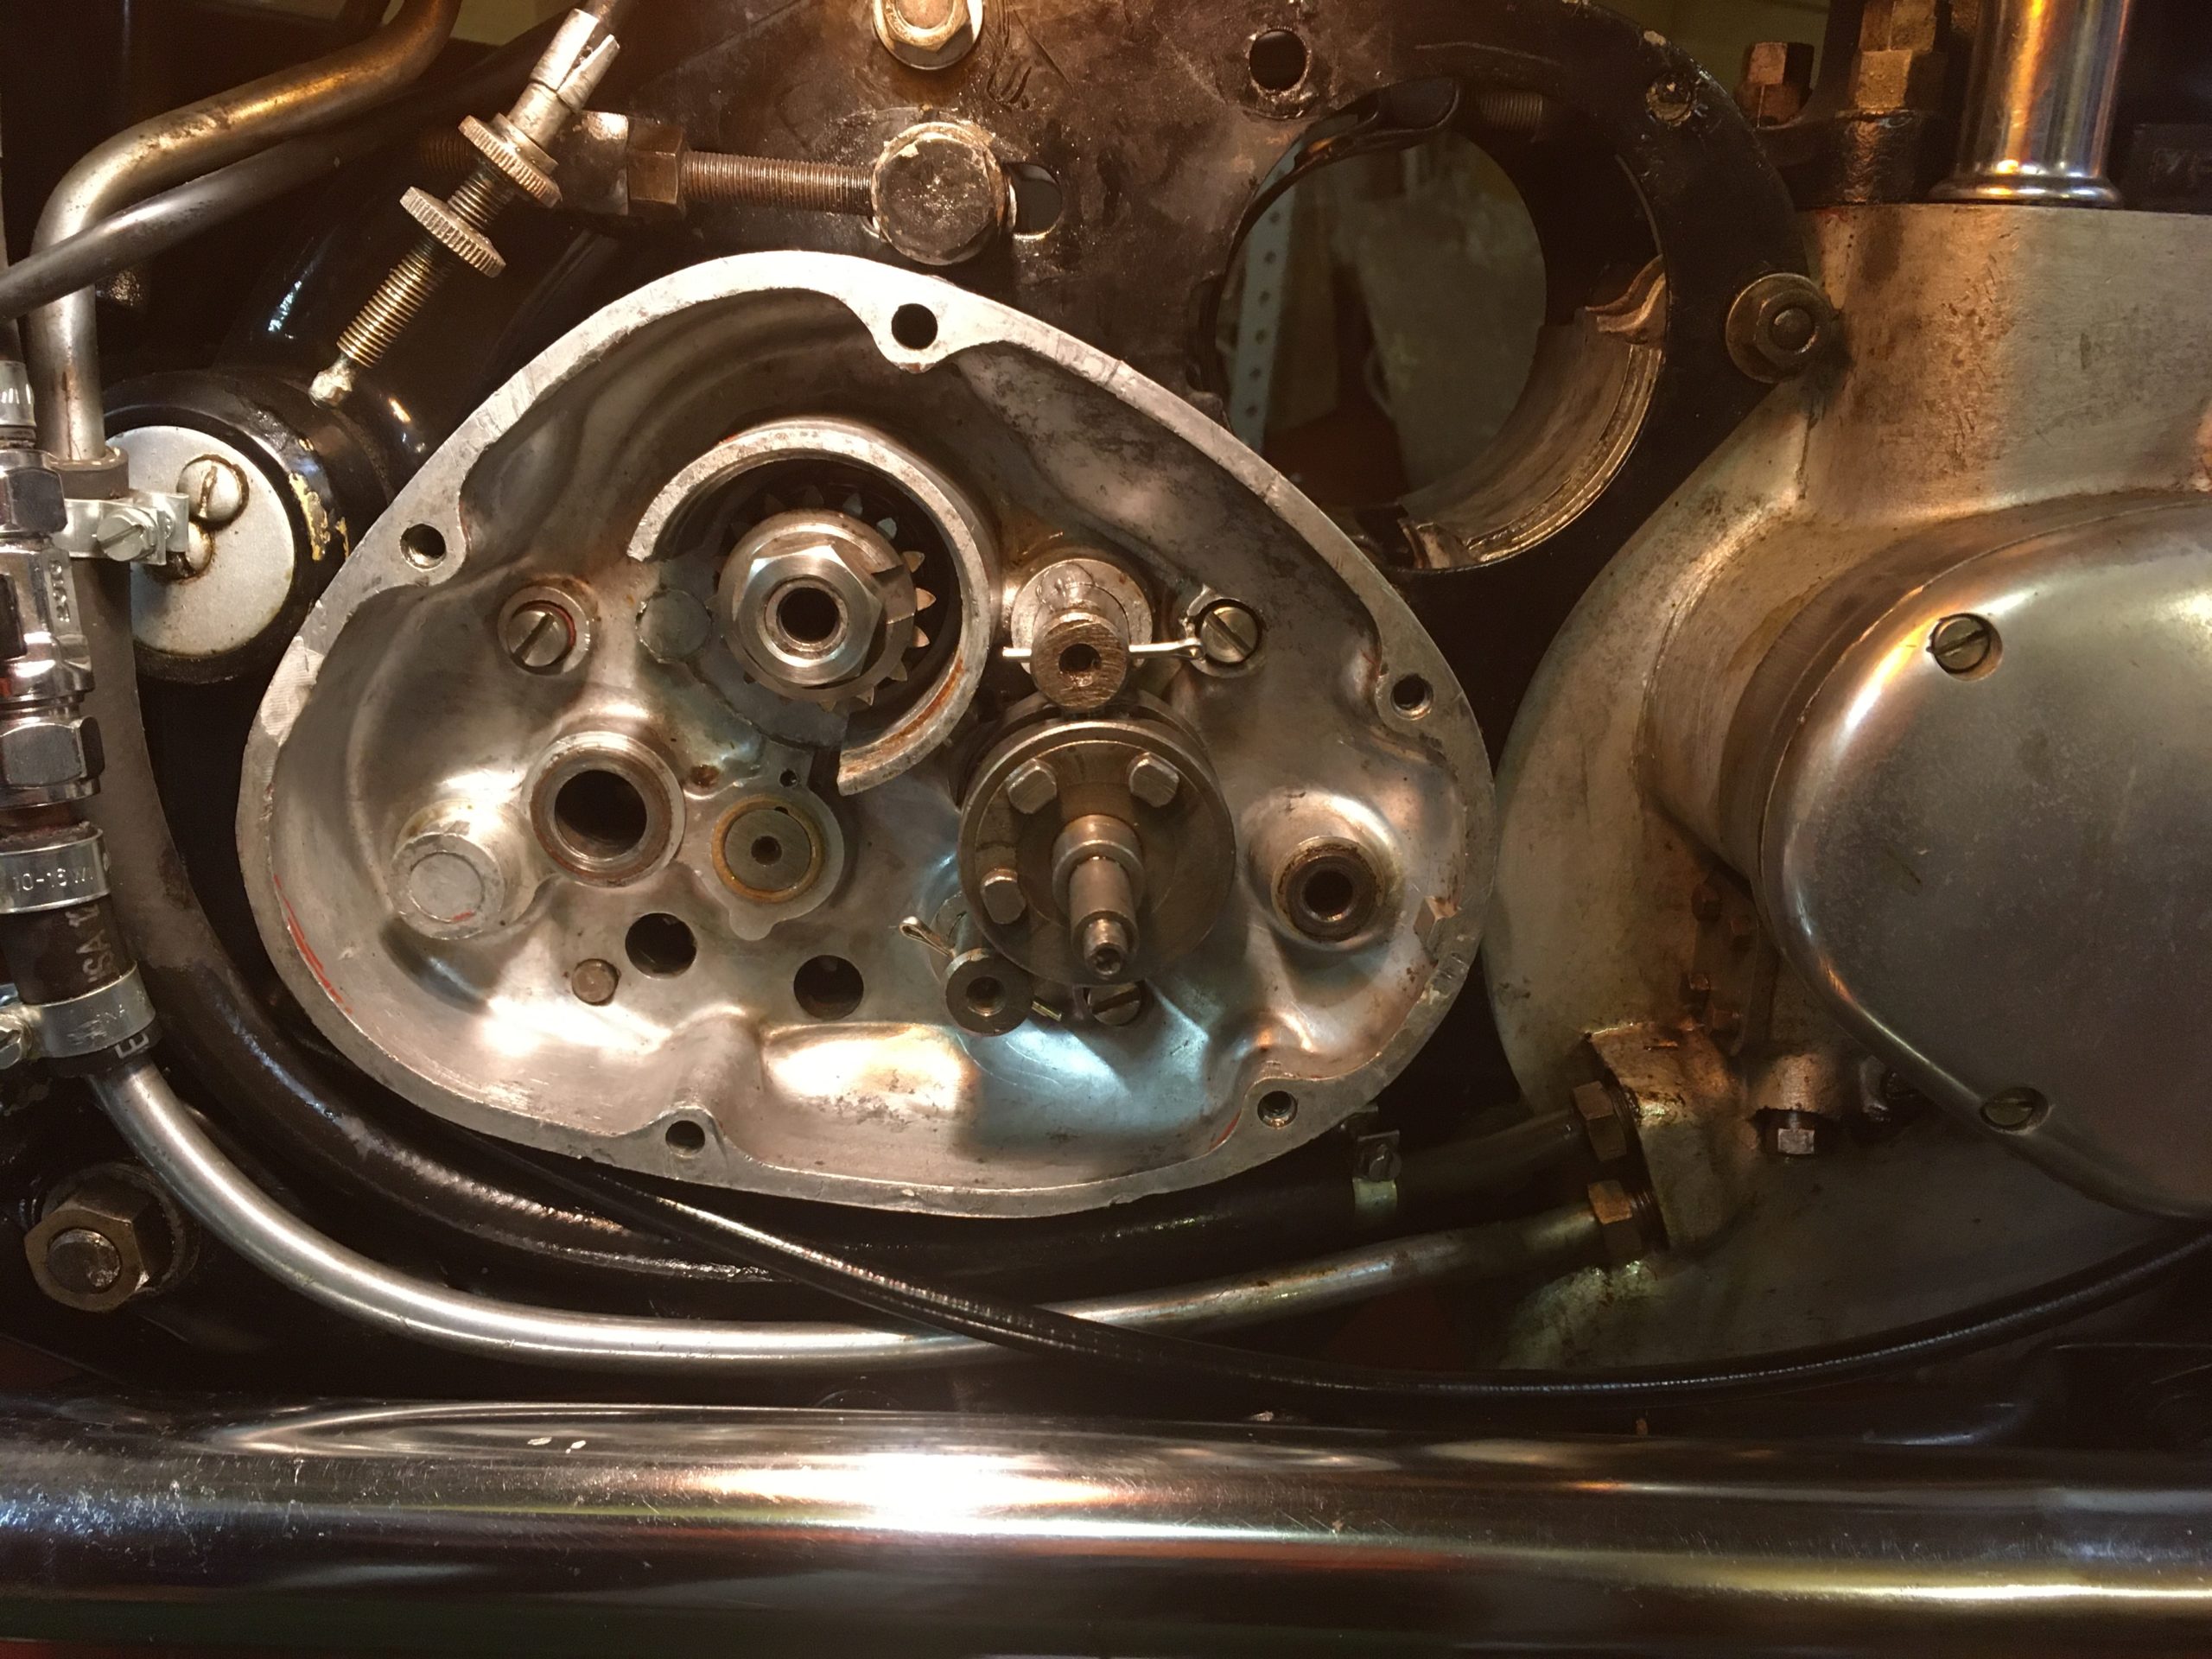
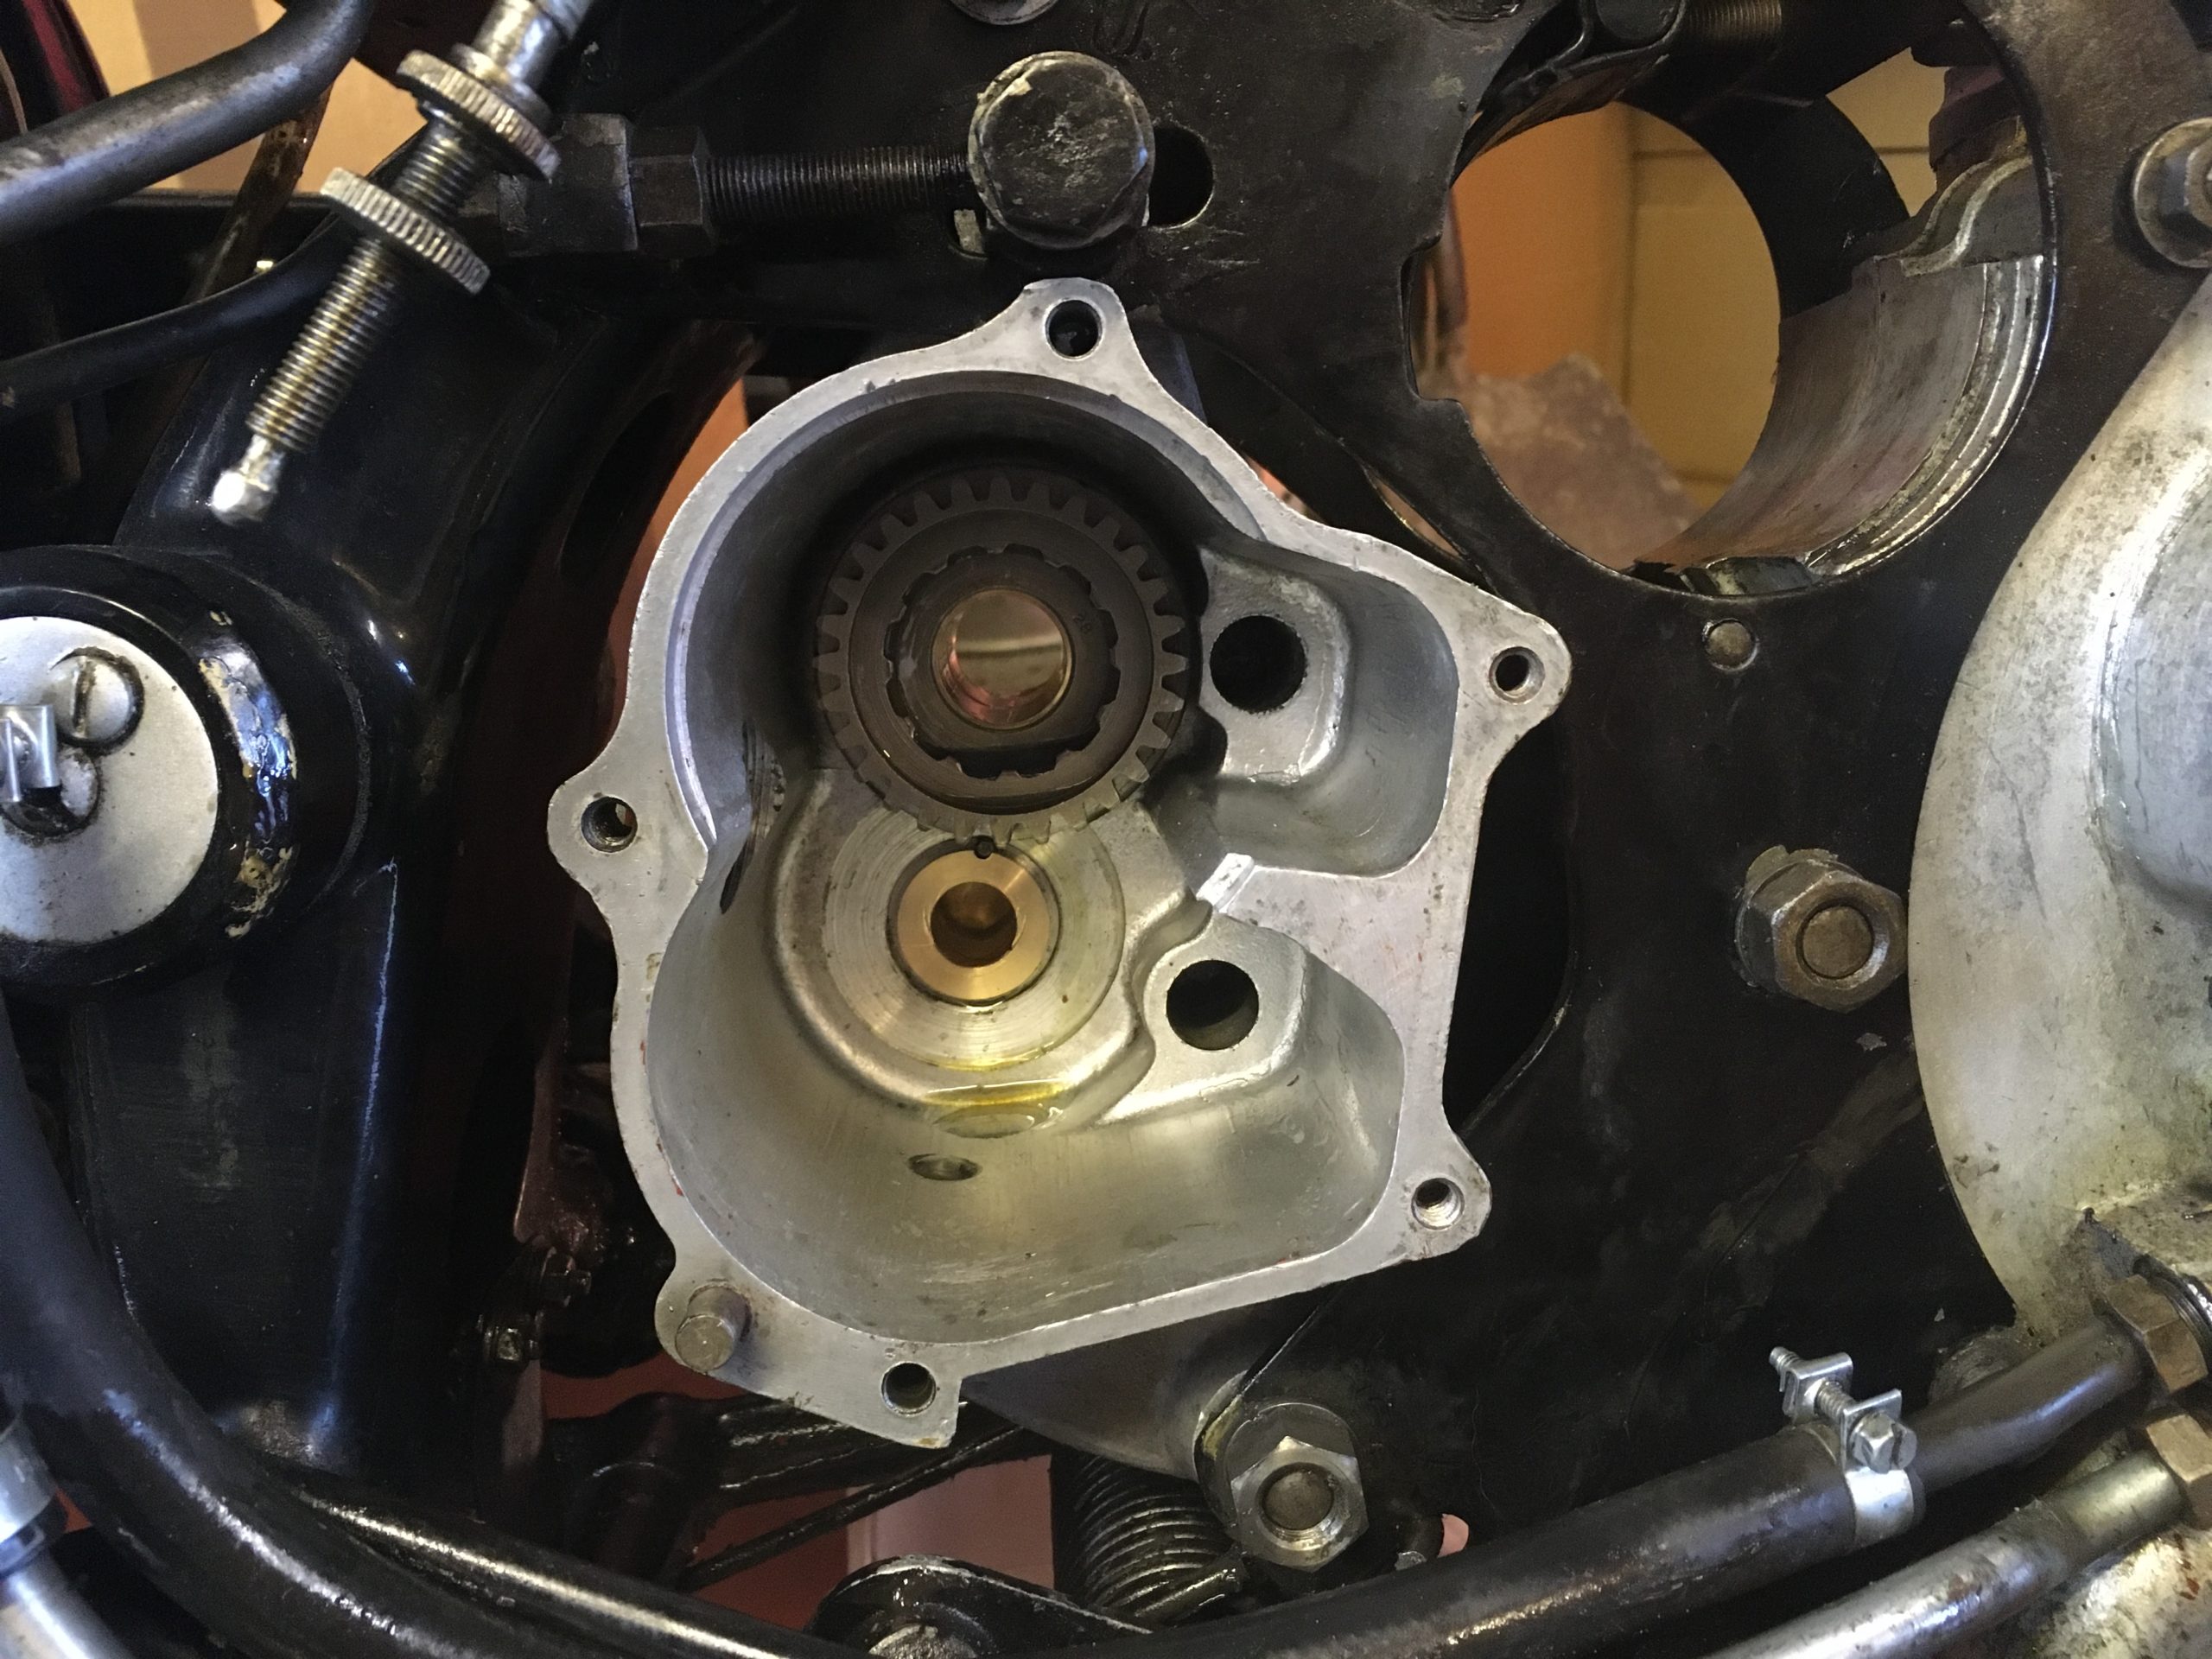
I couldn’t find any obvious reason why the ticking noise should be present or why the gear indicator should have so much apparent end float…if I pressed it in gently, the clicking noise stopped. I removed the outer cover and internal parts before removing the inner cover. I couldn’t see any problems at this point.
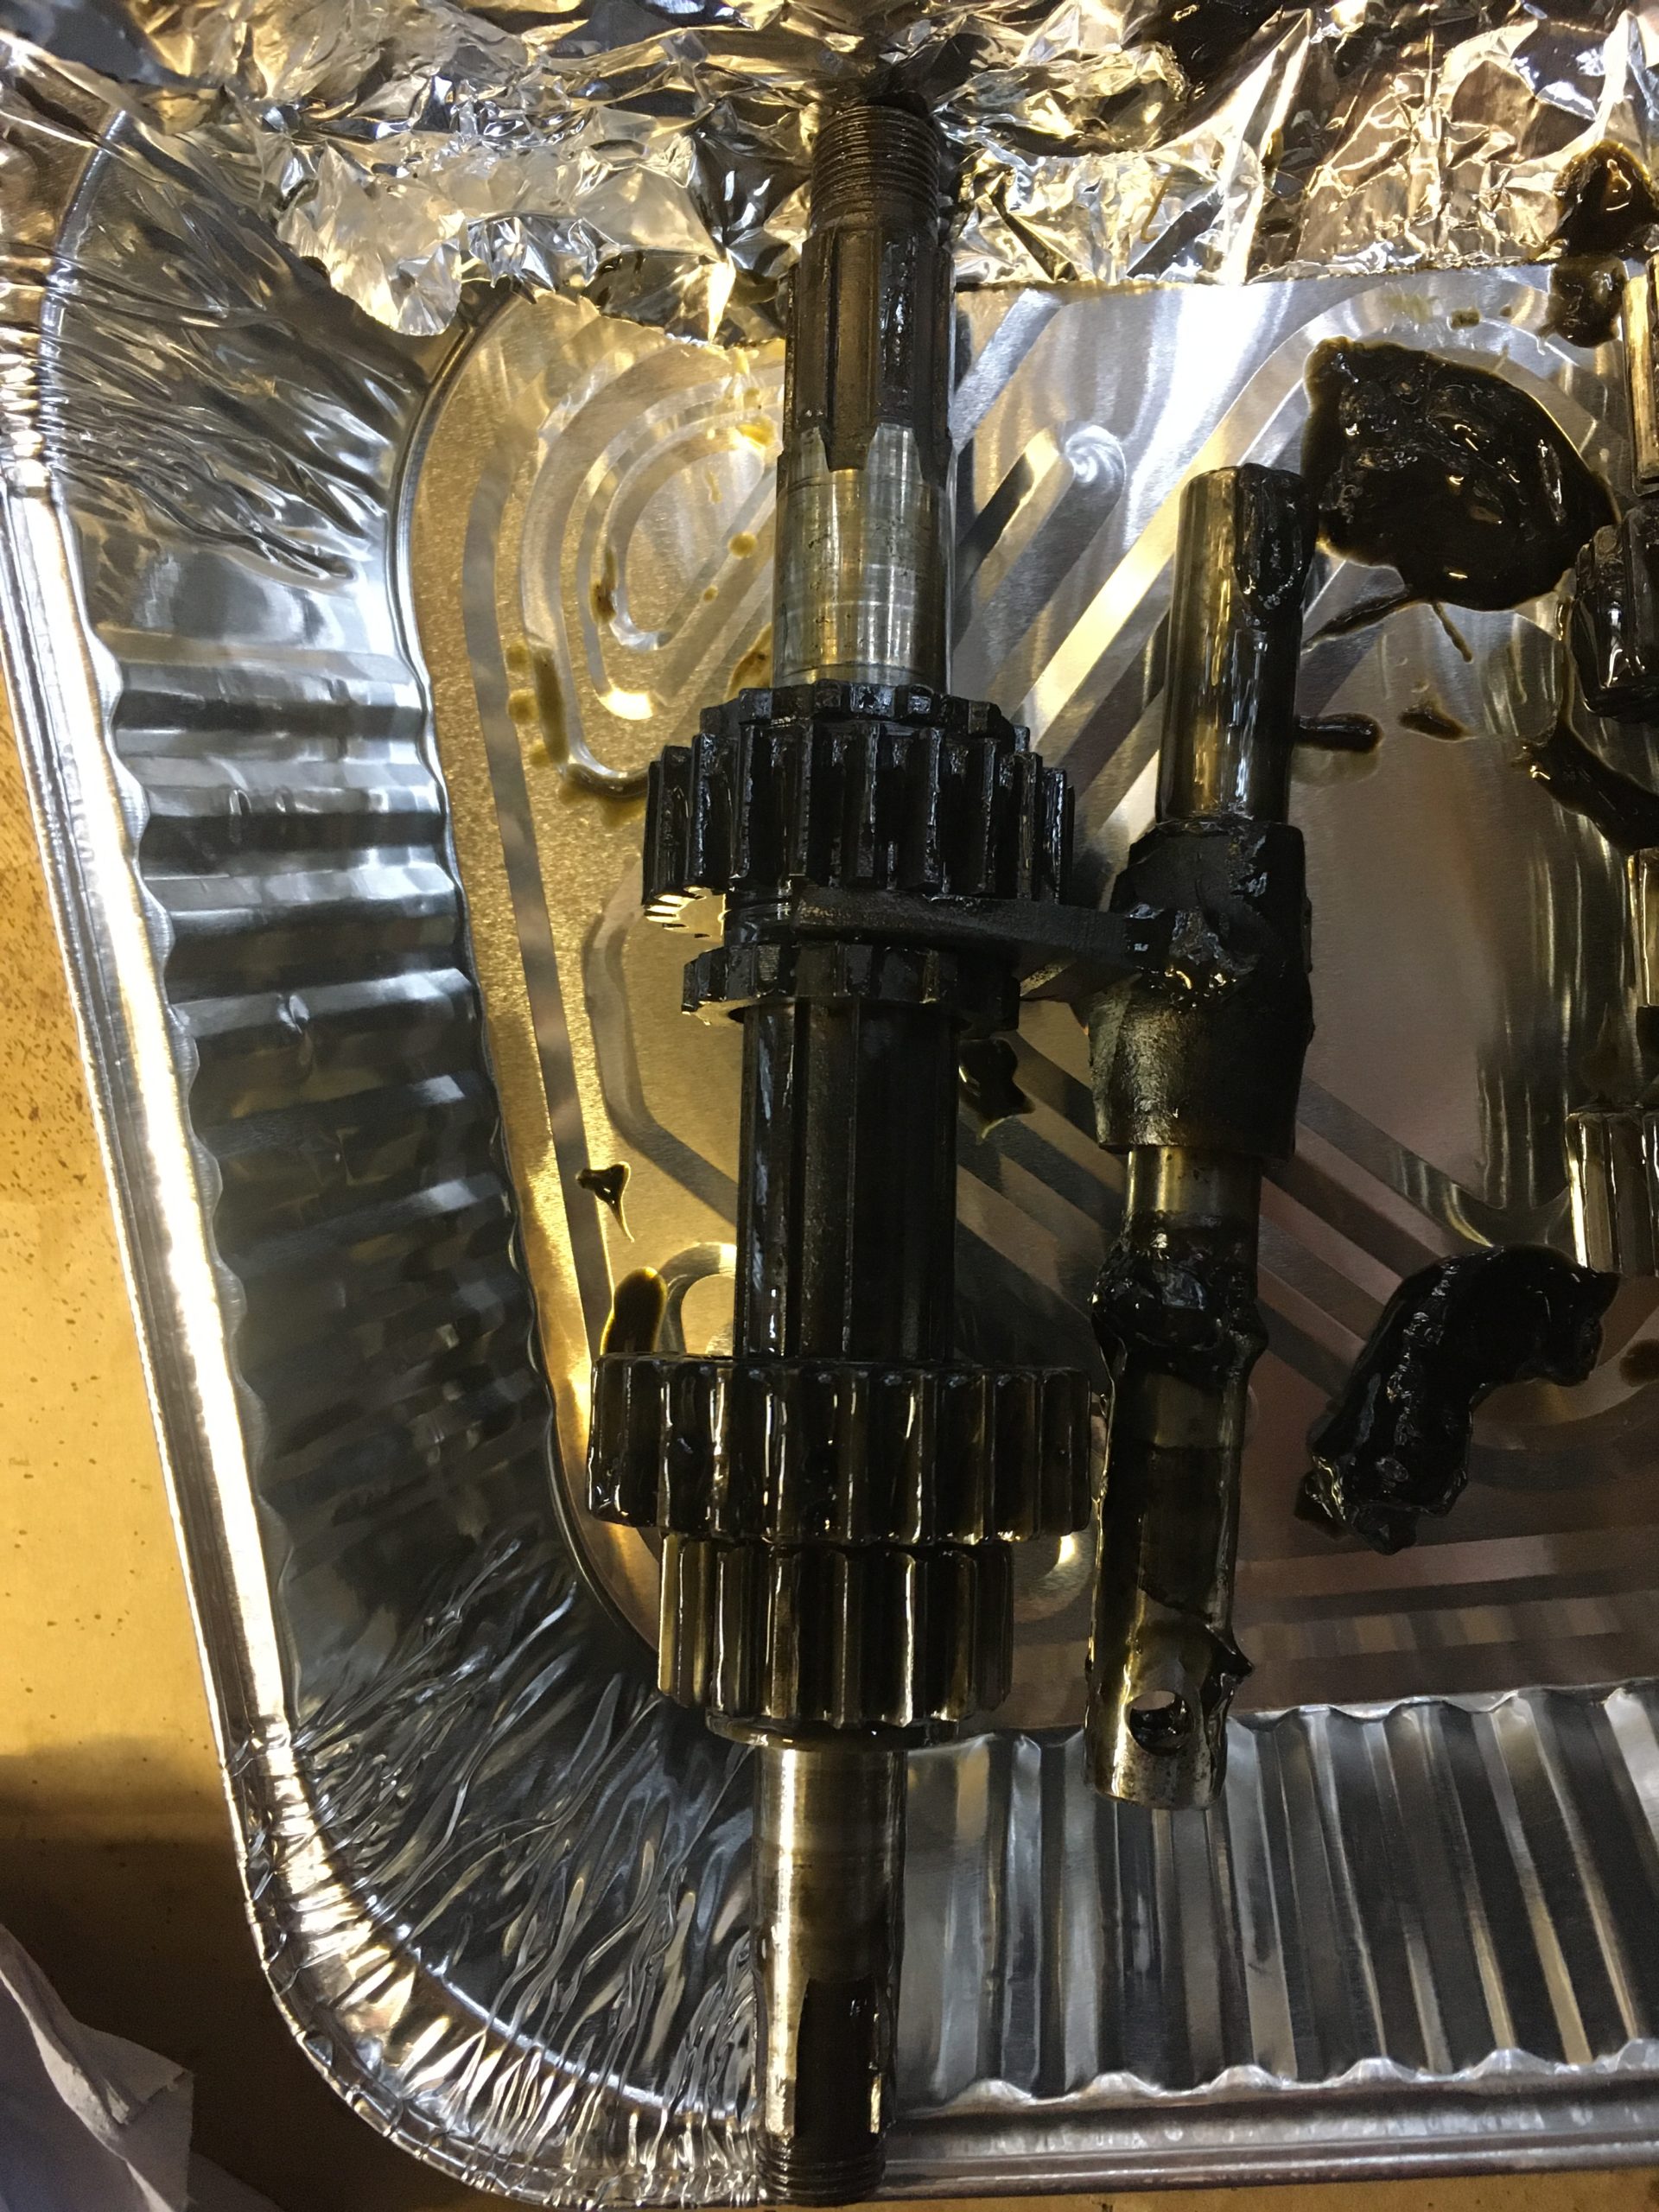
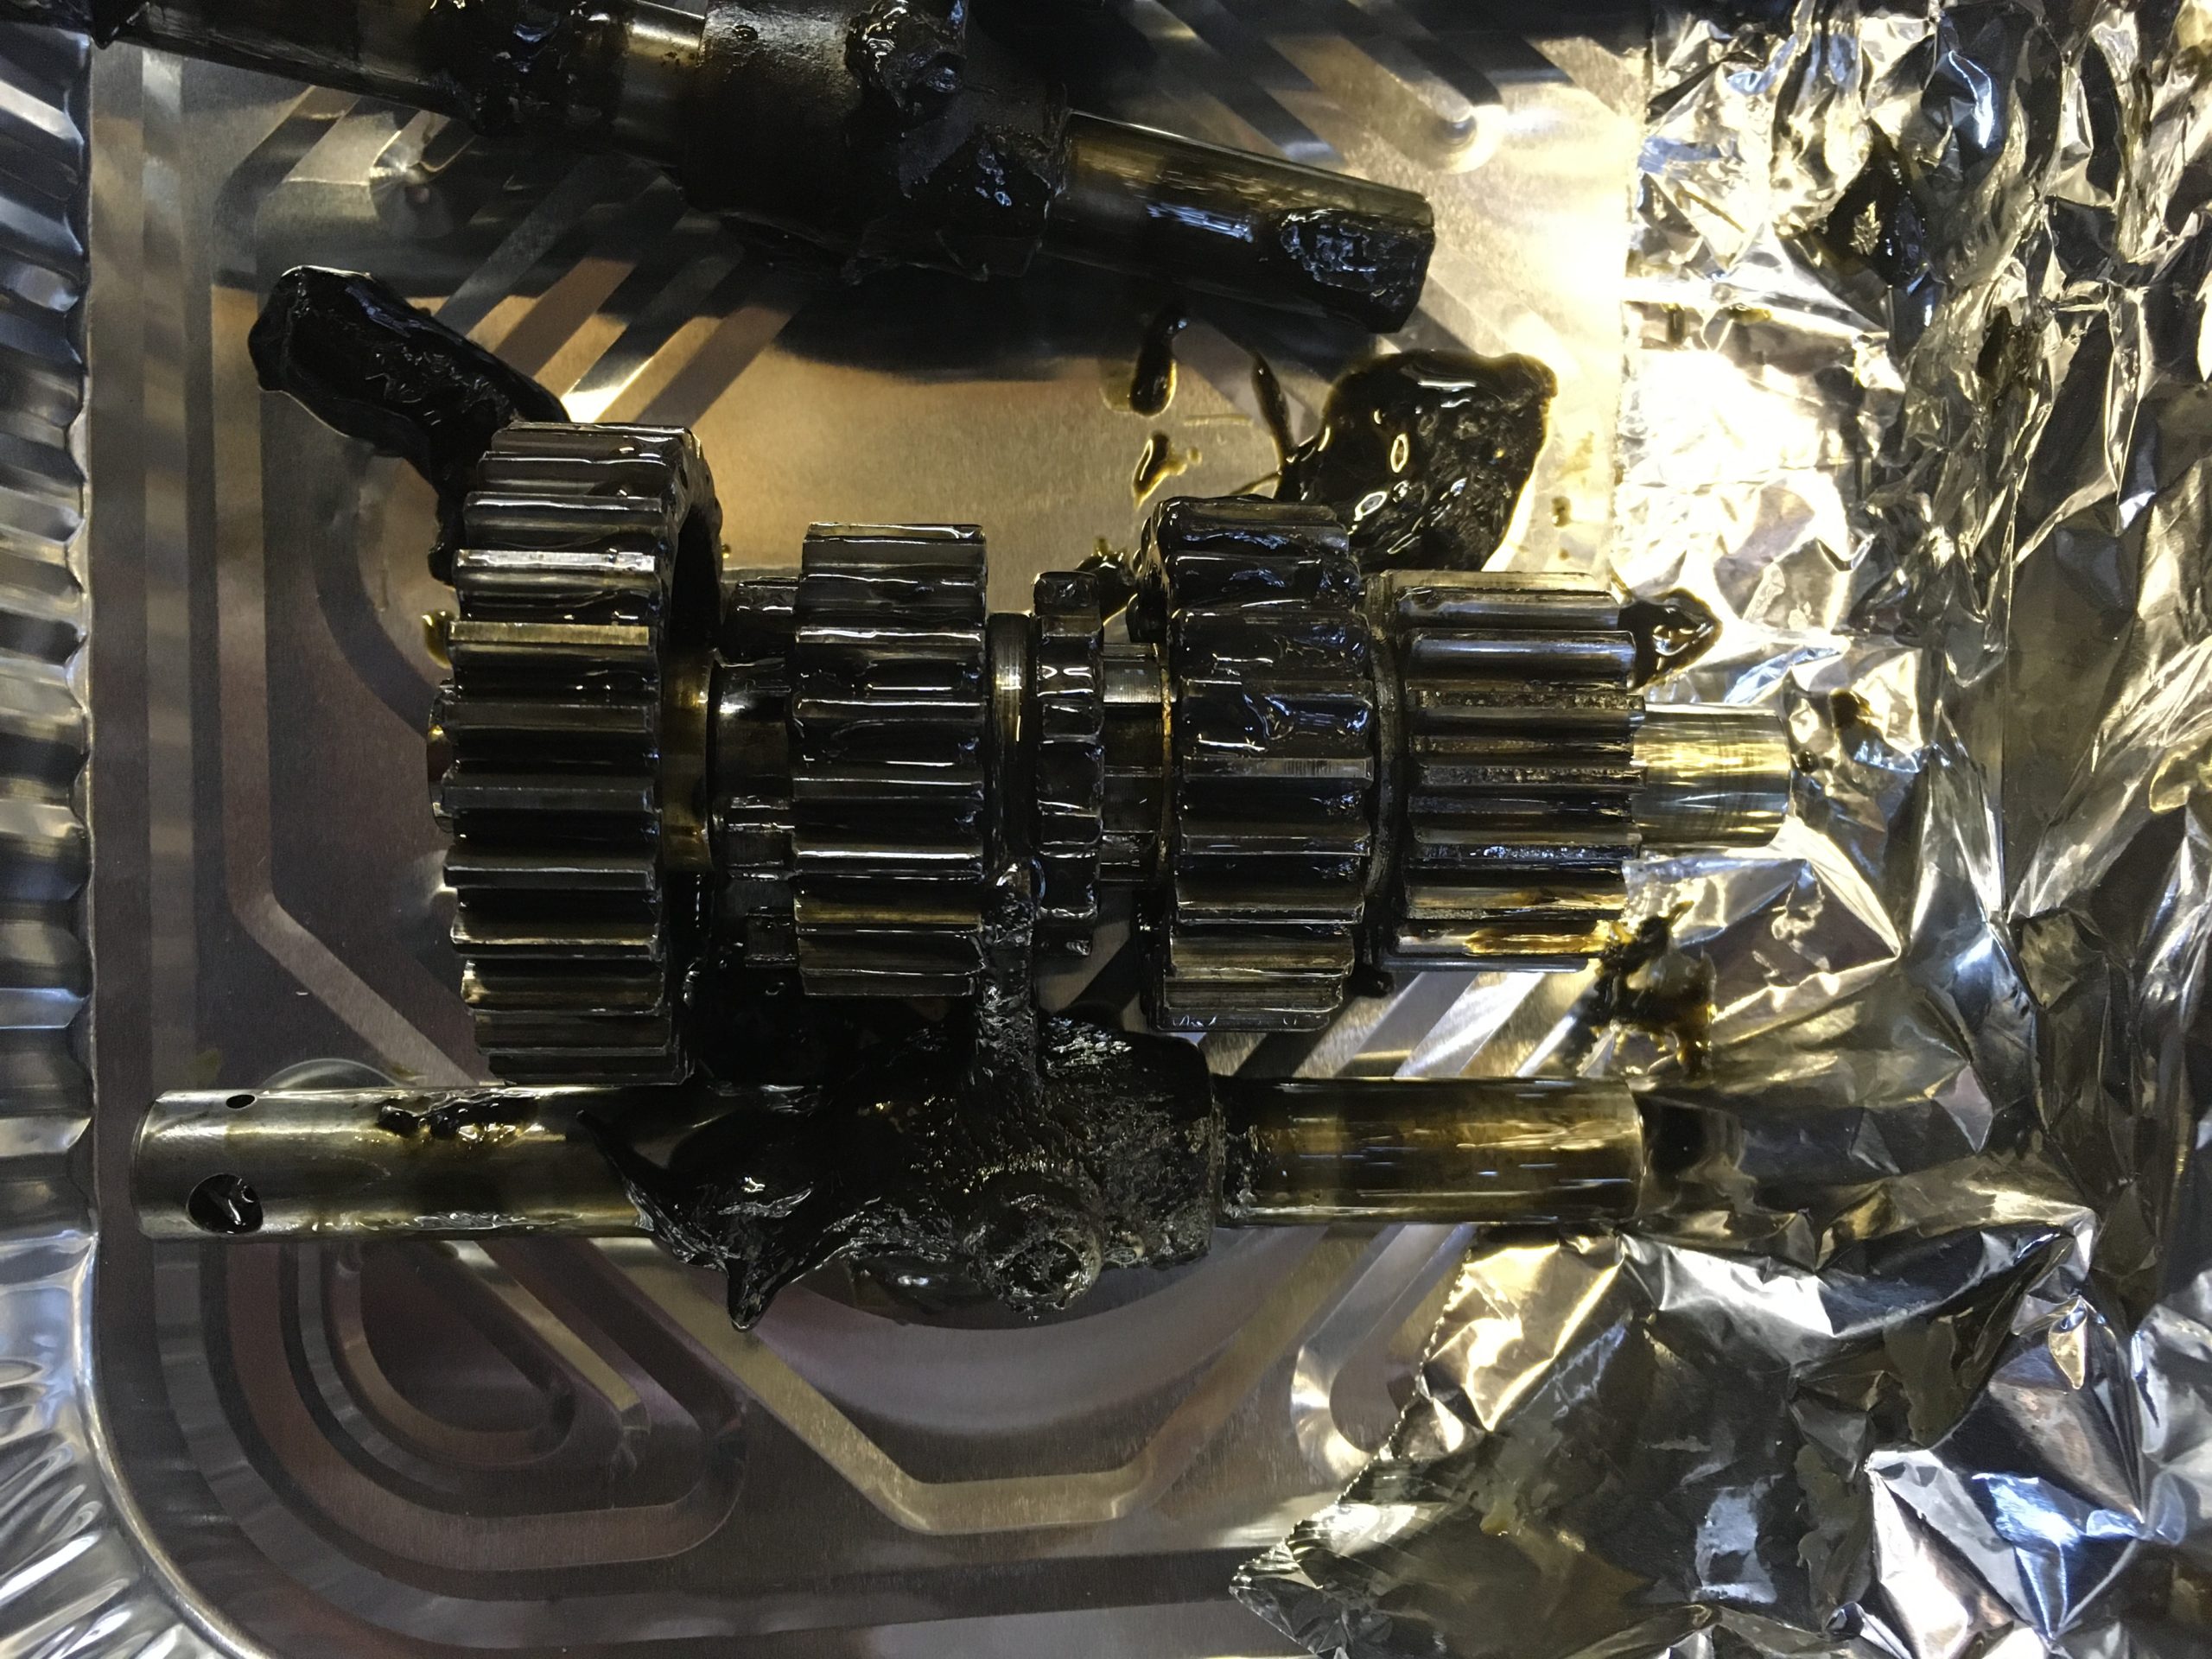
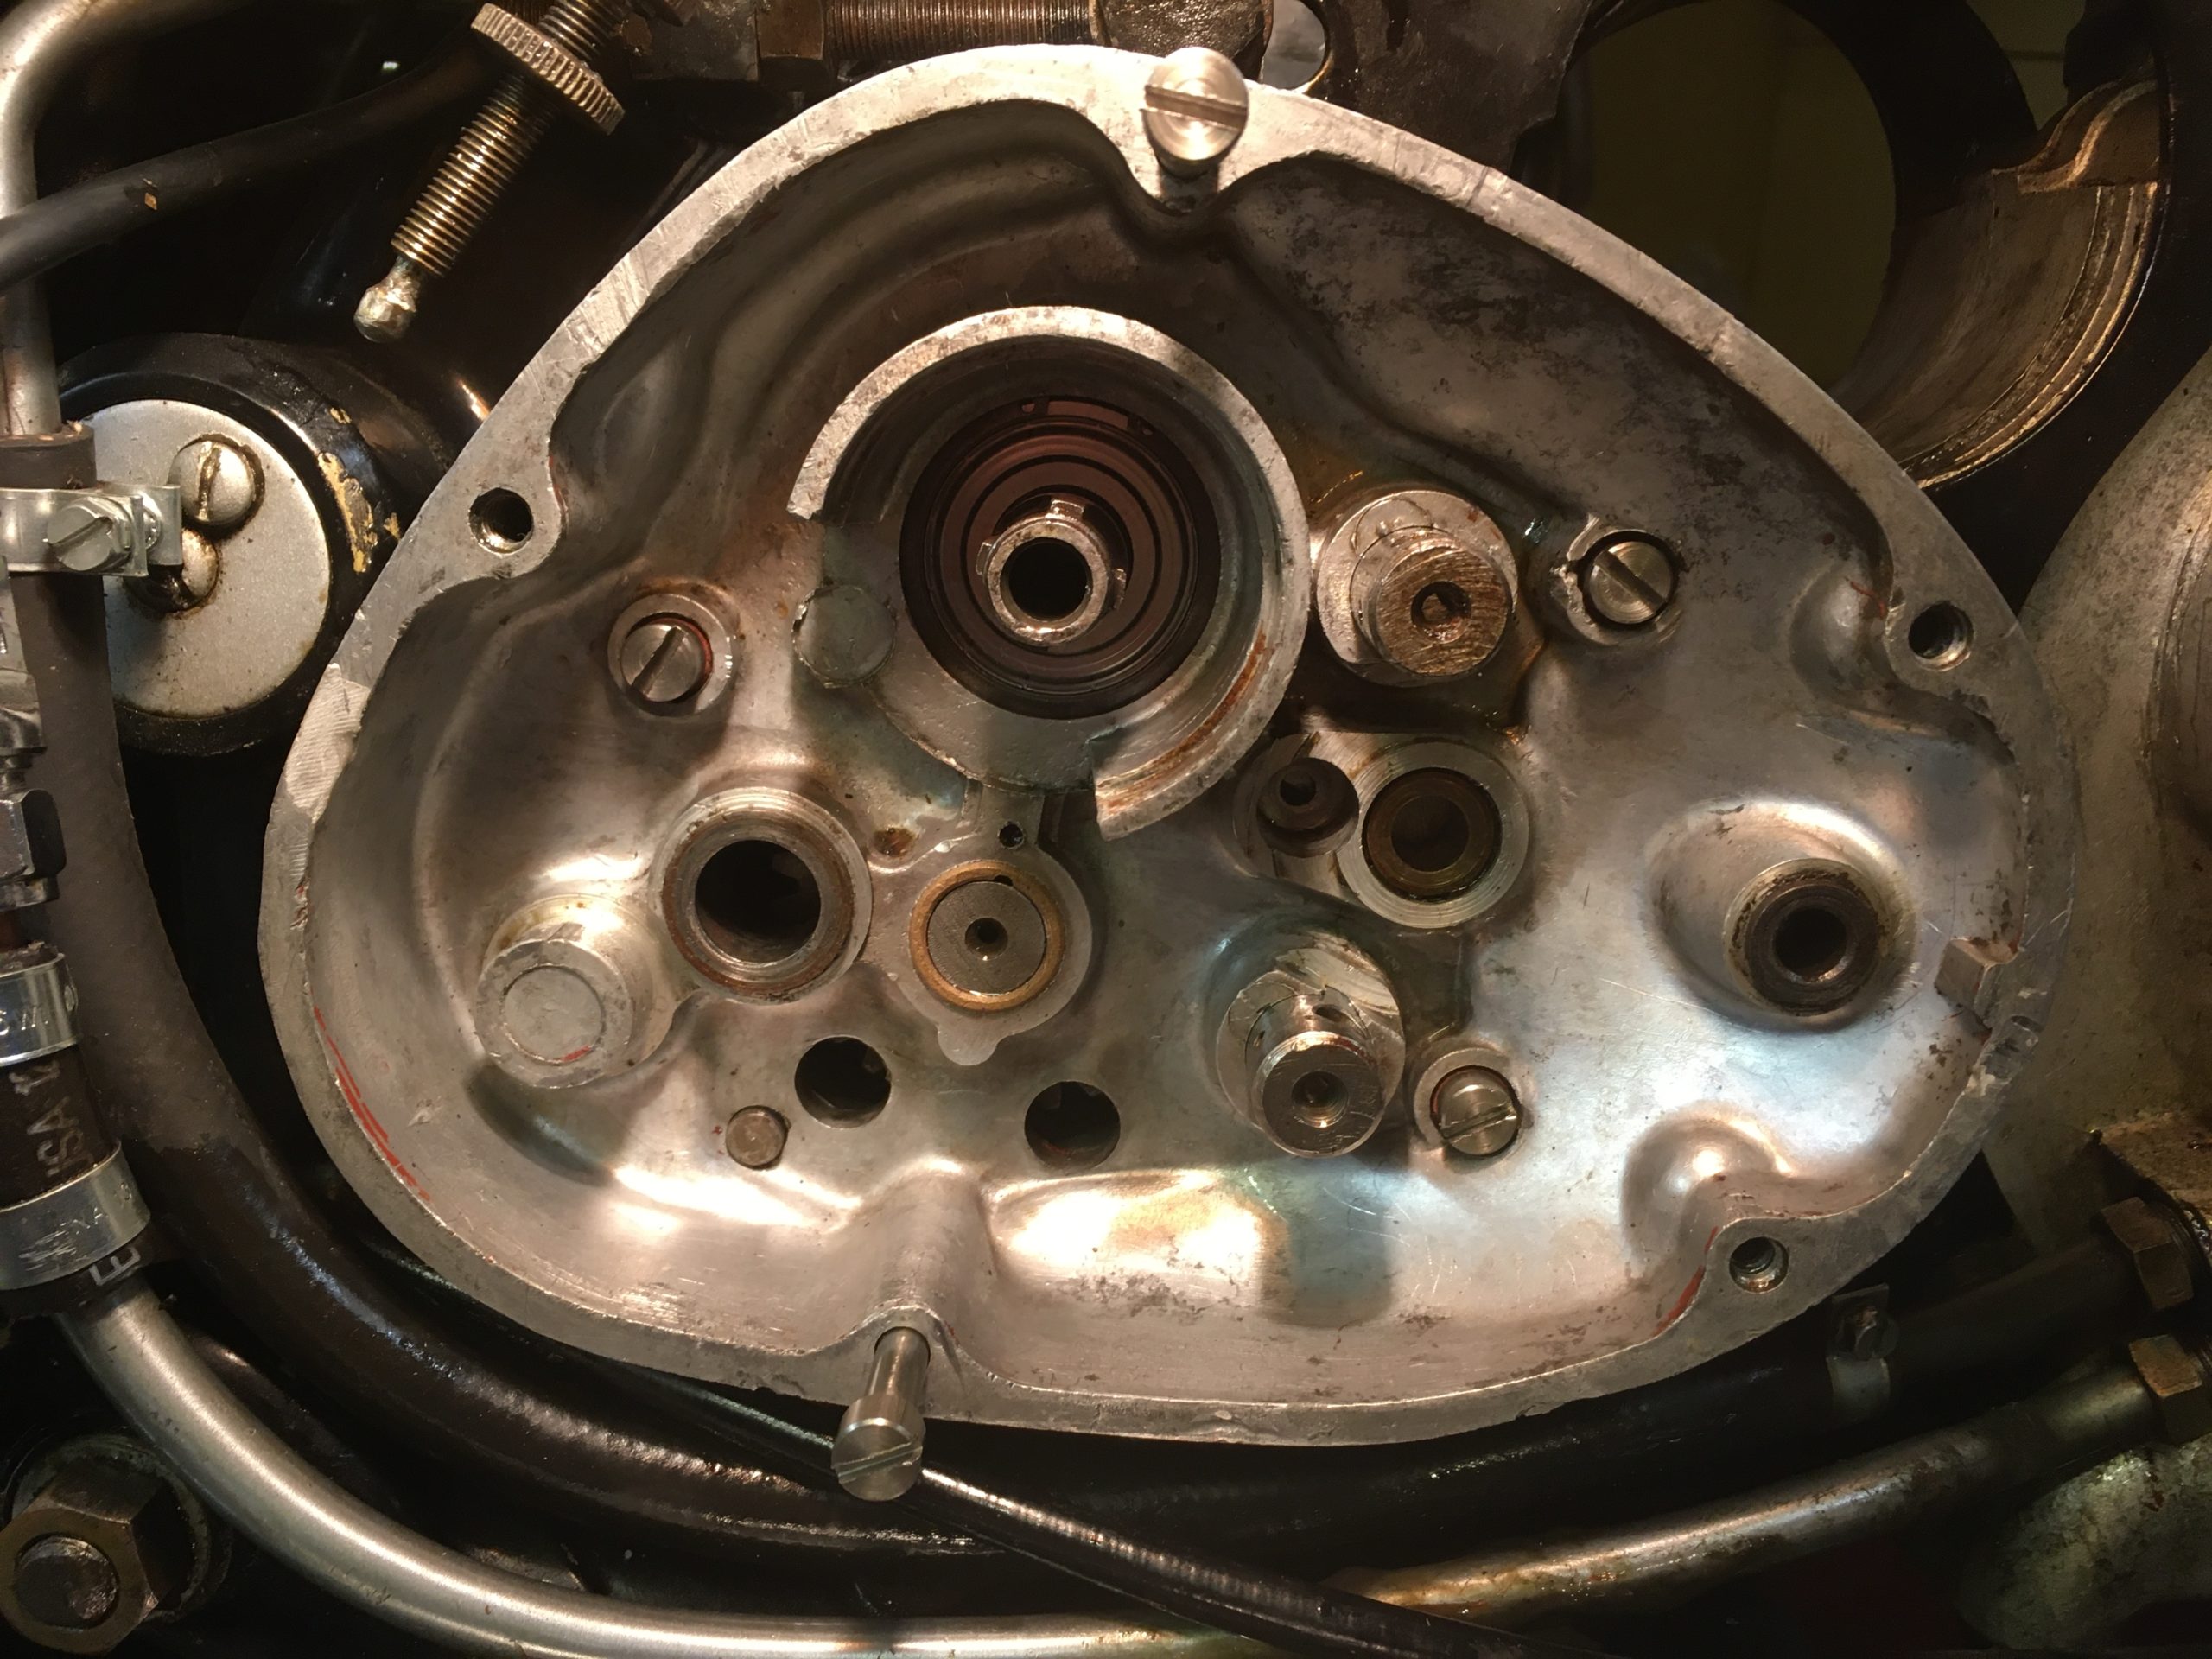
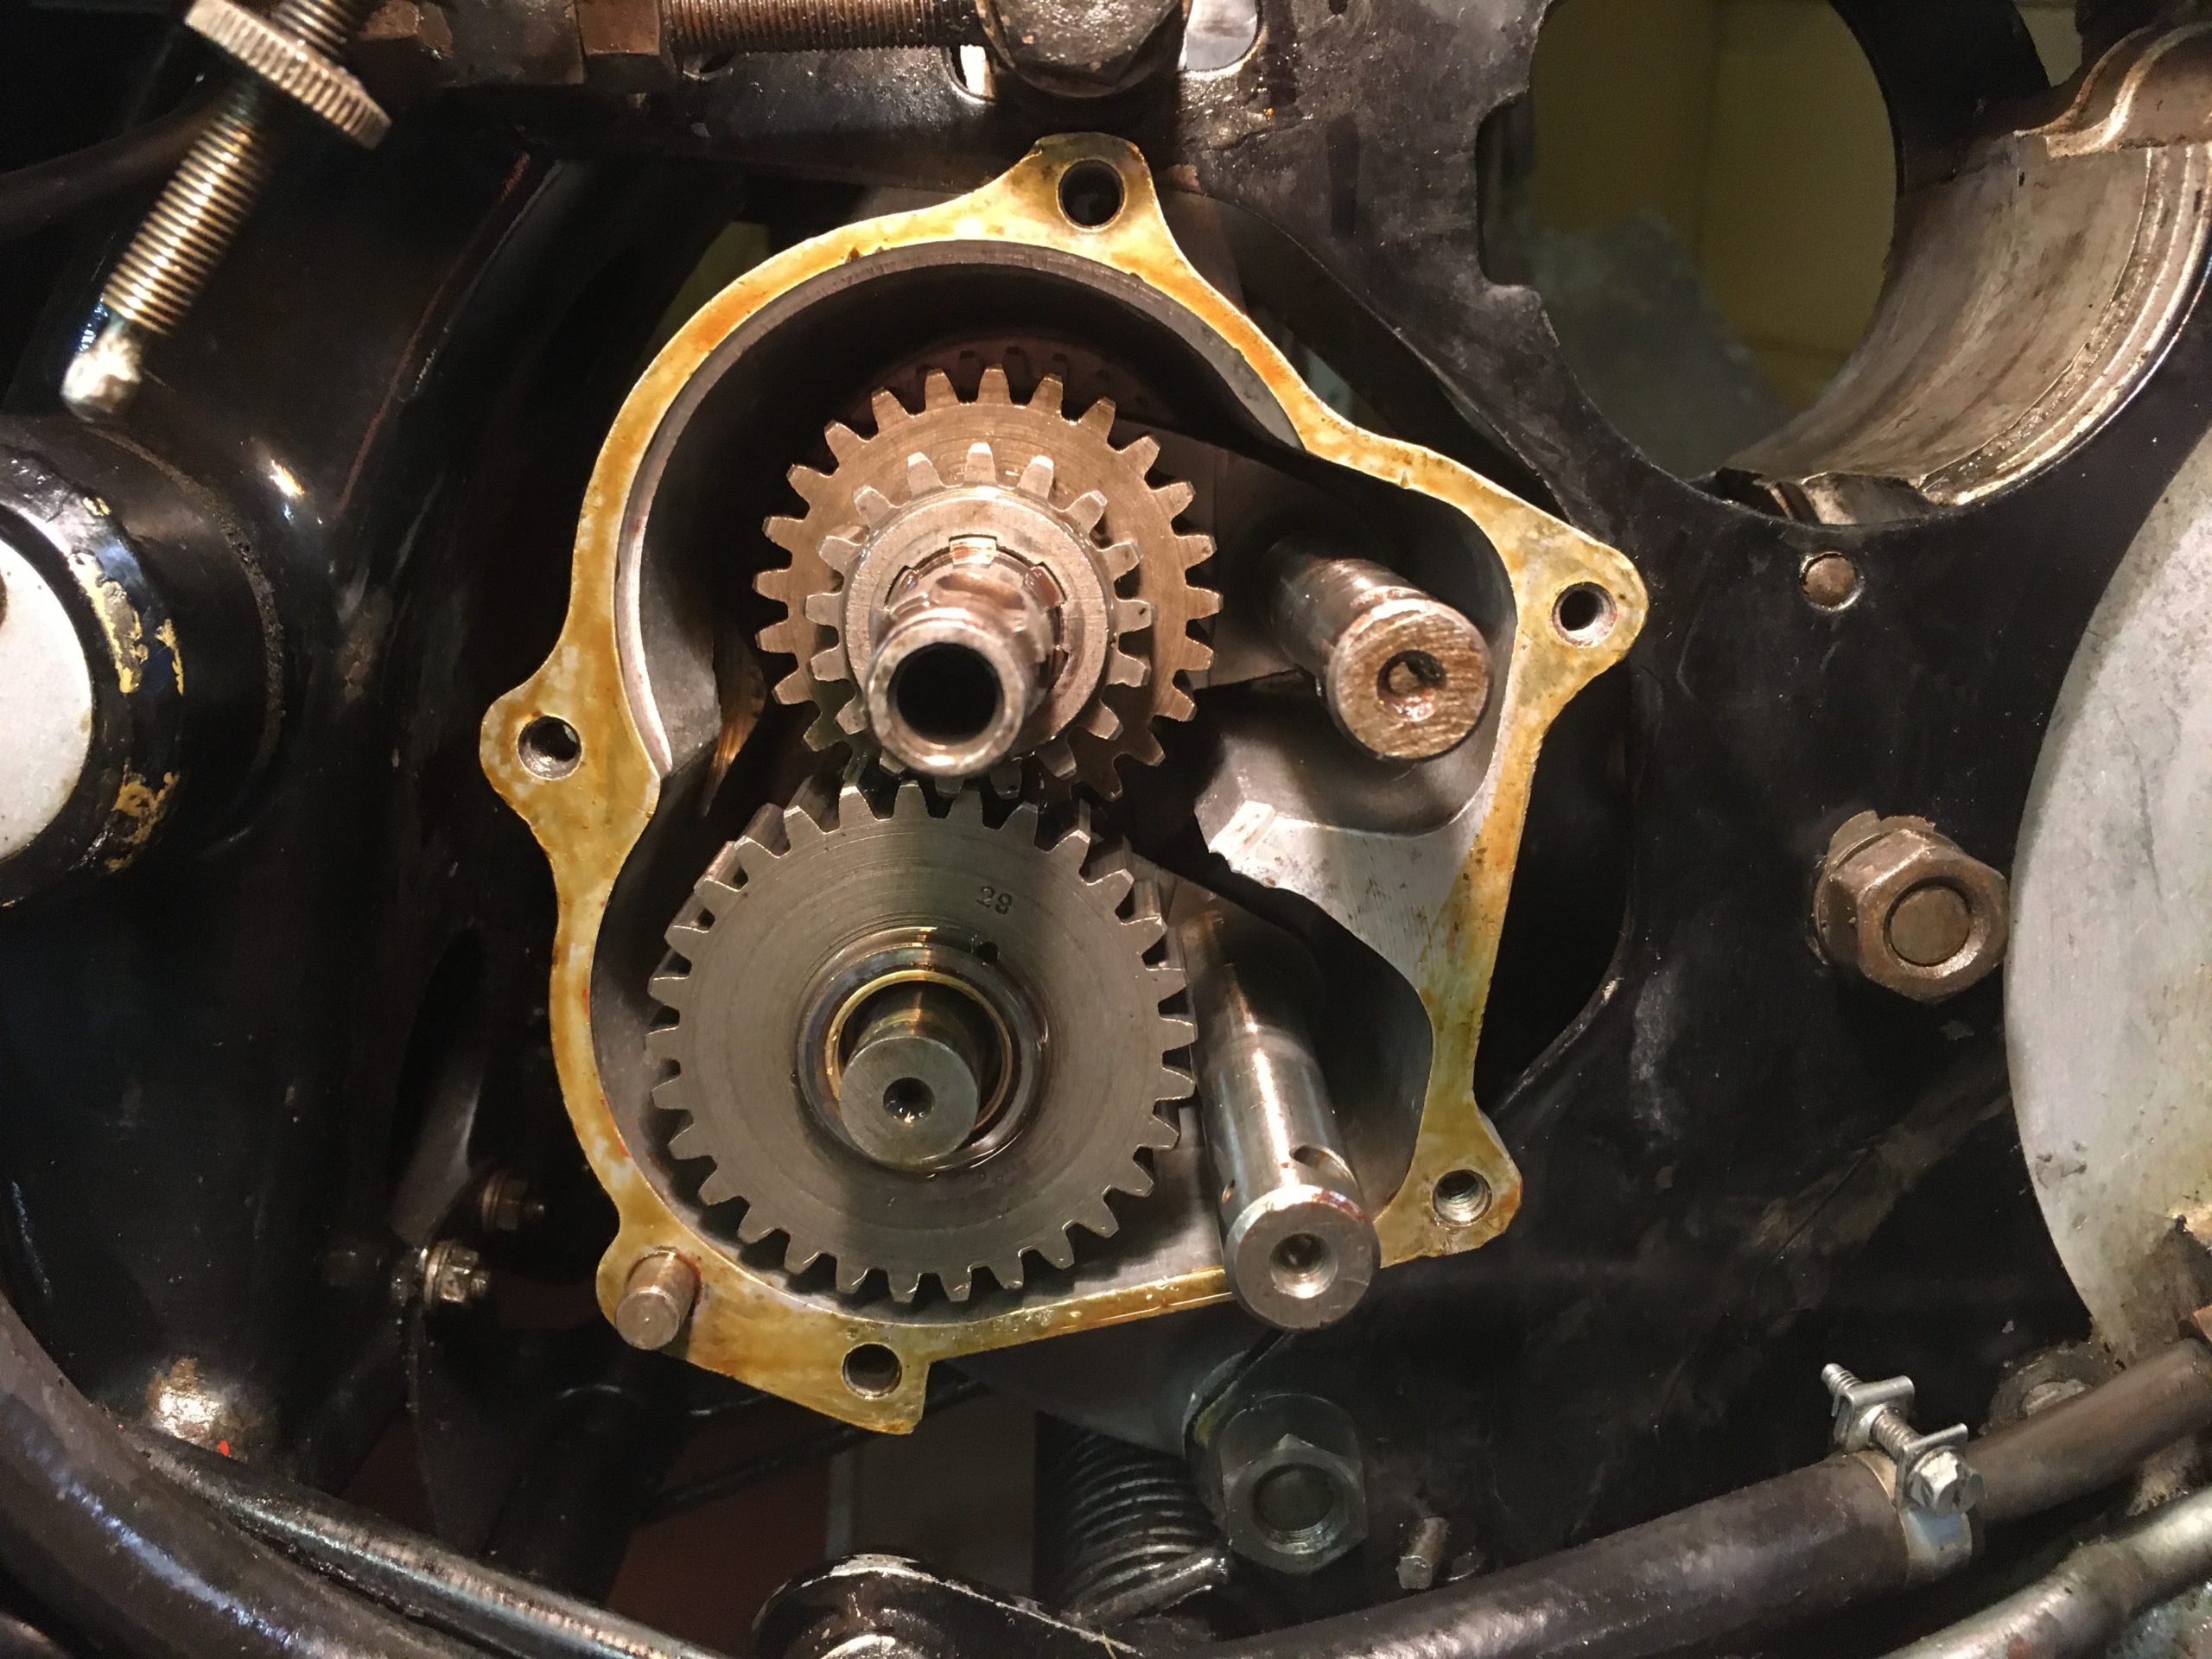
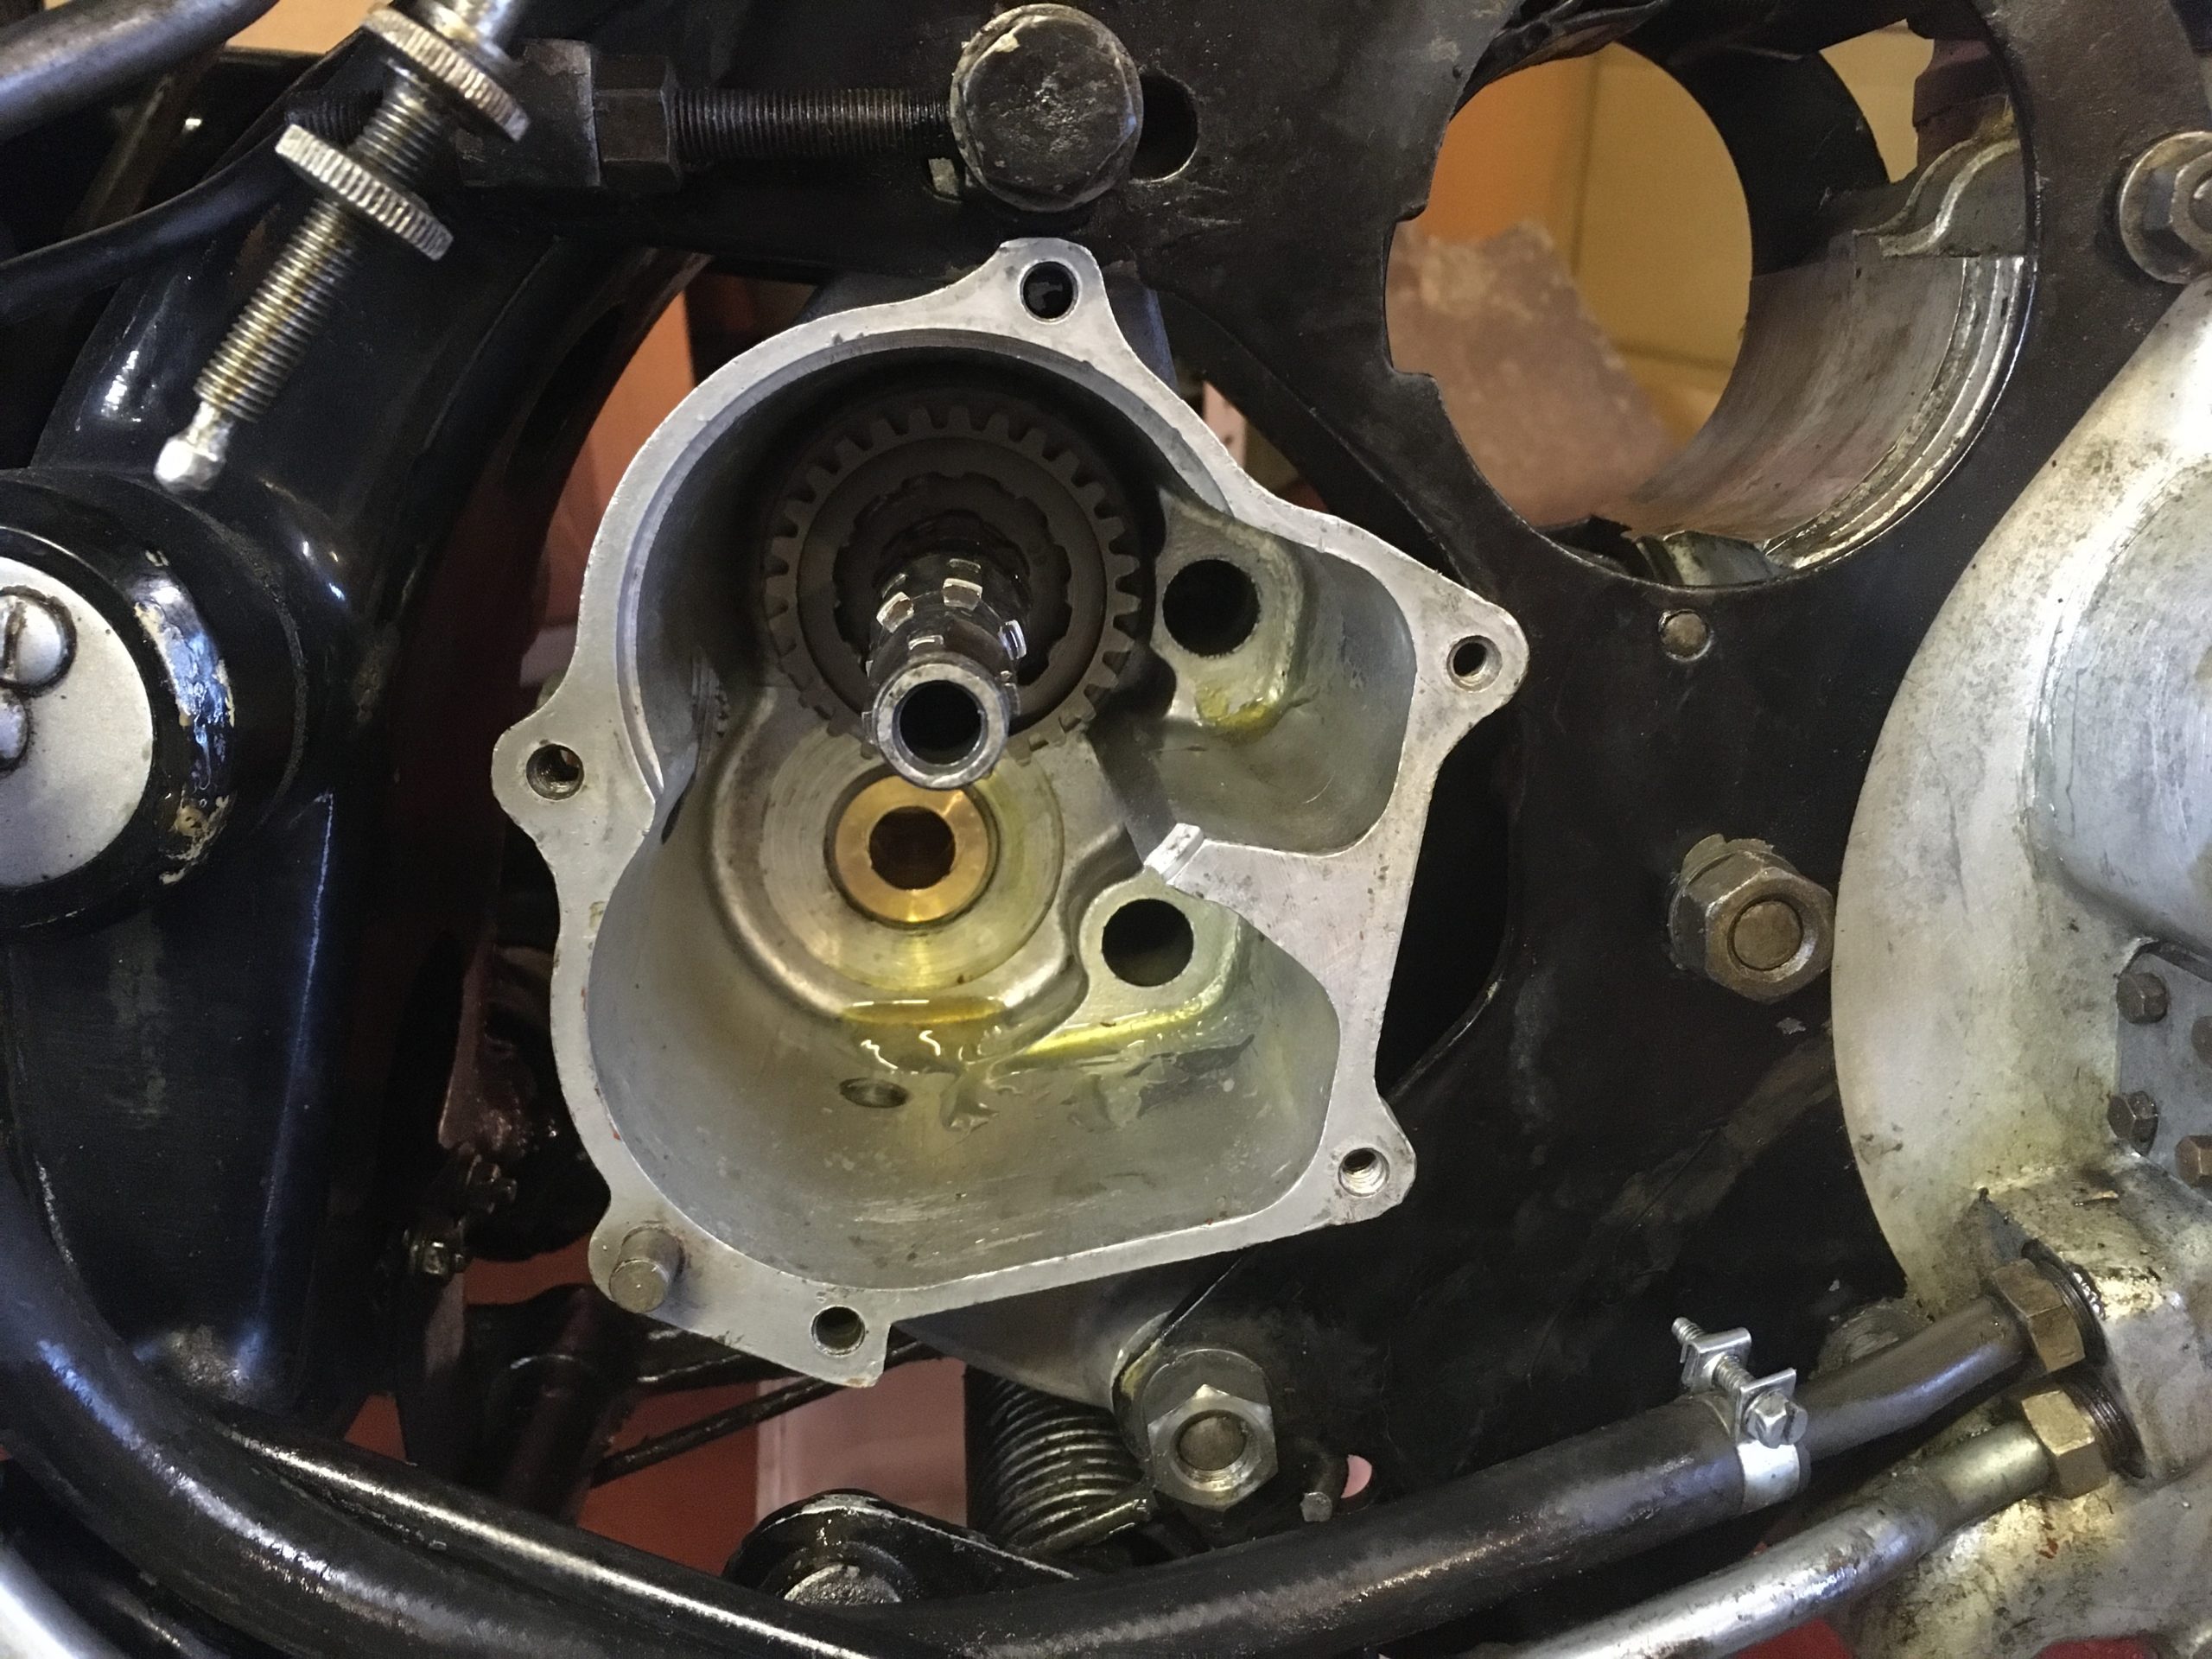
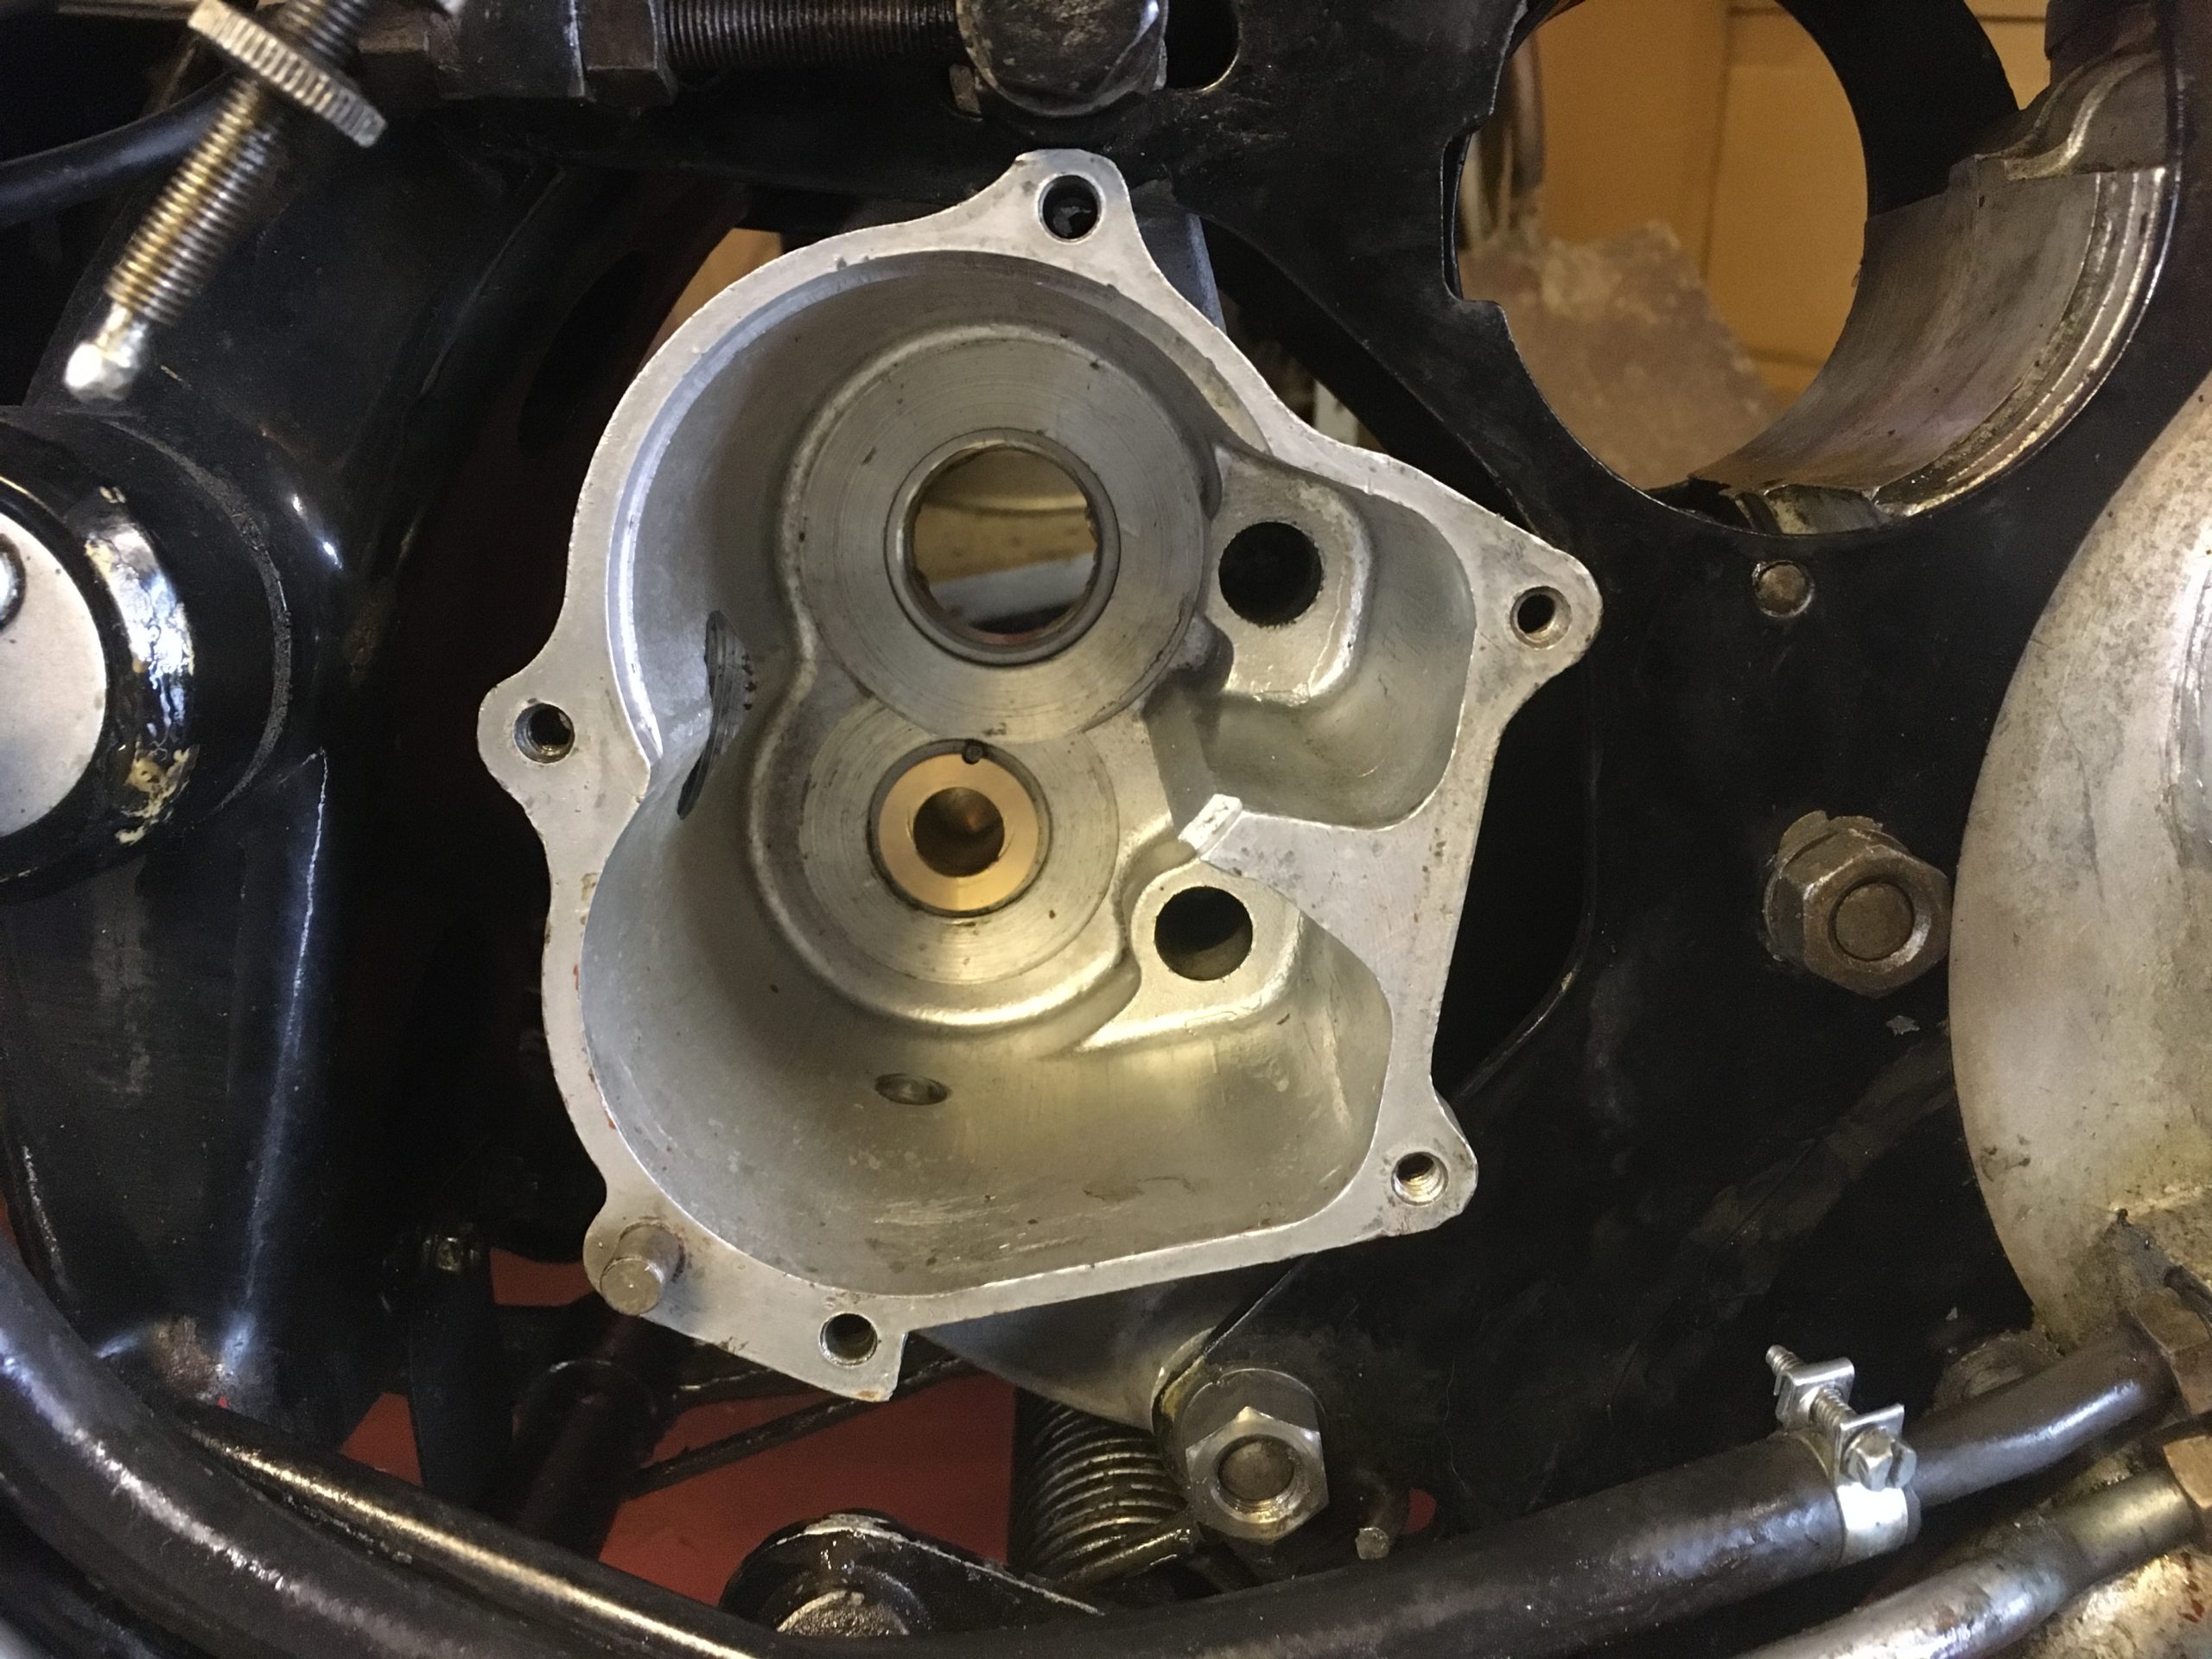
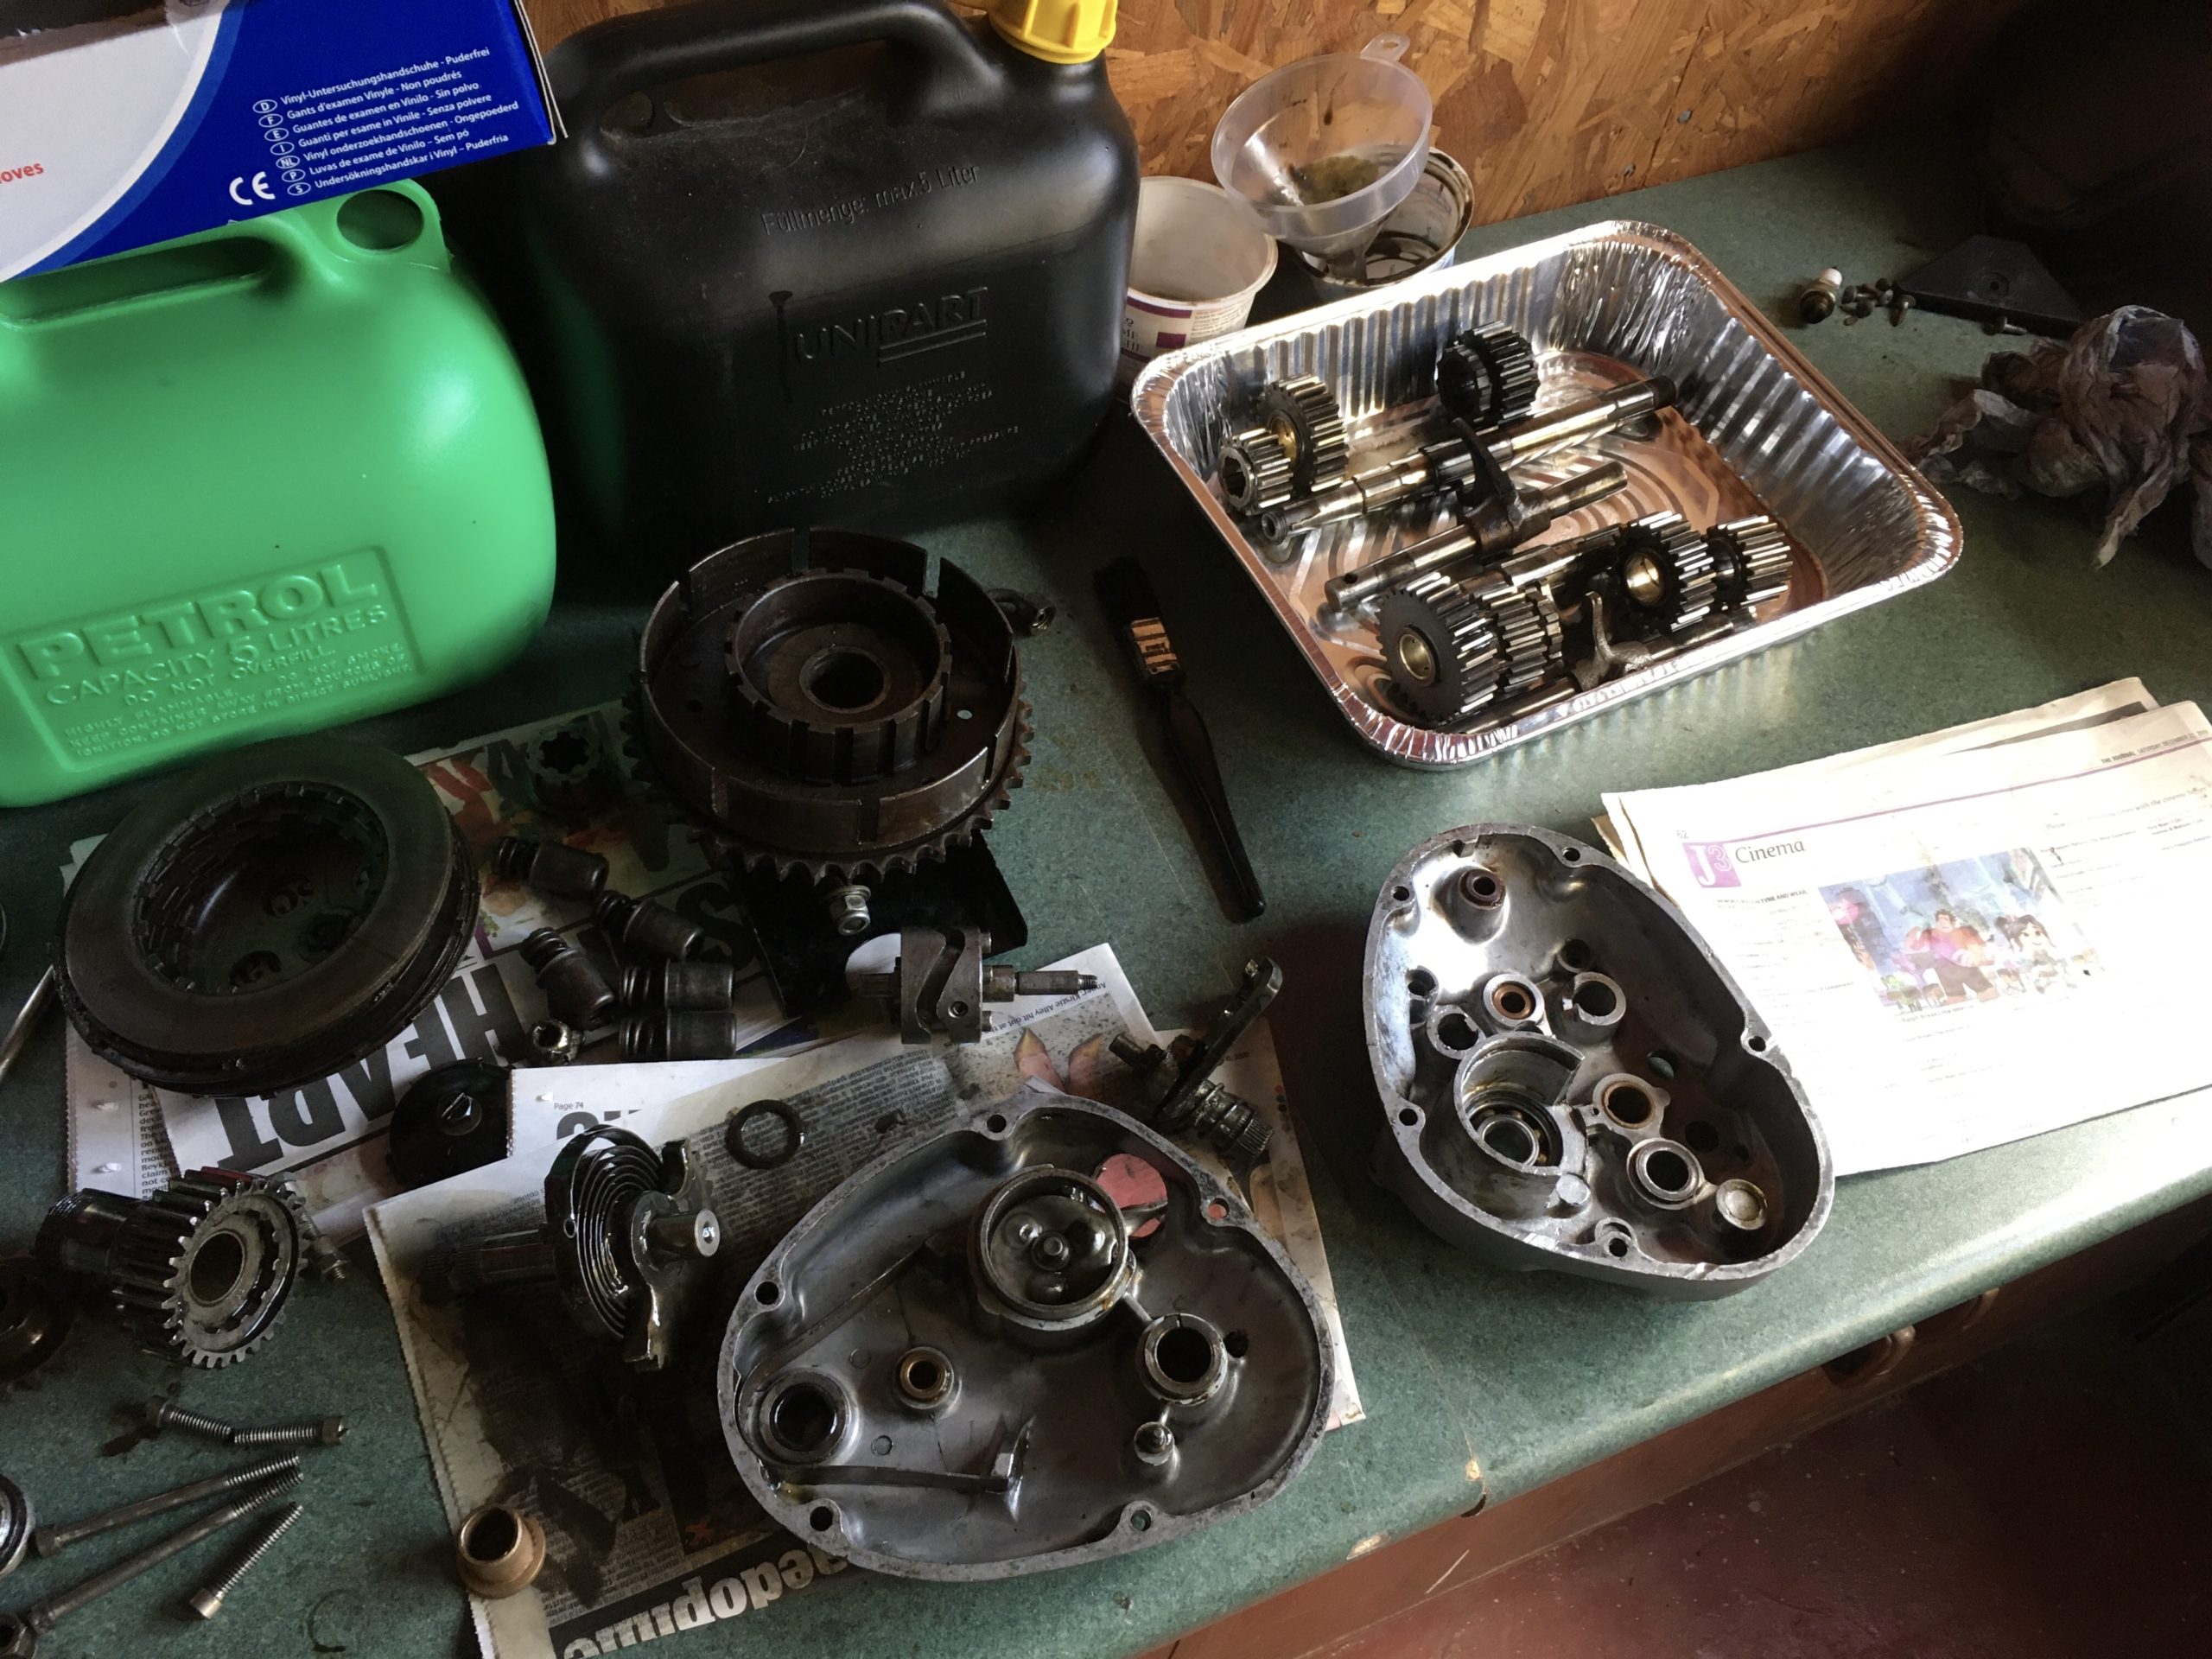
Below is a slider display of the gearbox during dismantling…it might help you with yours. Use the left and right arrows to skip through and click on an image to stop the slider. The images are quite large and so is the slider…the story continues after the slider.

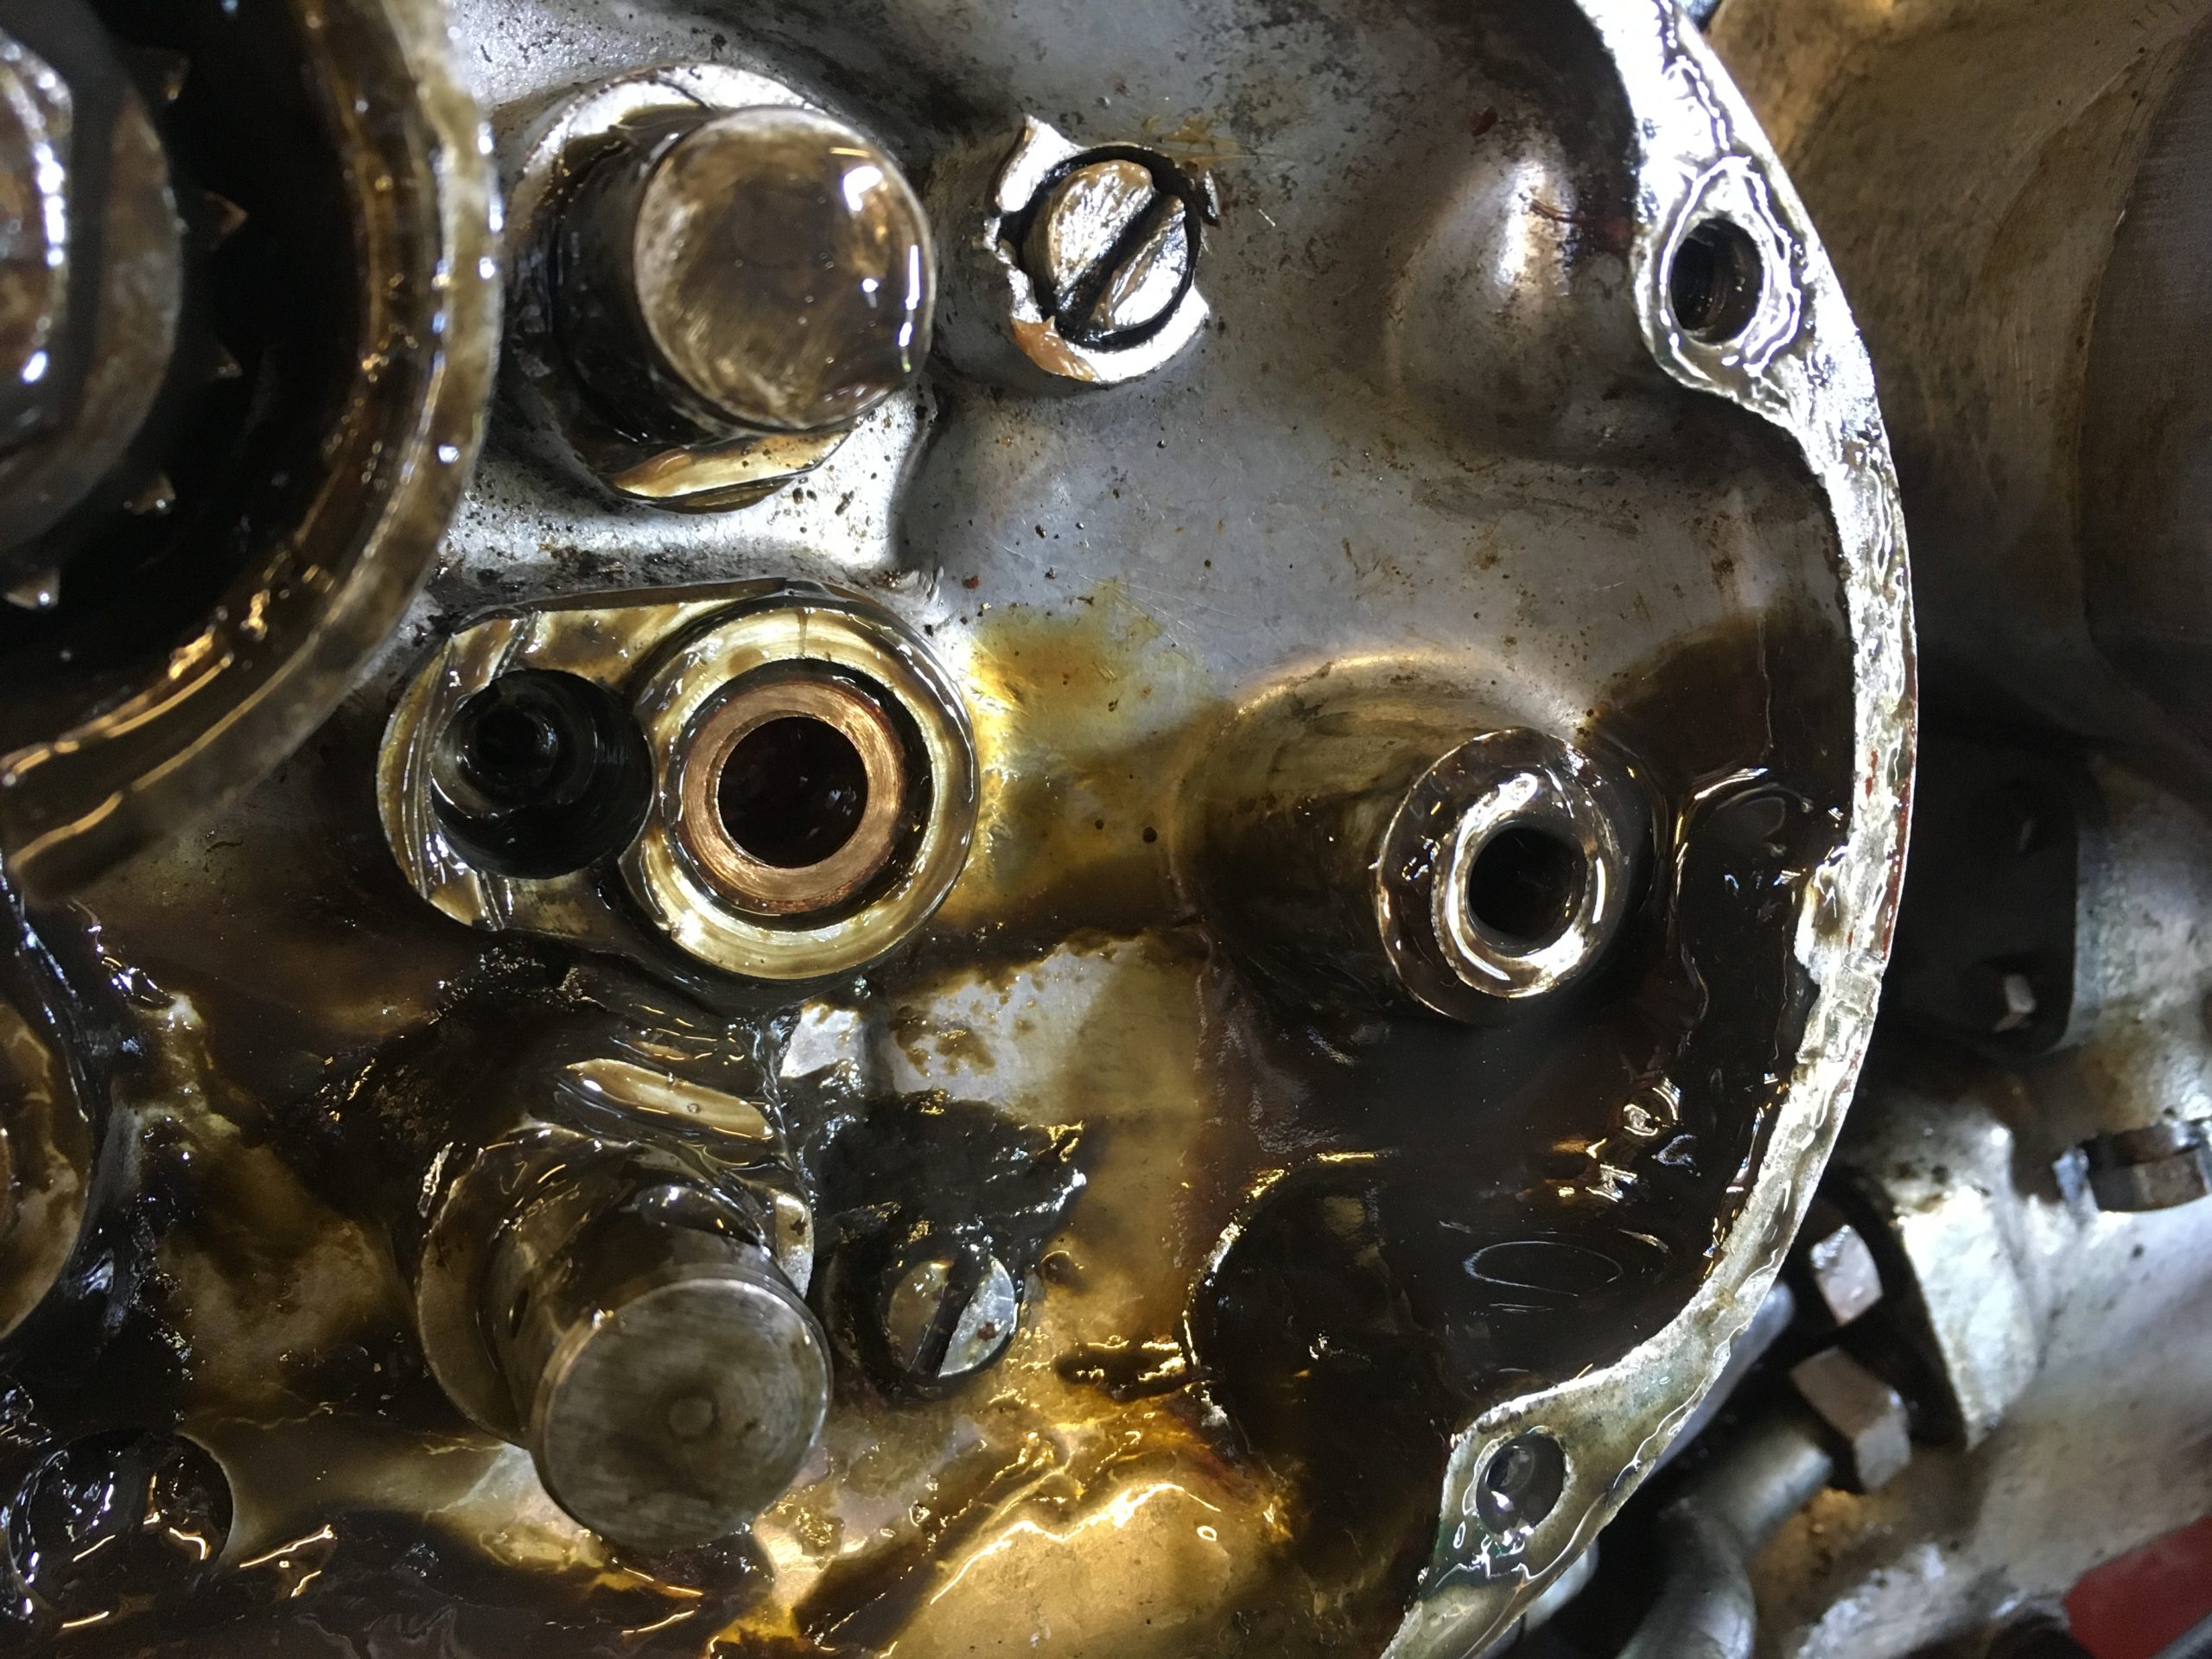
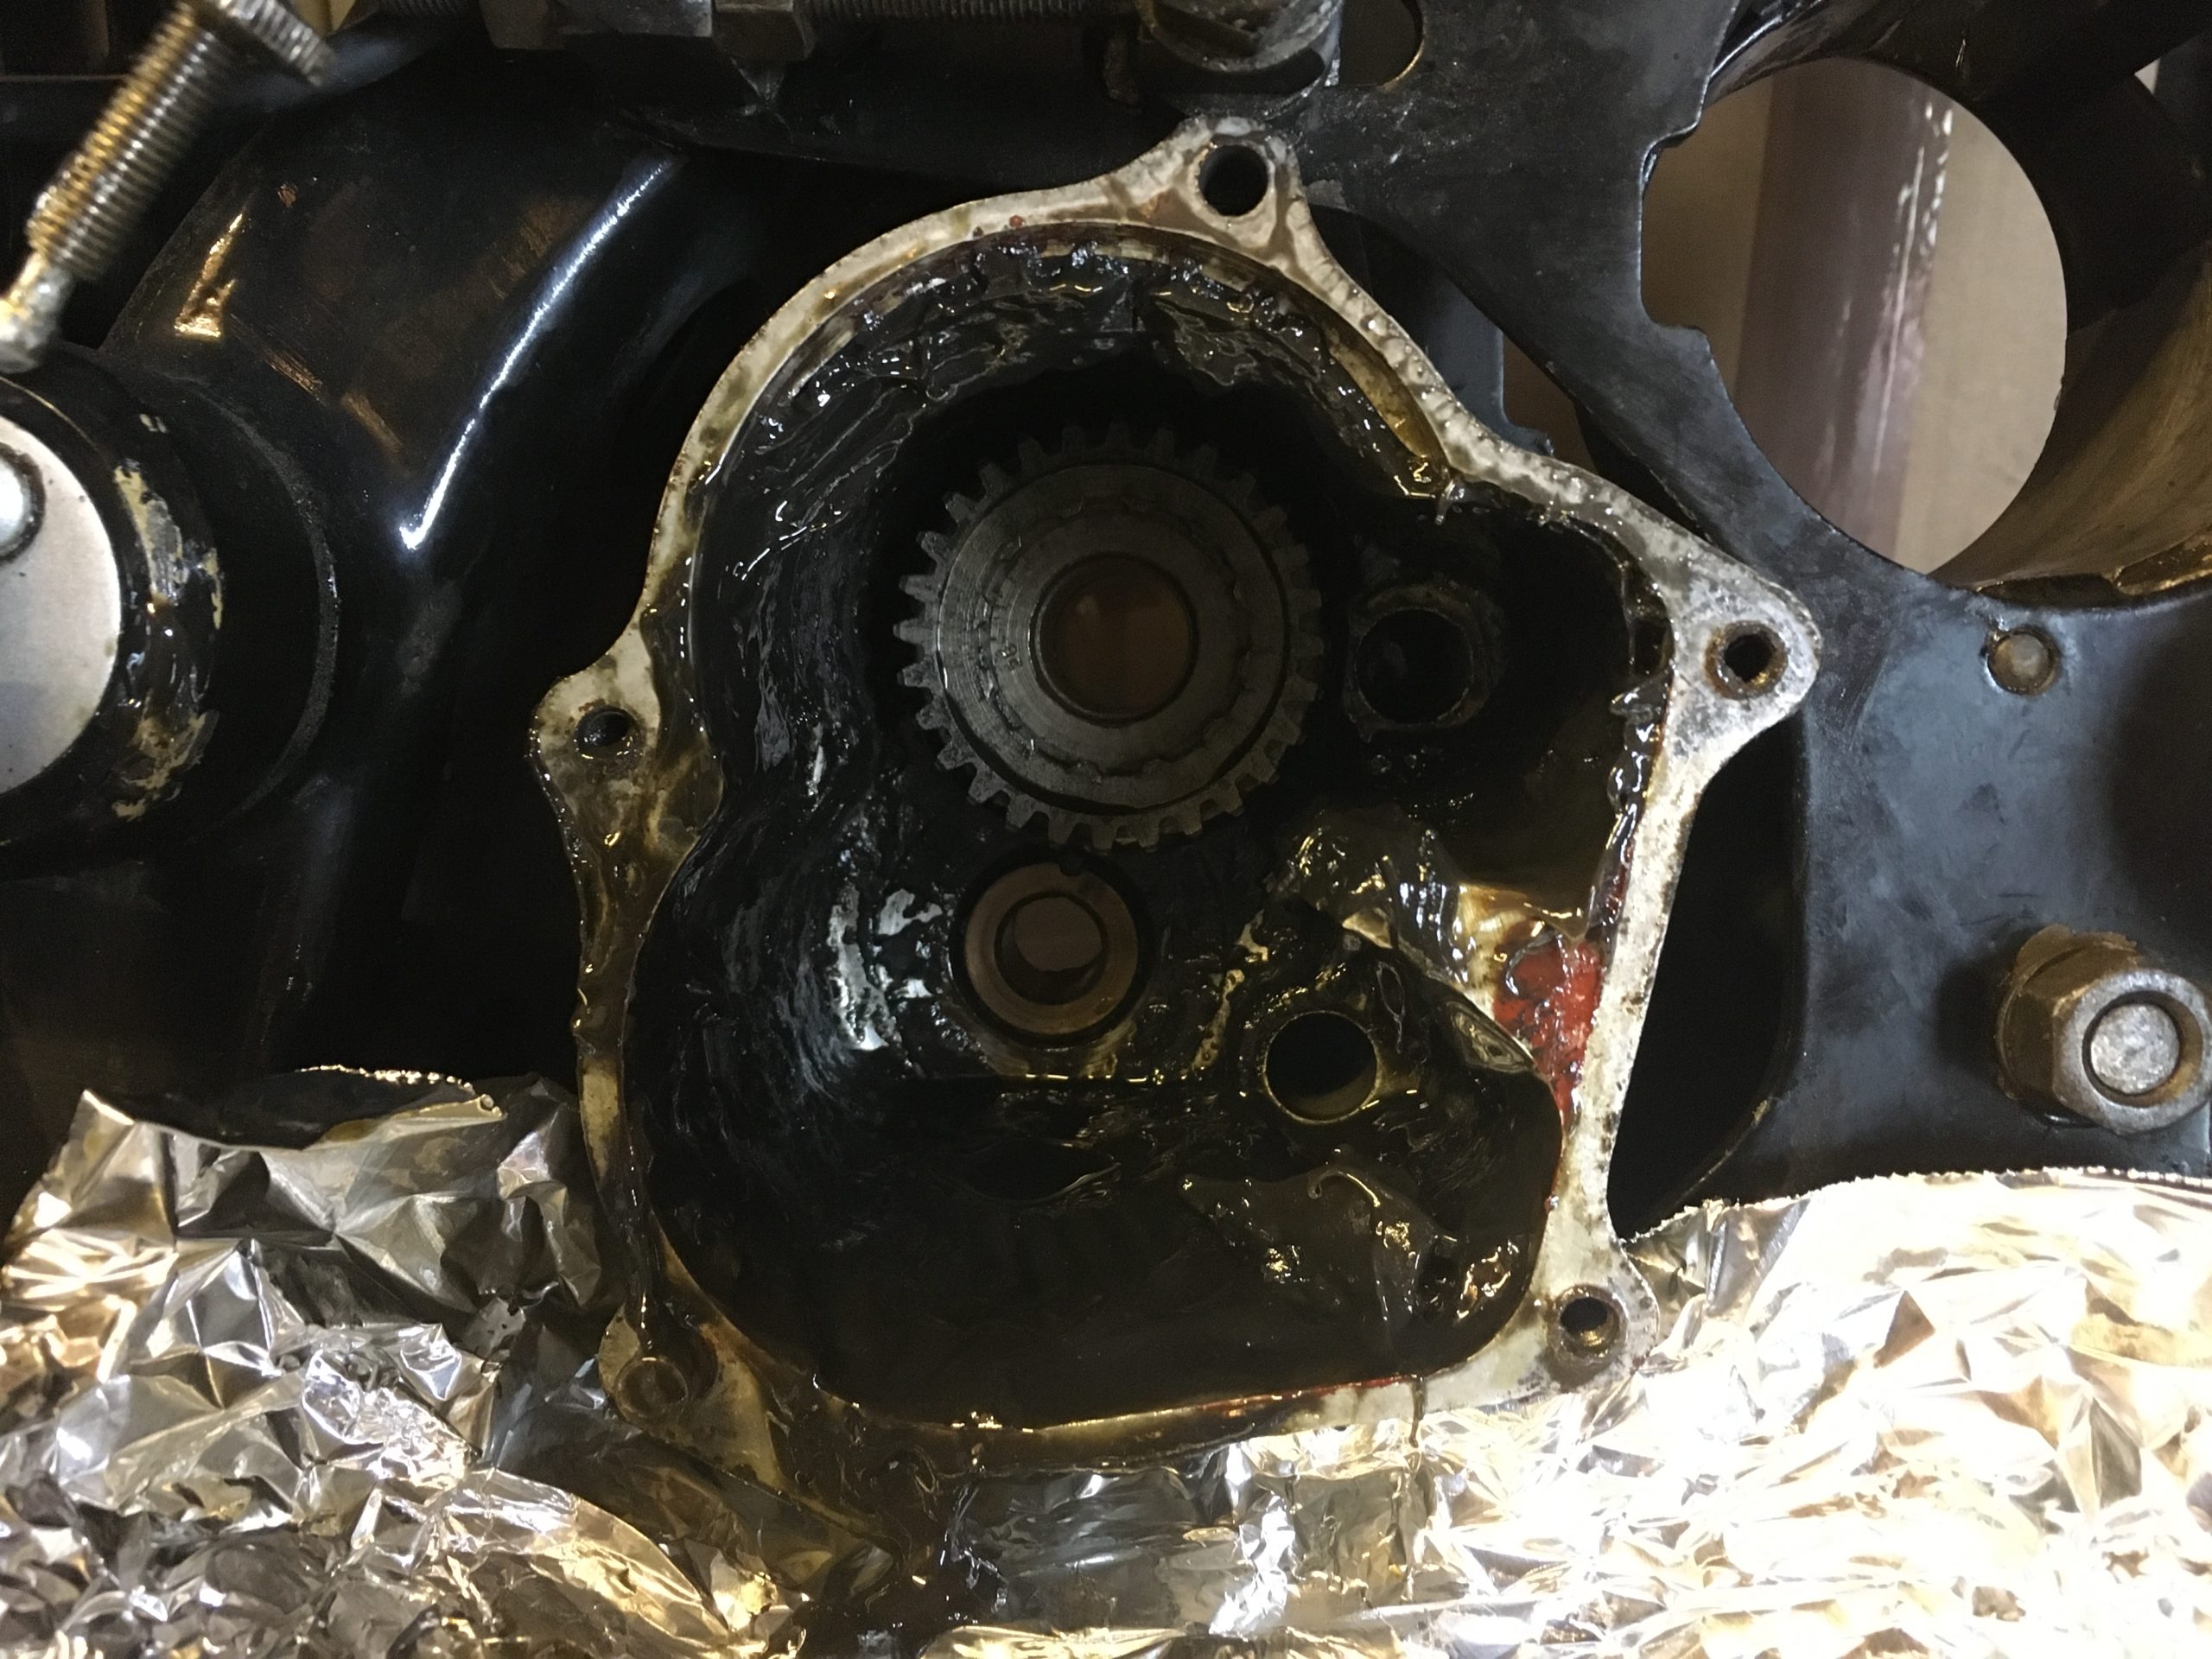
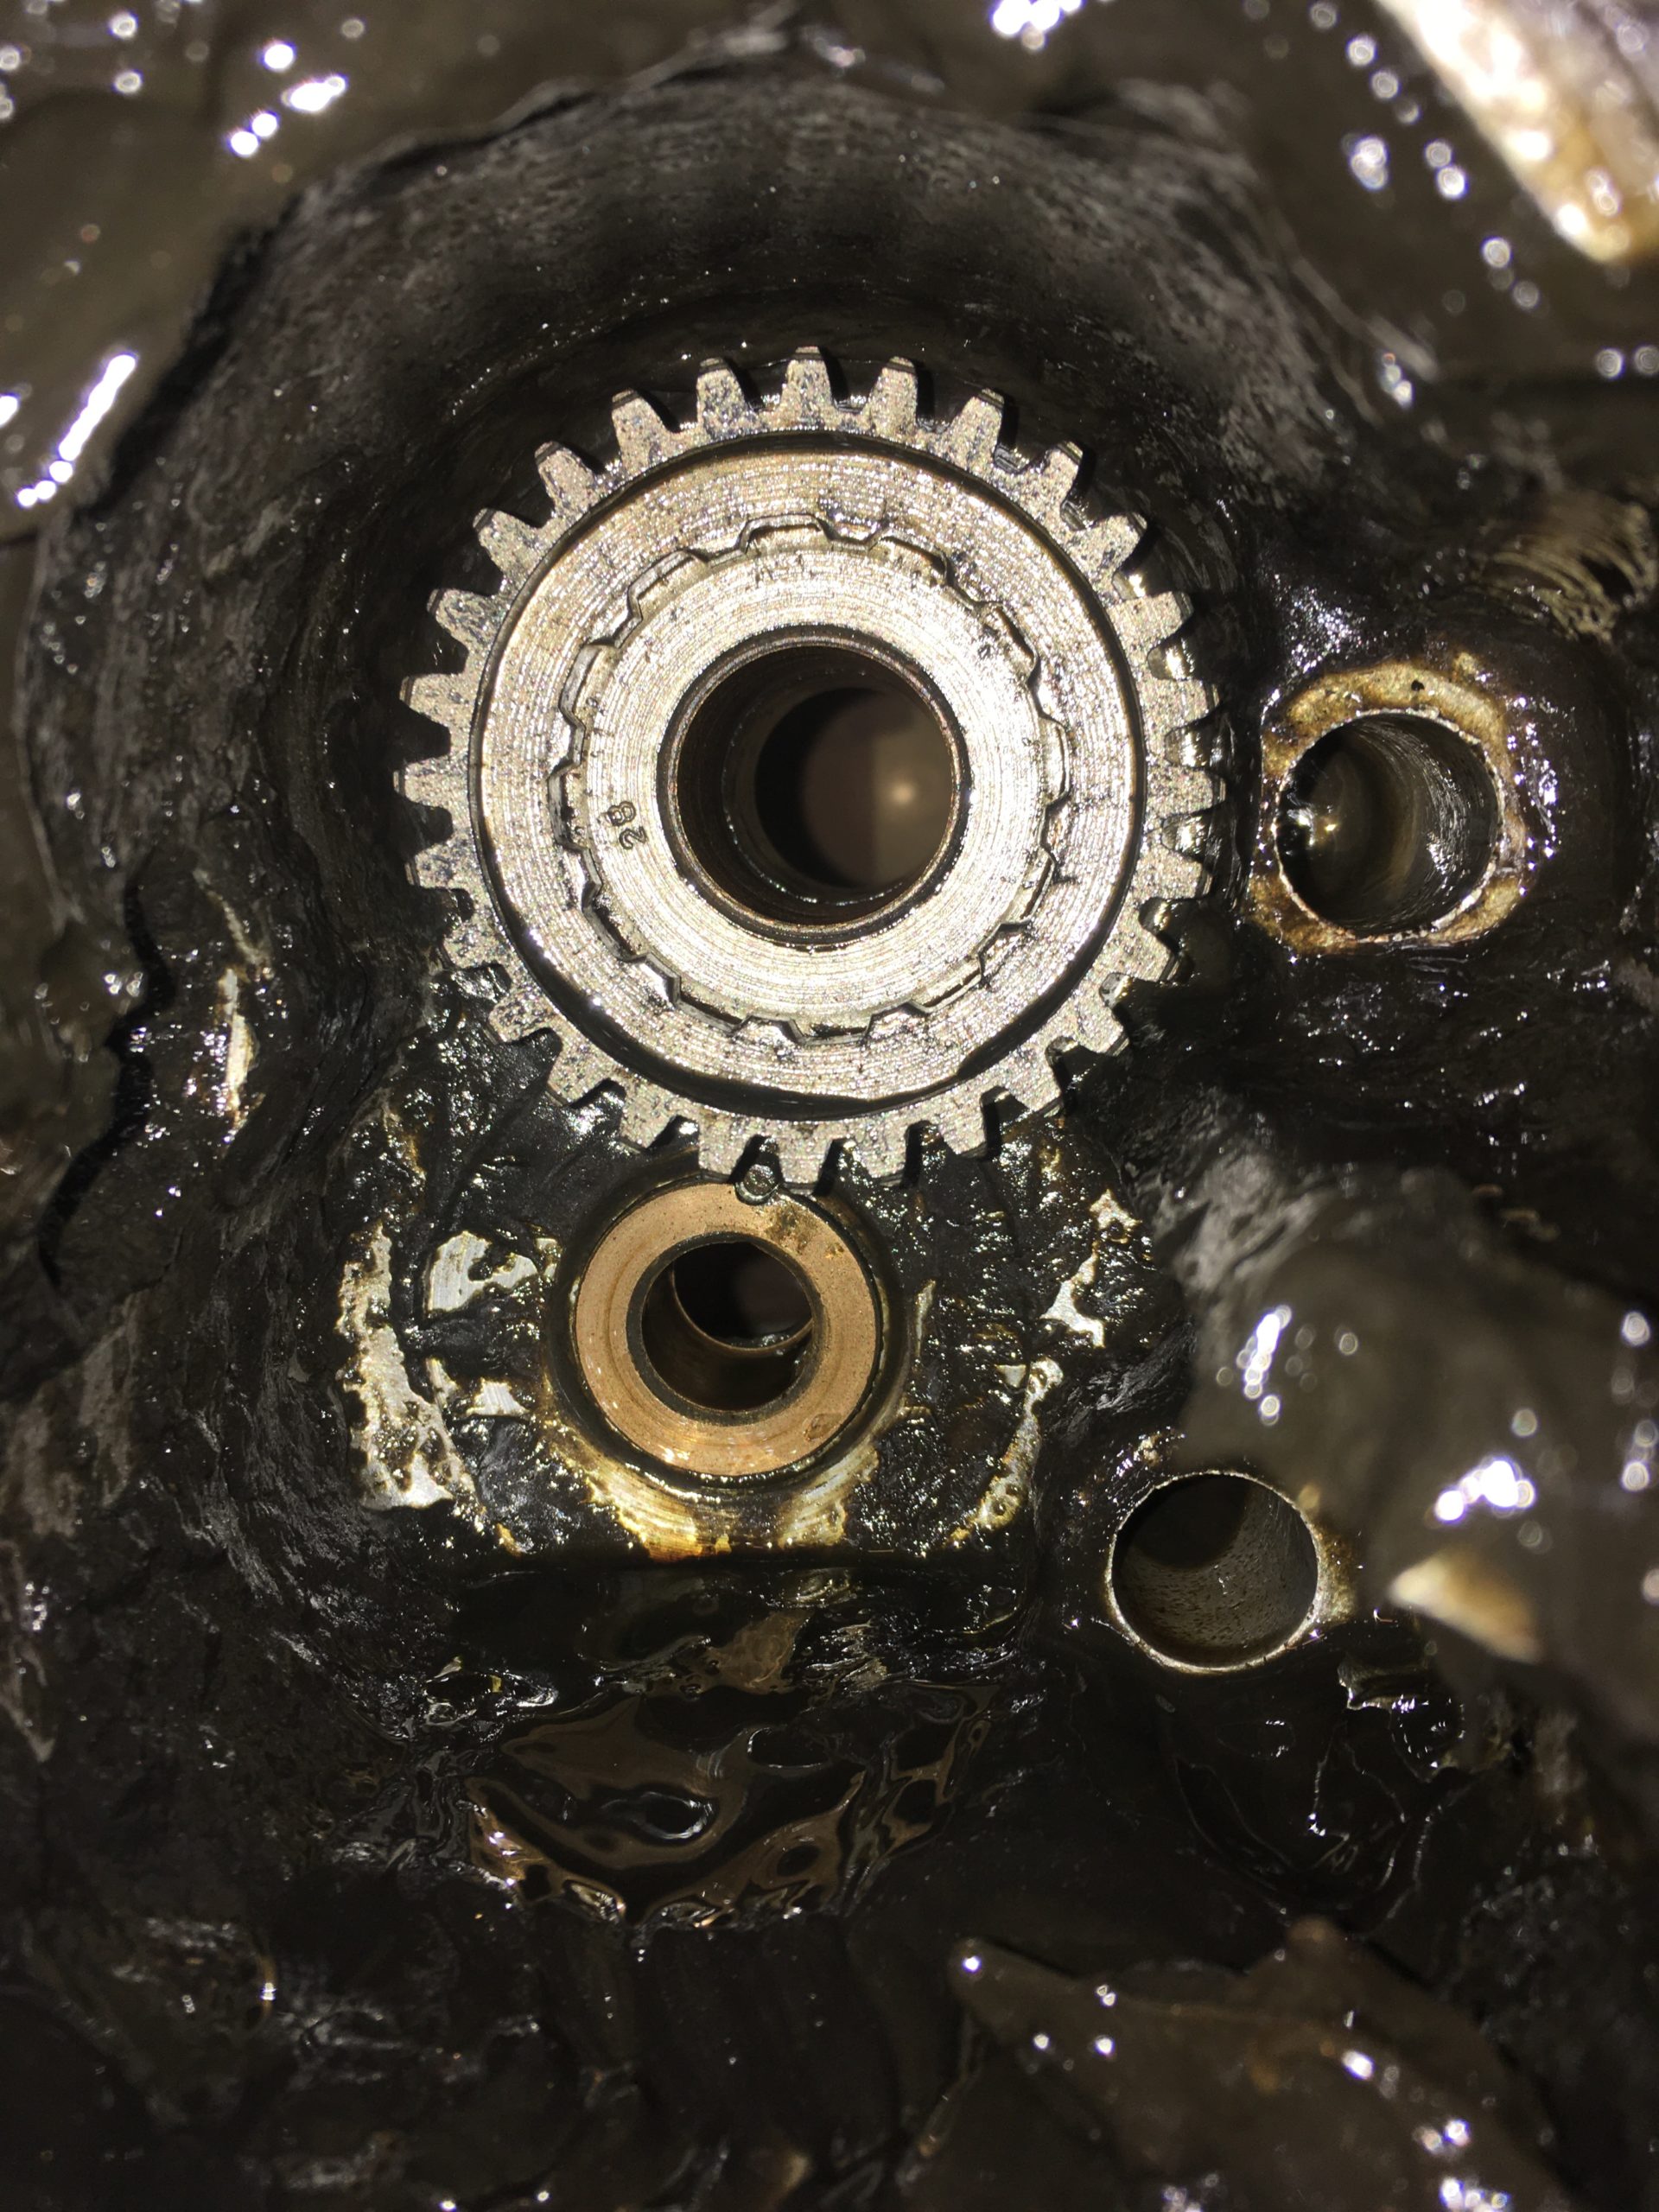

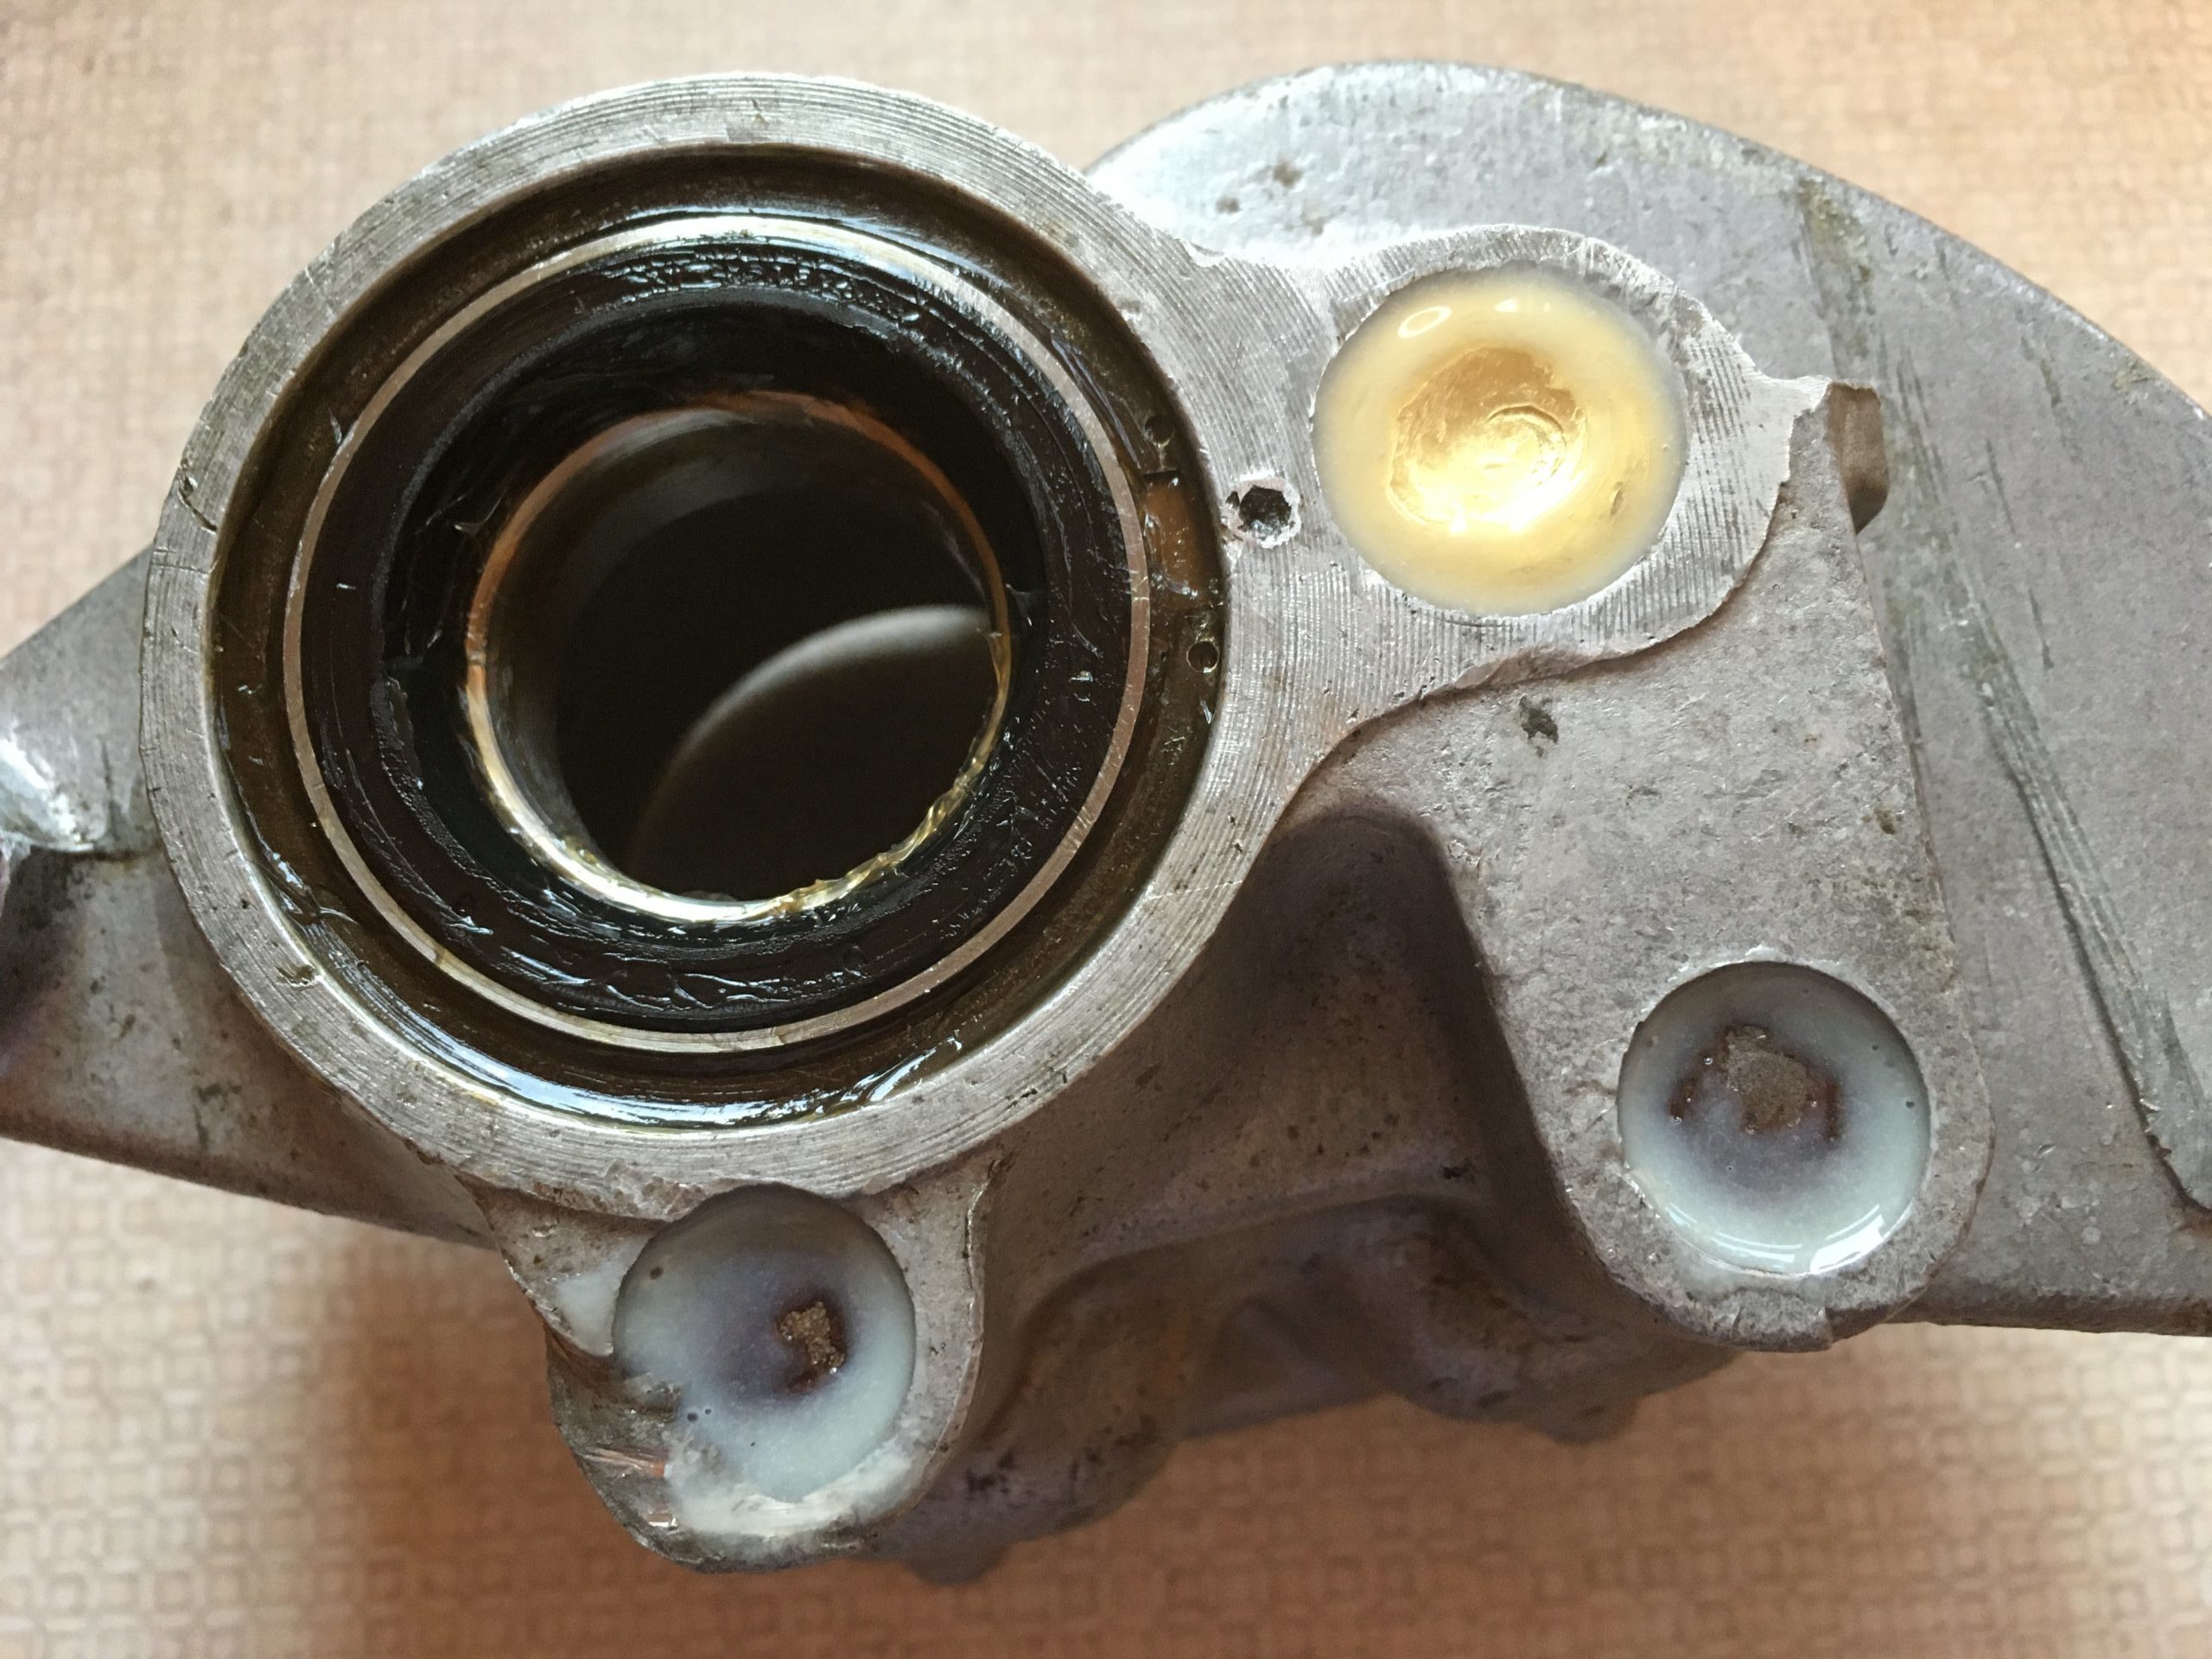
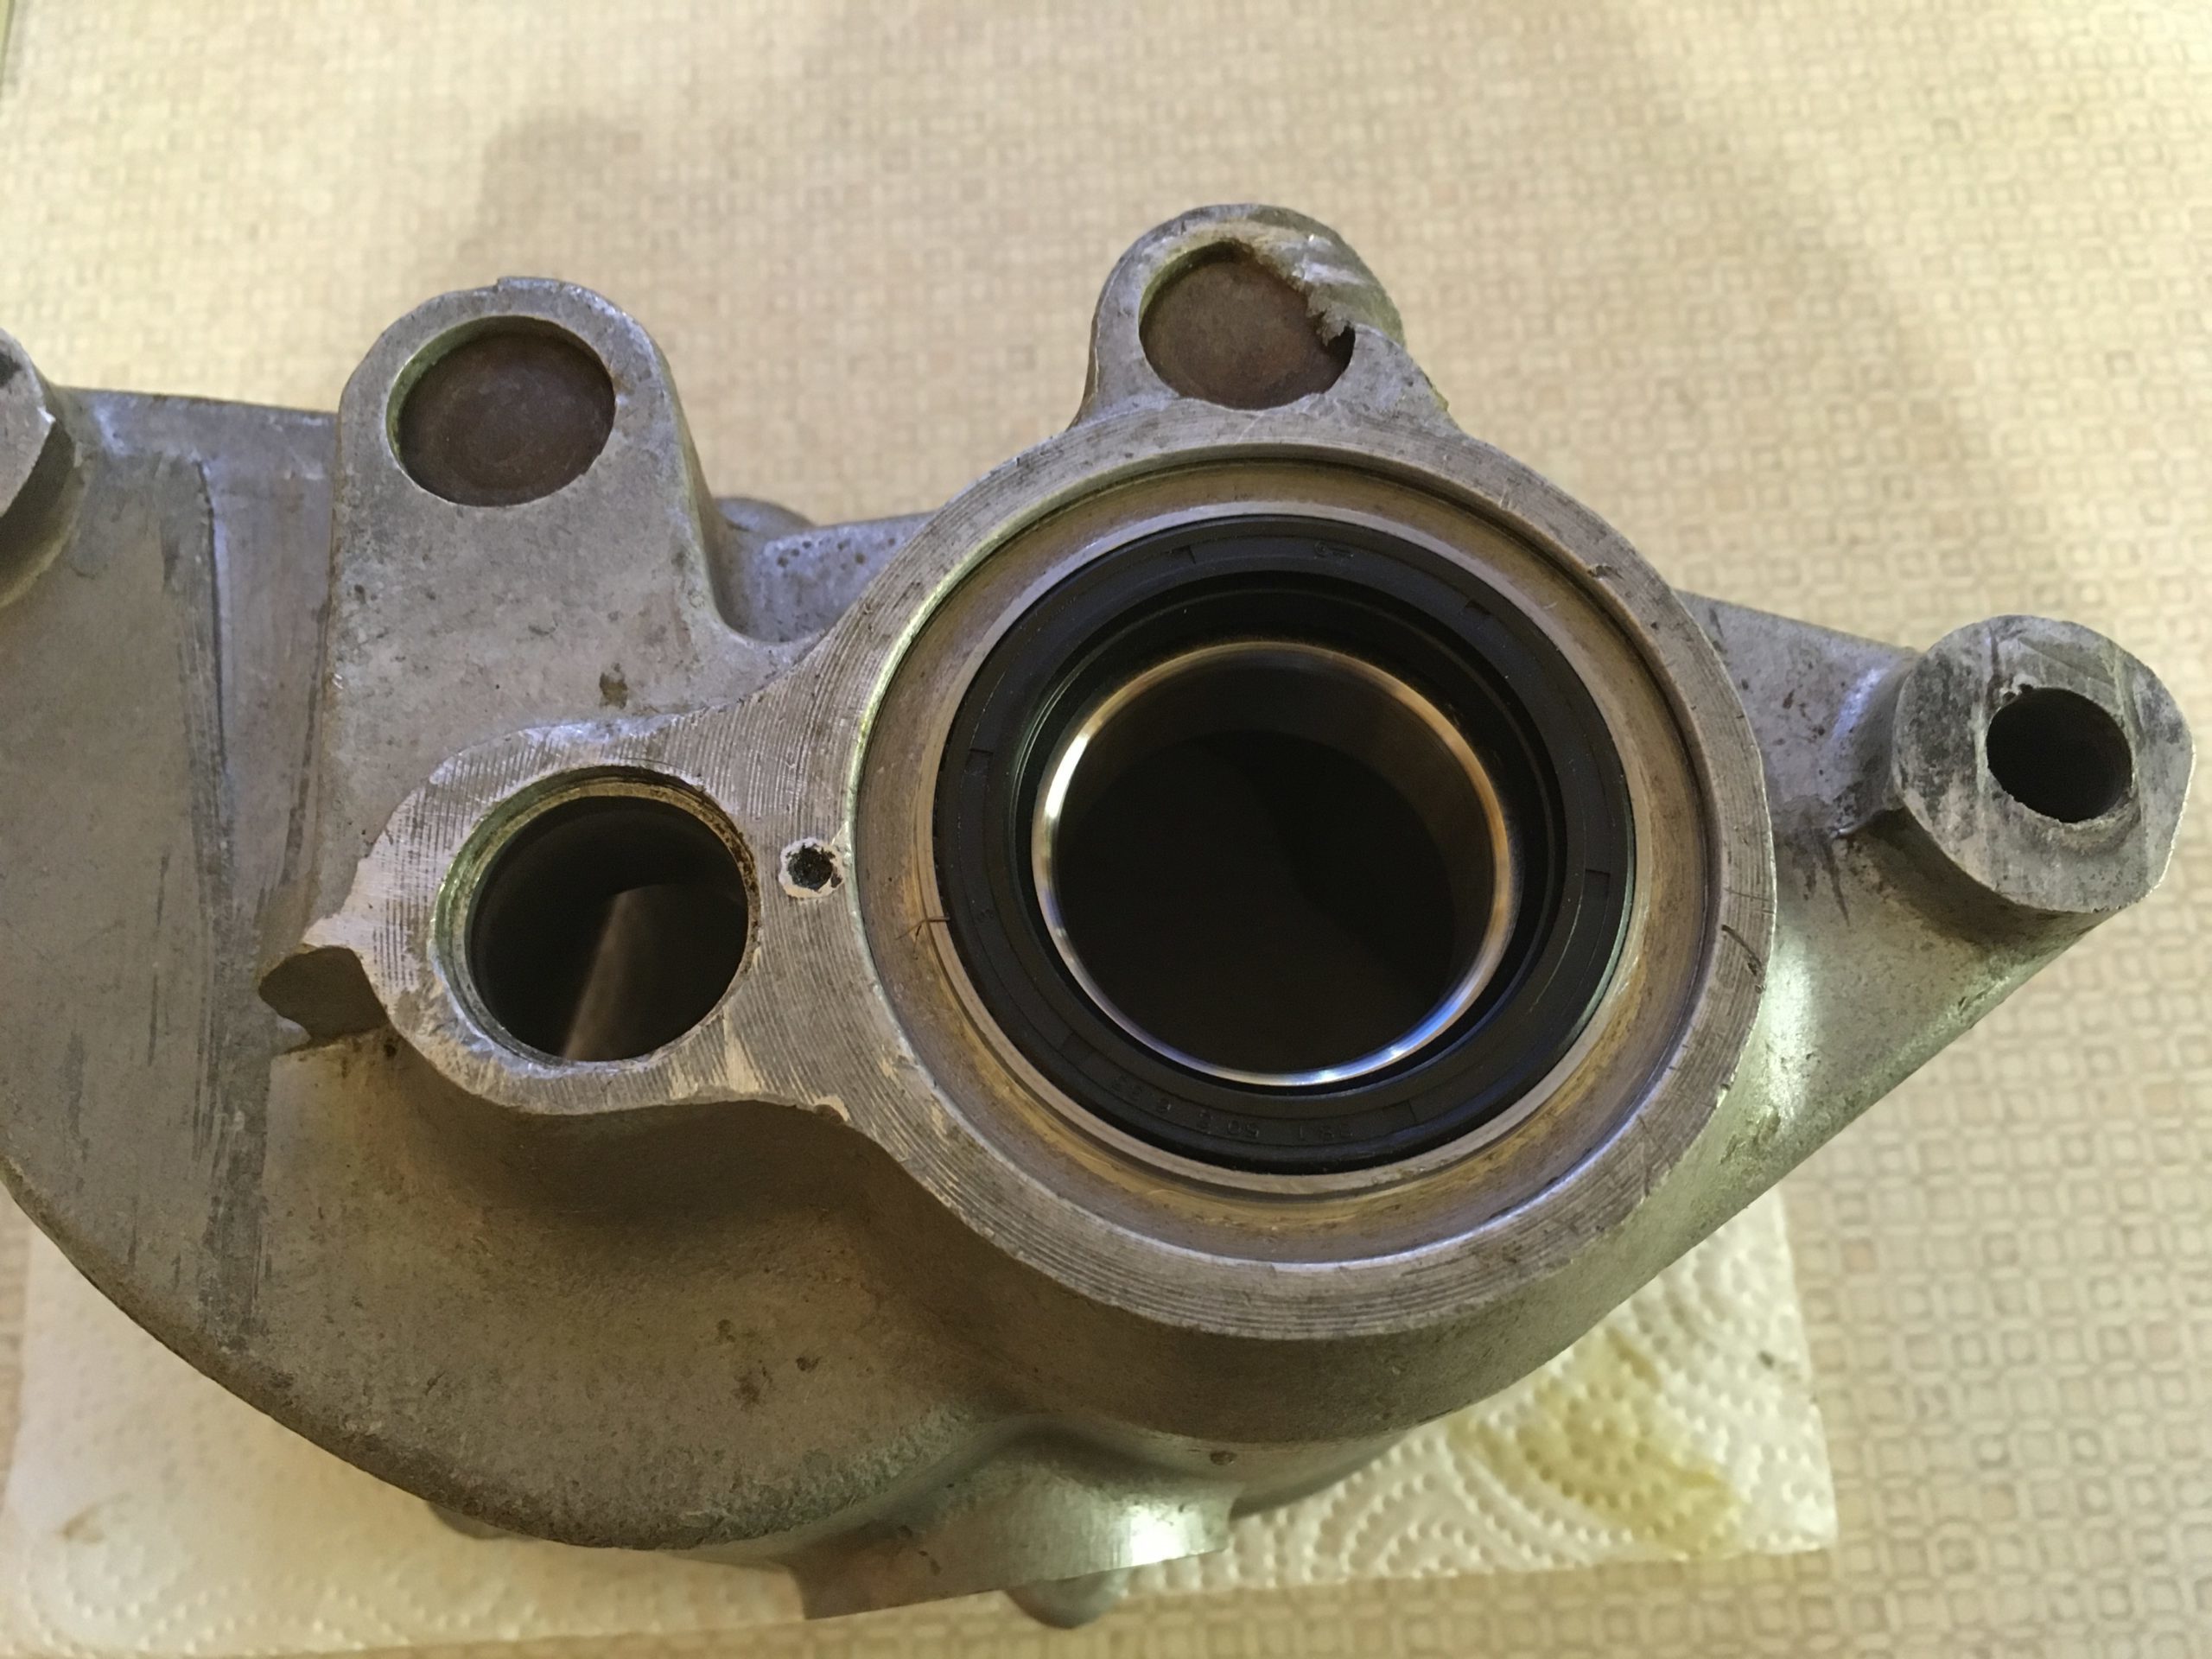
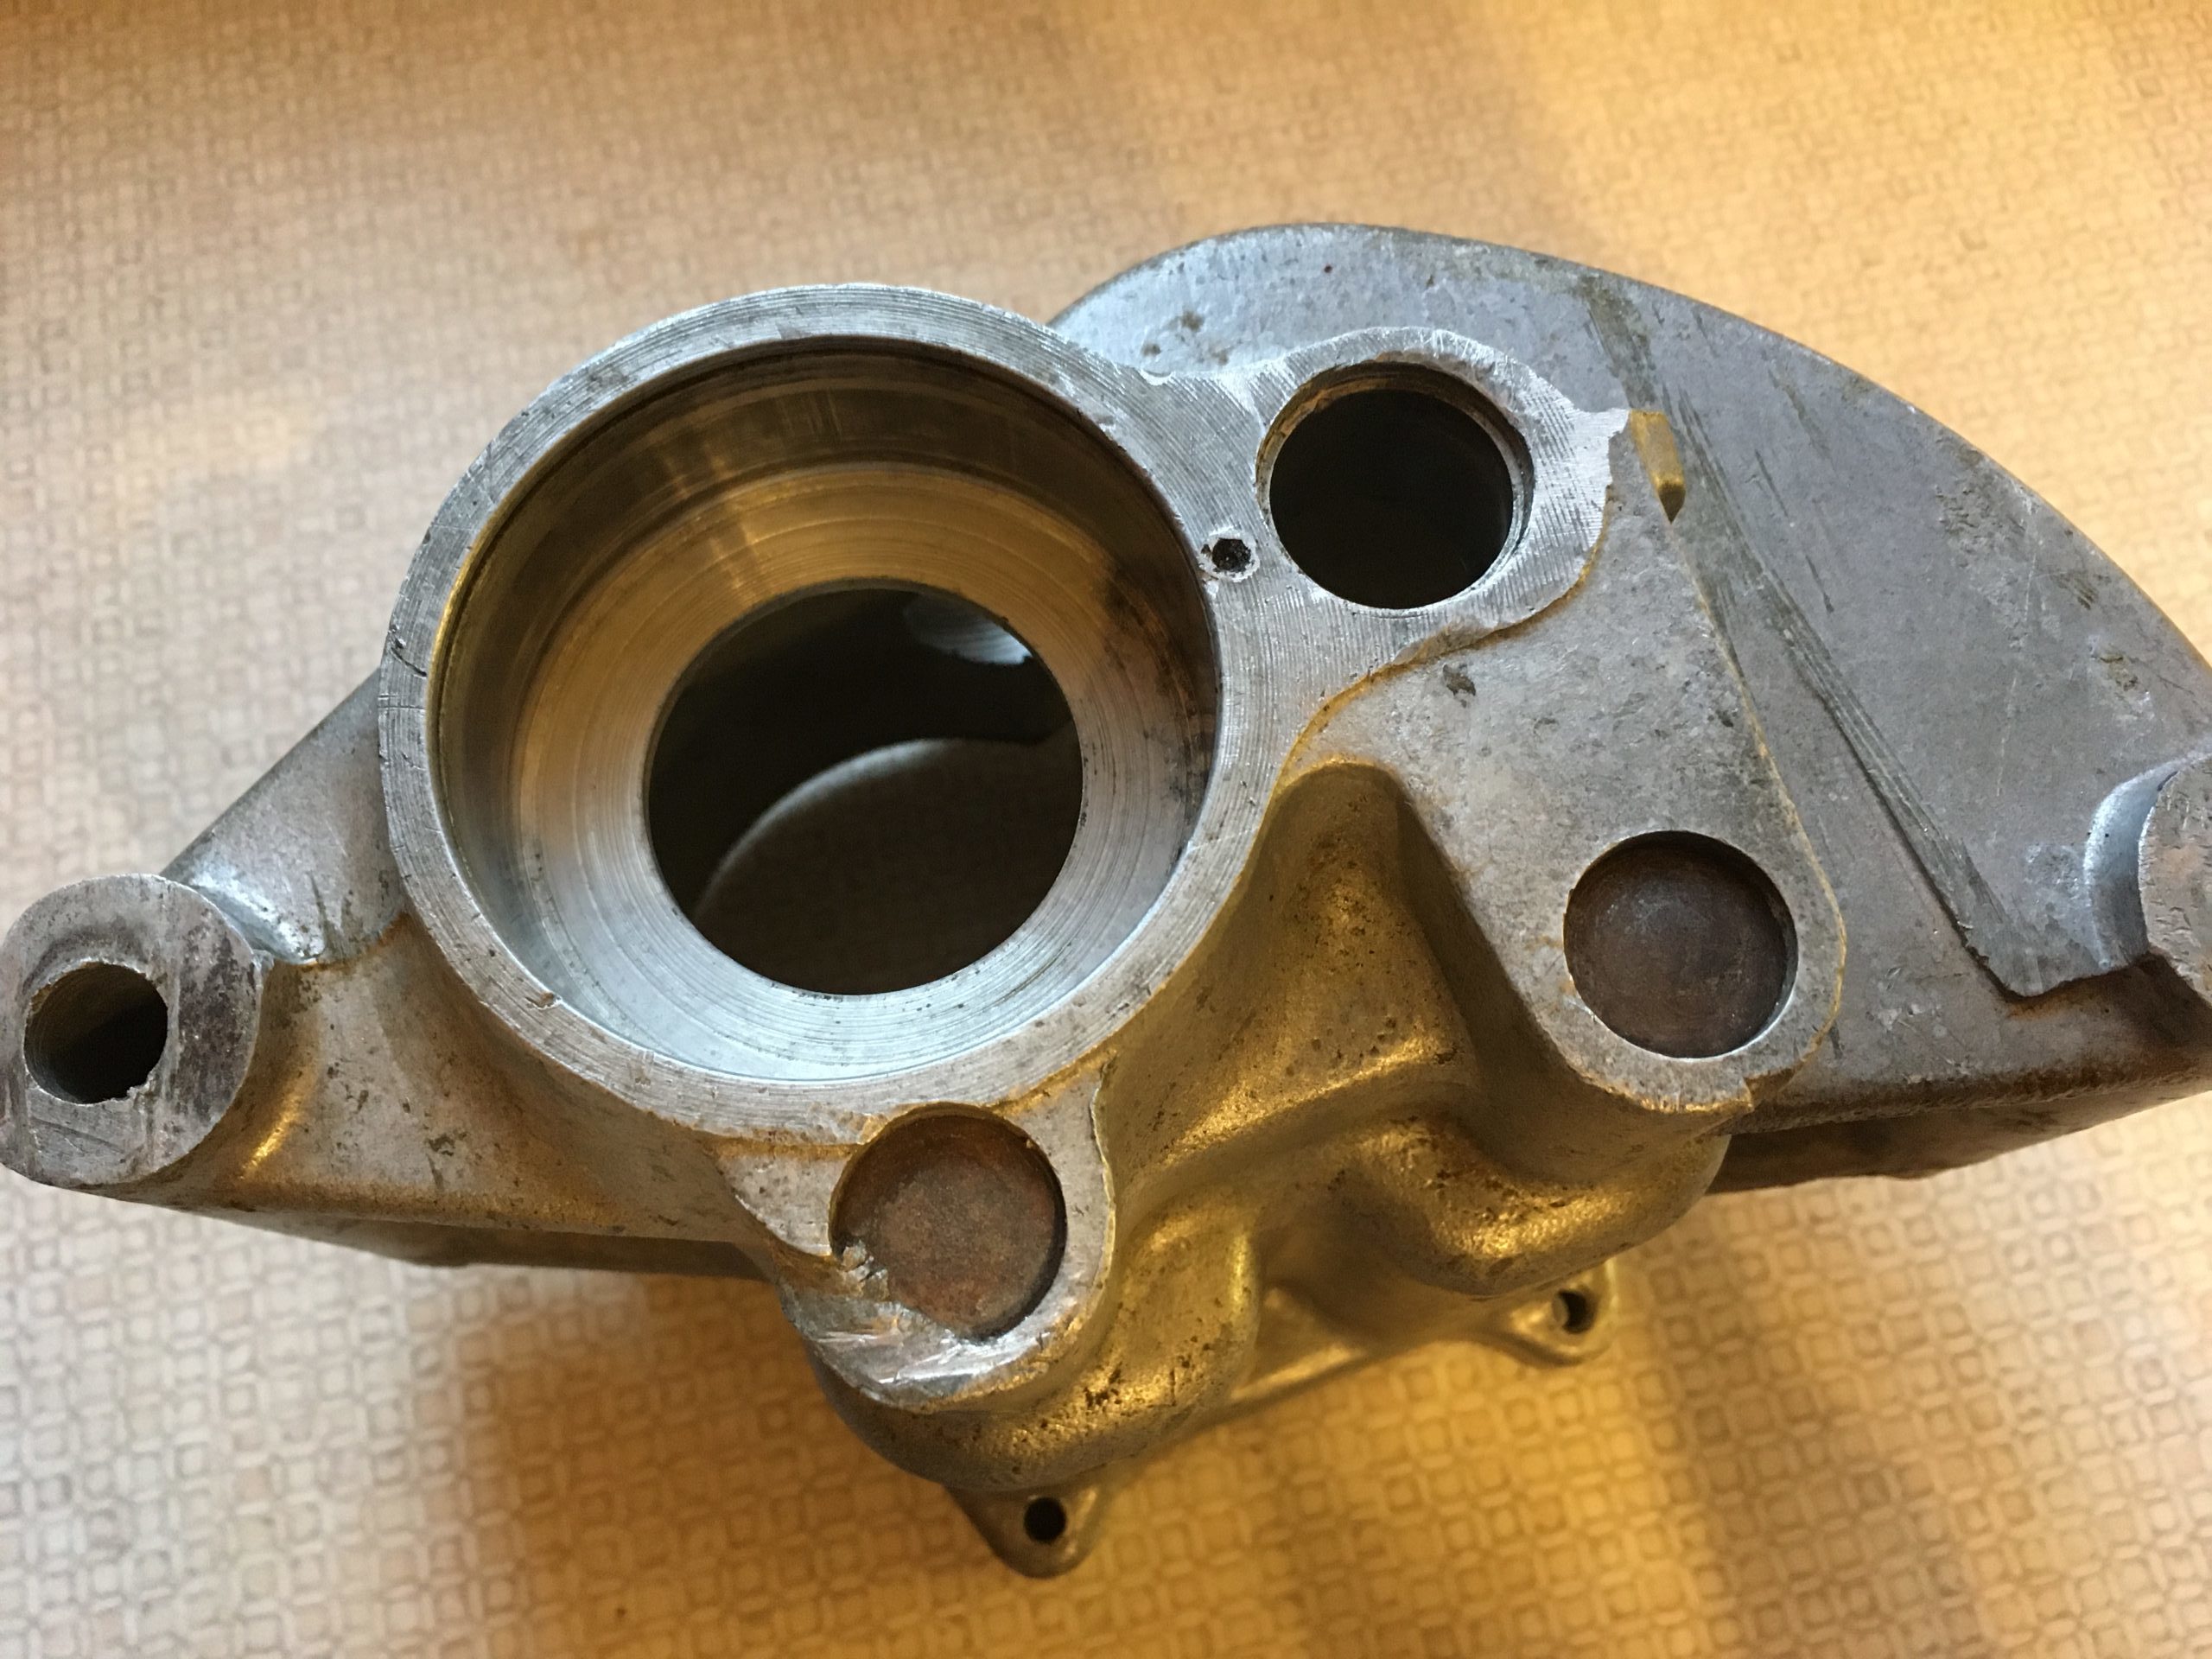
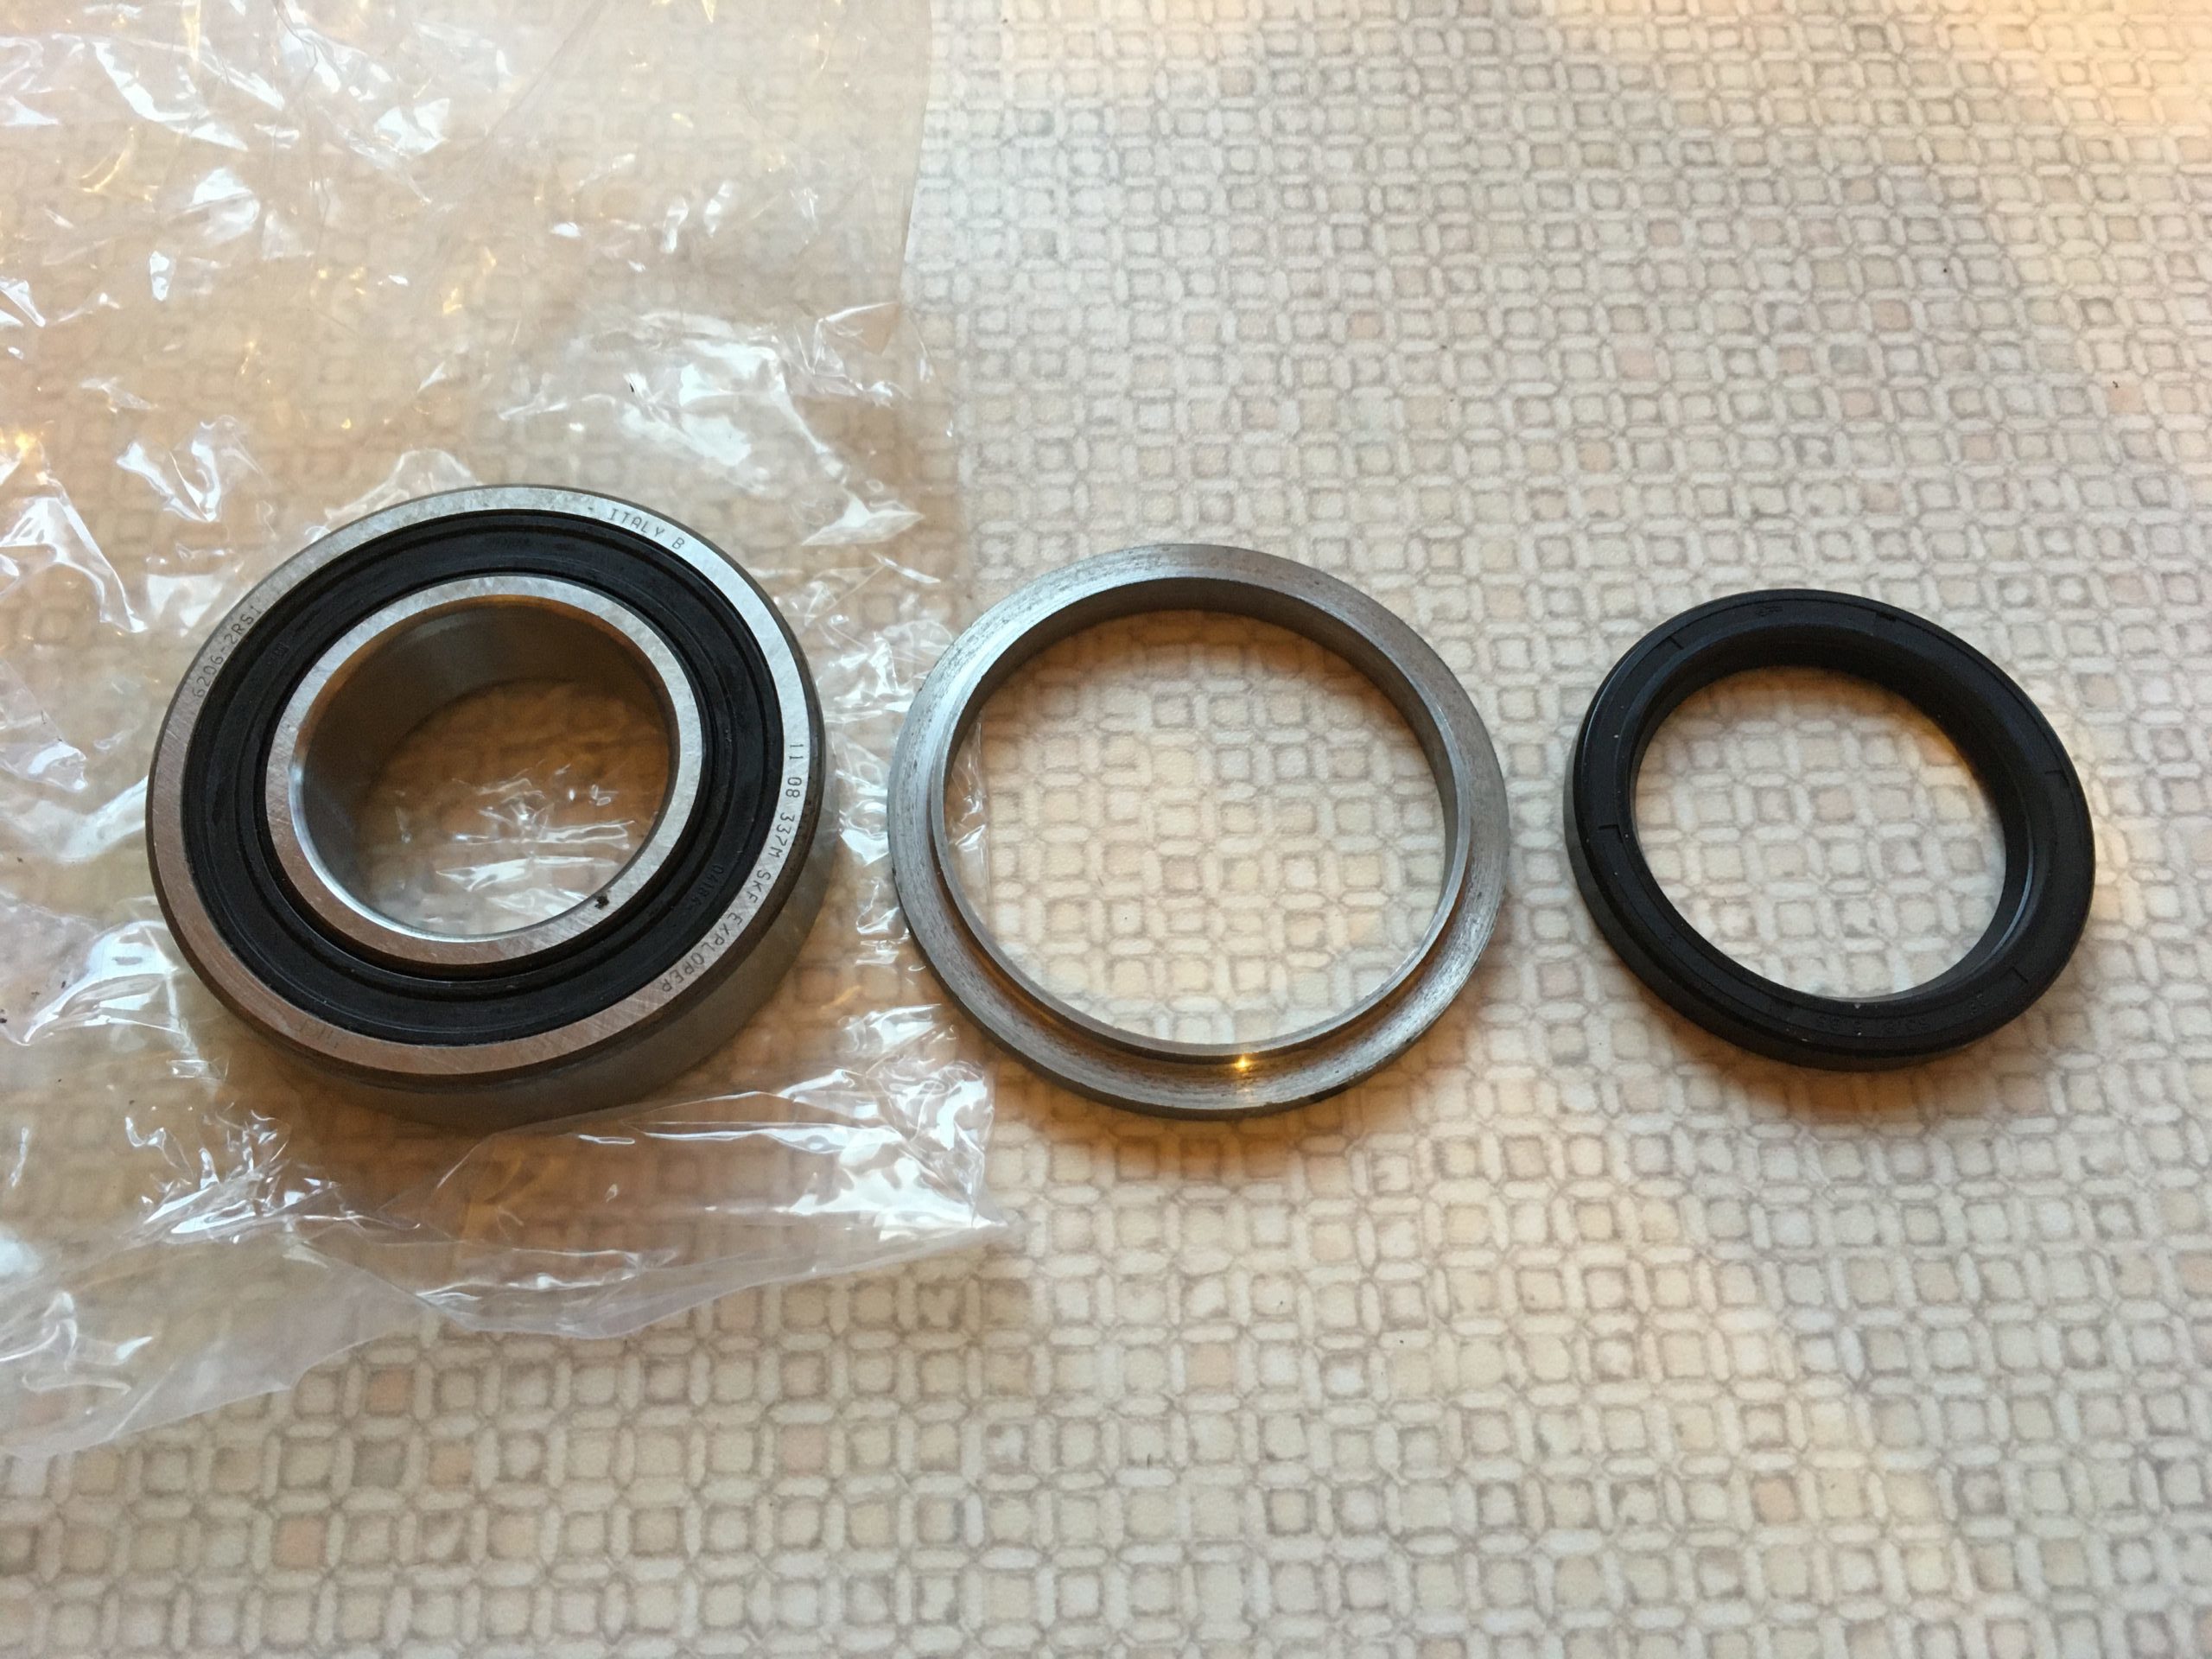
Once all the black gunge was cleaned out, the whole situation was assessed. The main bearing at the drive end was very noisy, so both it and its friend at the other end were changed. The clean and dry gearbox casings were heated in my oven to about 100 degrees at which point the old bearings were easy to push out. The bearing seats were cleaned, the casings were returned to the oven and the bearings popped in the freezer. They pretty much dropped in and were allowed to cool before the seals were fitted. The new bearings came from the AJS and Matchless Owners Club and are to be used ‘as-is’. It isn’t necessary to prise out the inner side seal to allow the oil in. The drive side layshaft bush was worn out and replaced…and you will notice that the adjacent core plug is missing. Judging by the marks around the hole, it’s been missing since well before the original restoration…oops cuz.
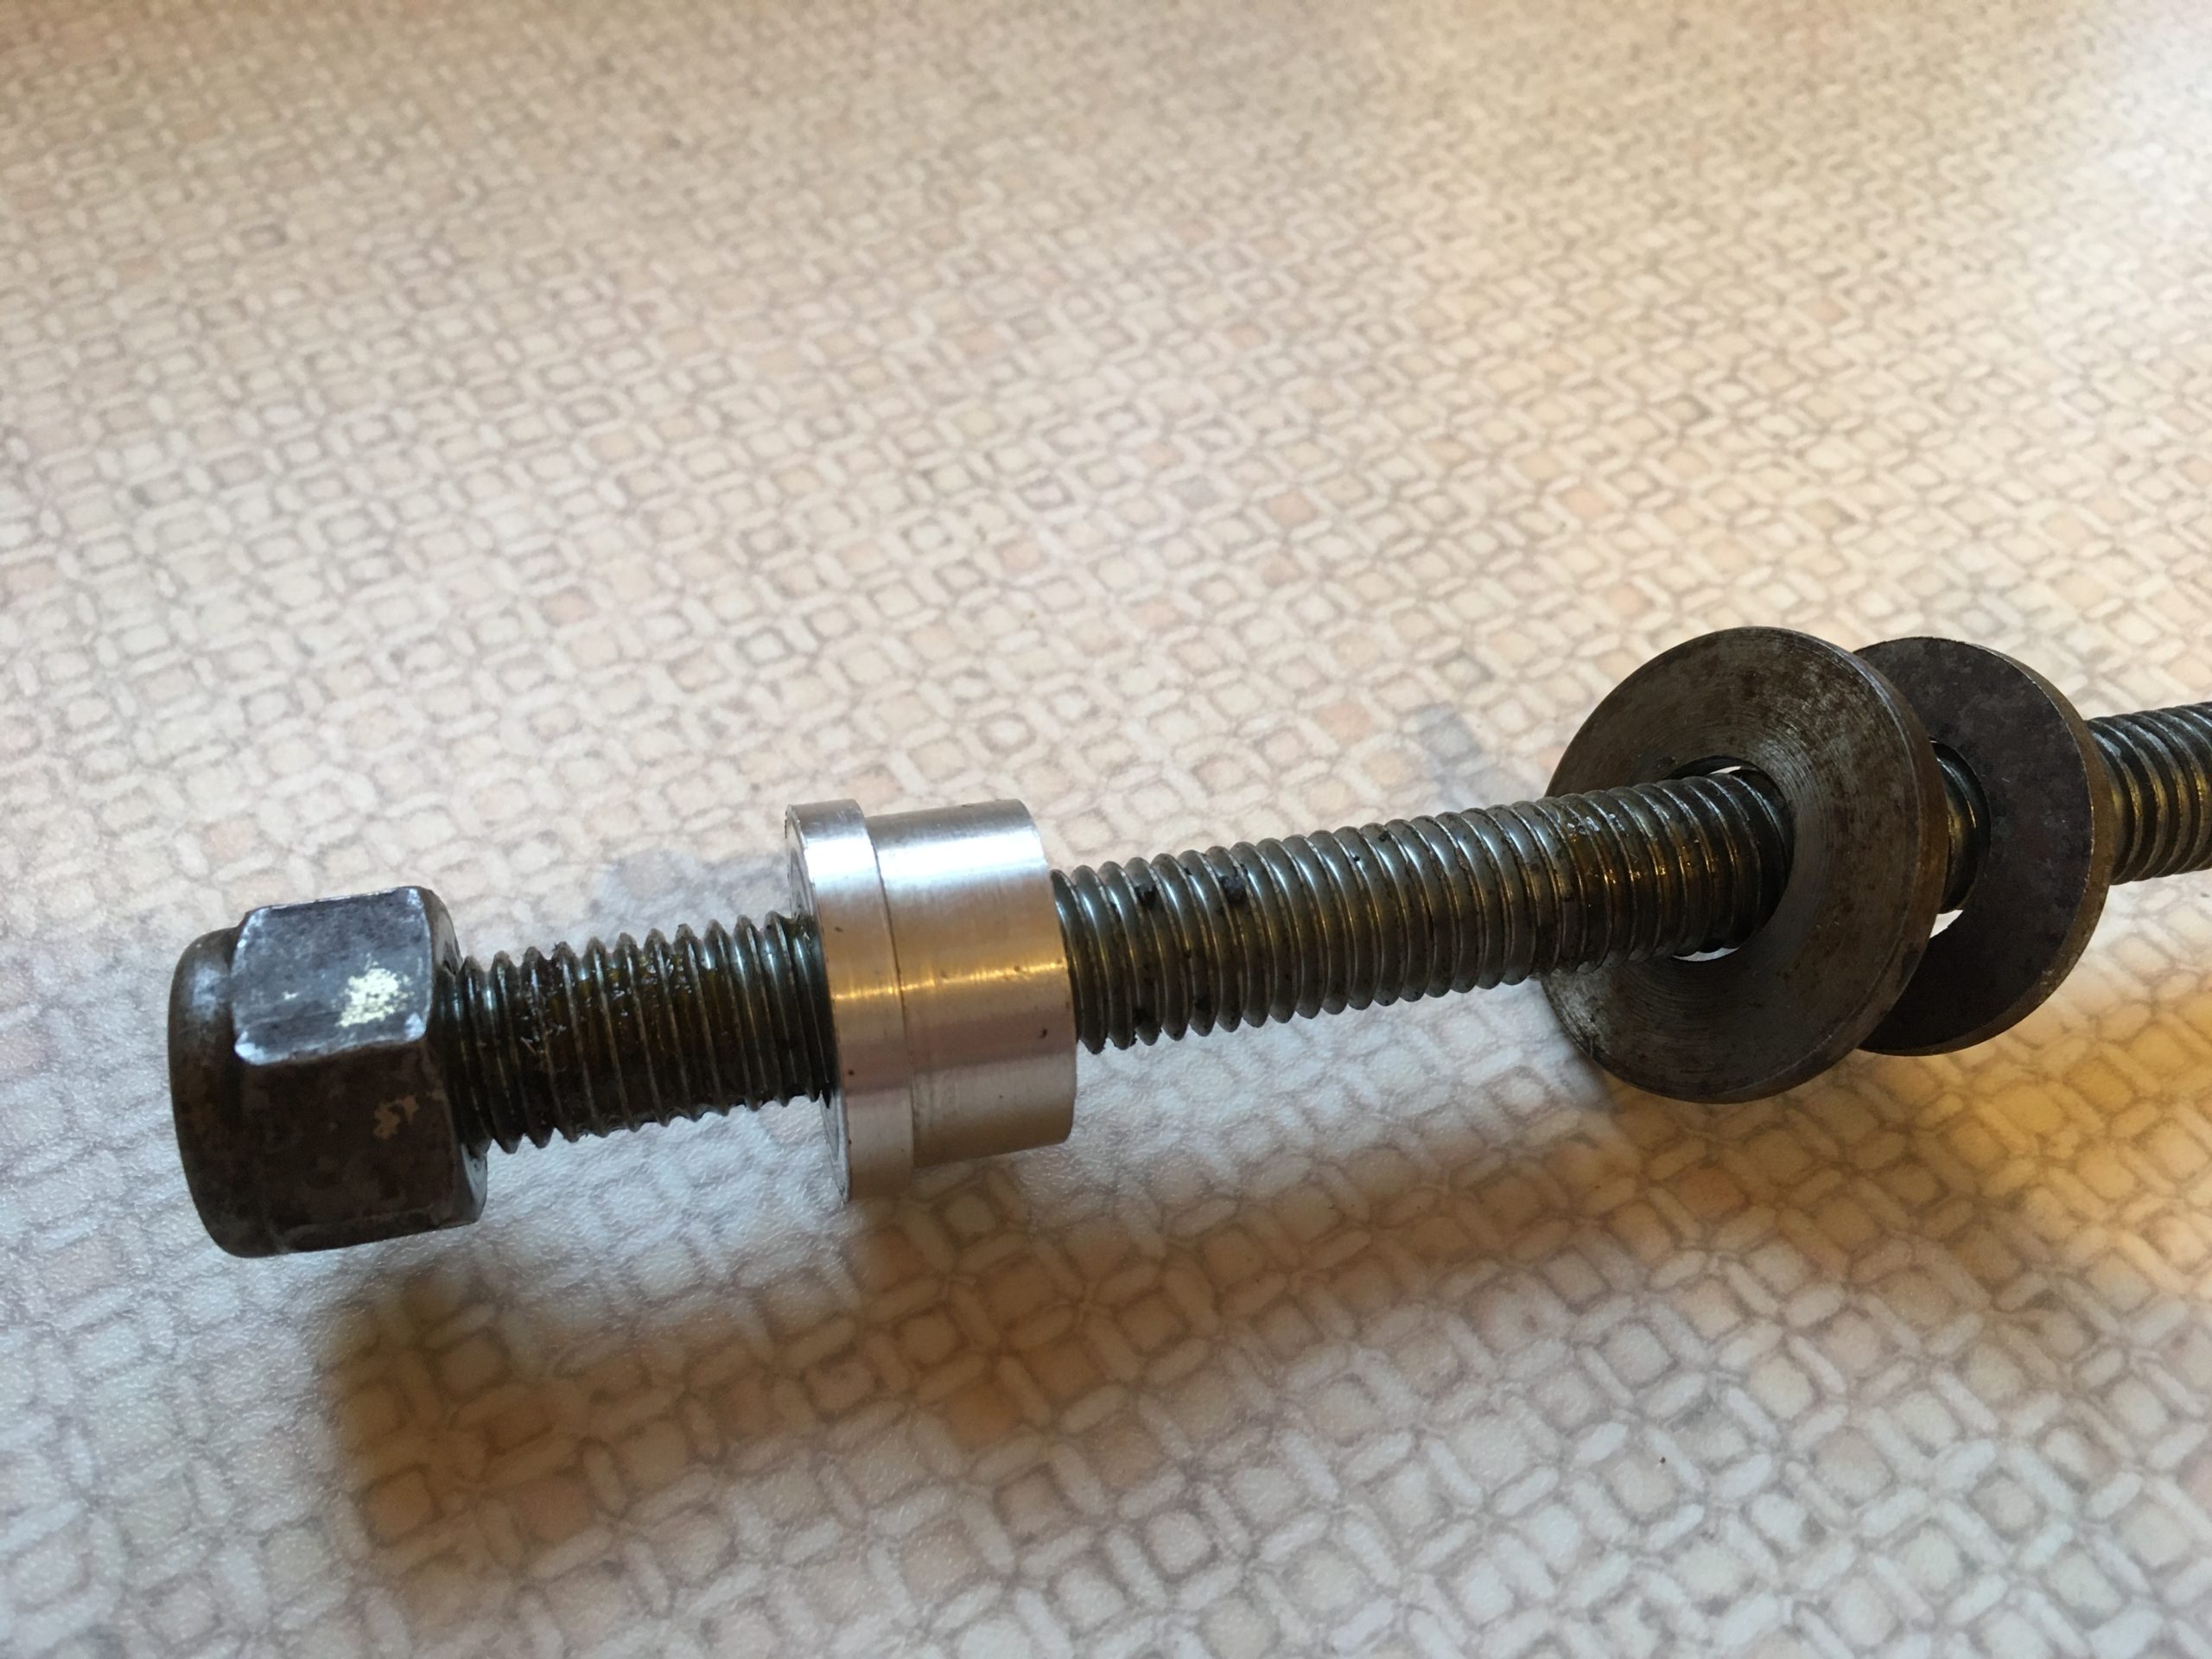
The tool I designed to replace the sleeve bushes
The two sleeve bushes on the mainshaft were replaced too. The originals were well worn and had some strange pitting inside; I designed a tool to remove the old and refit the new bushes. Every part was carefully inspected to ensure it was good to reuse.
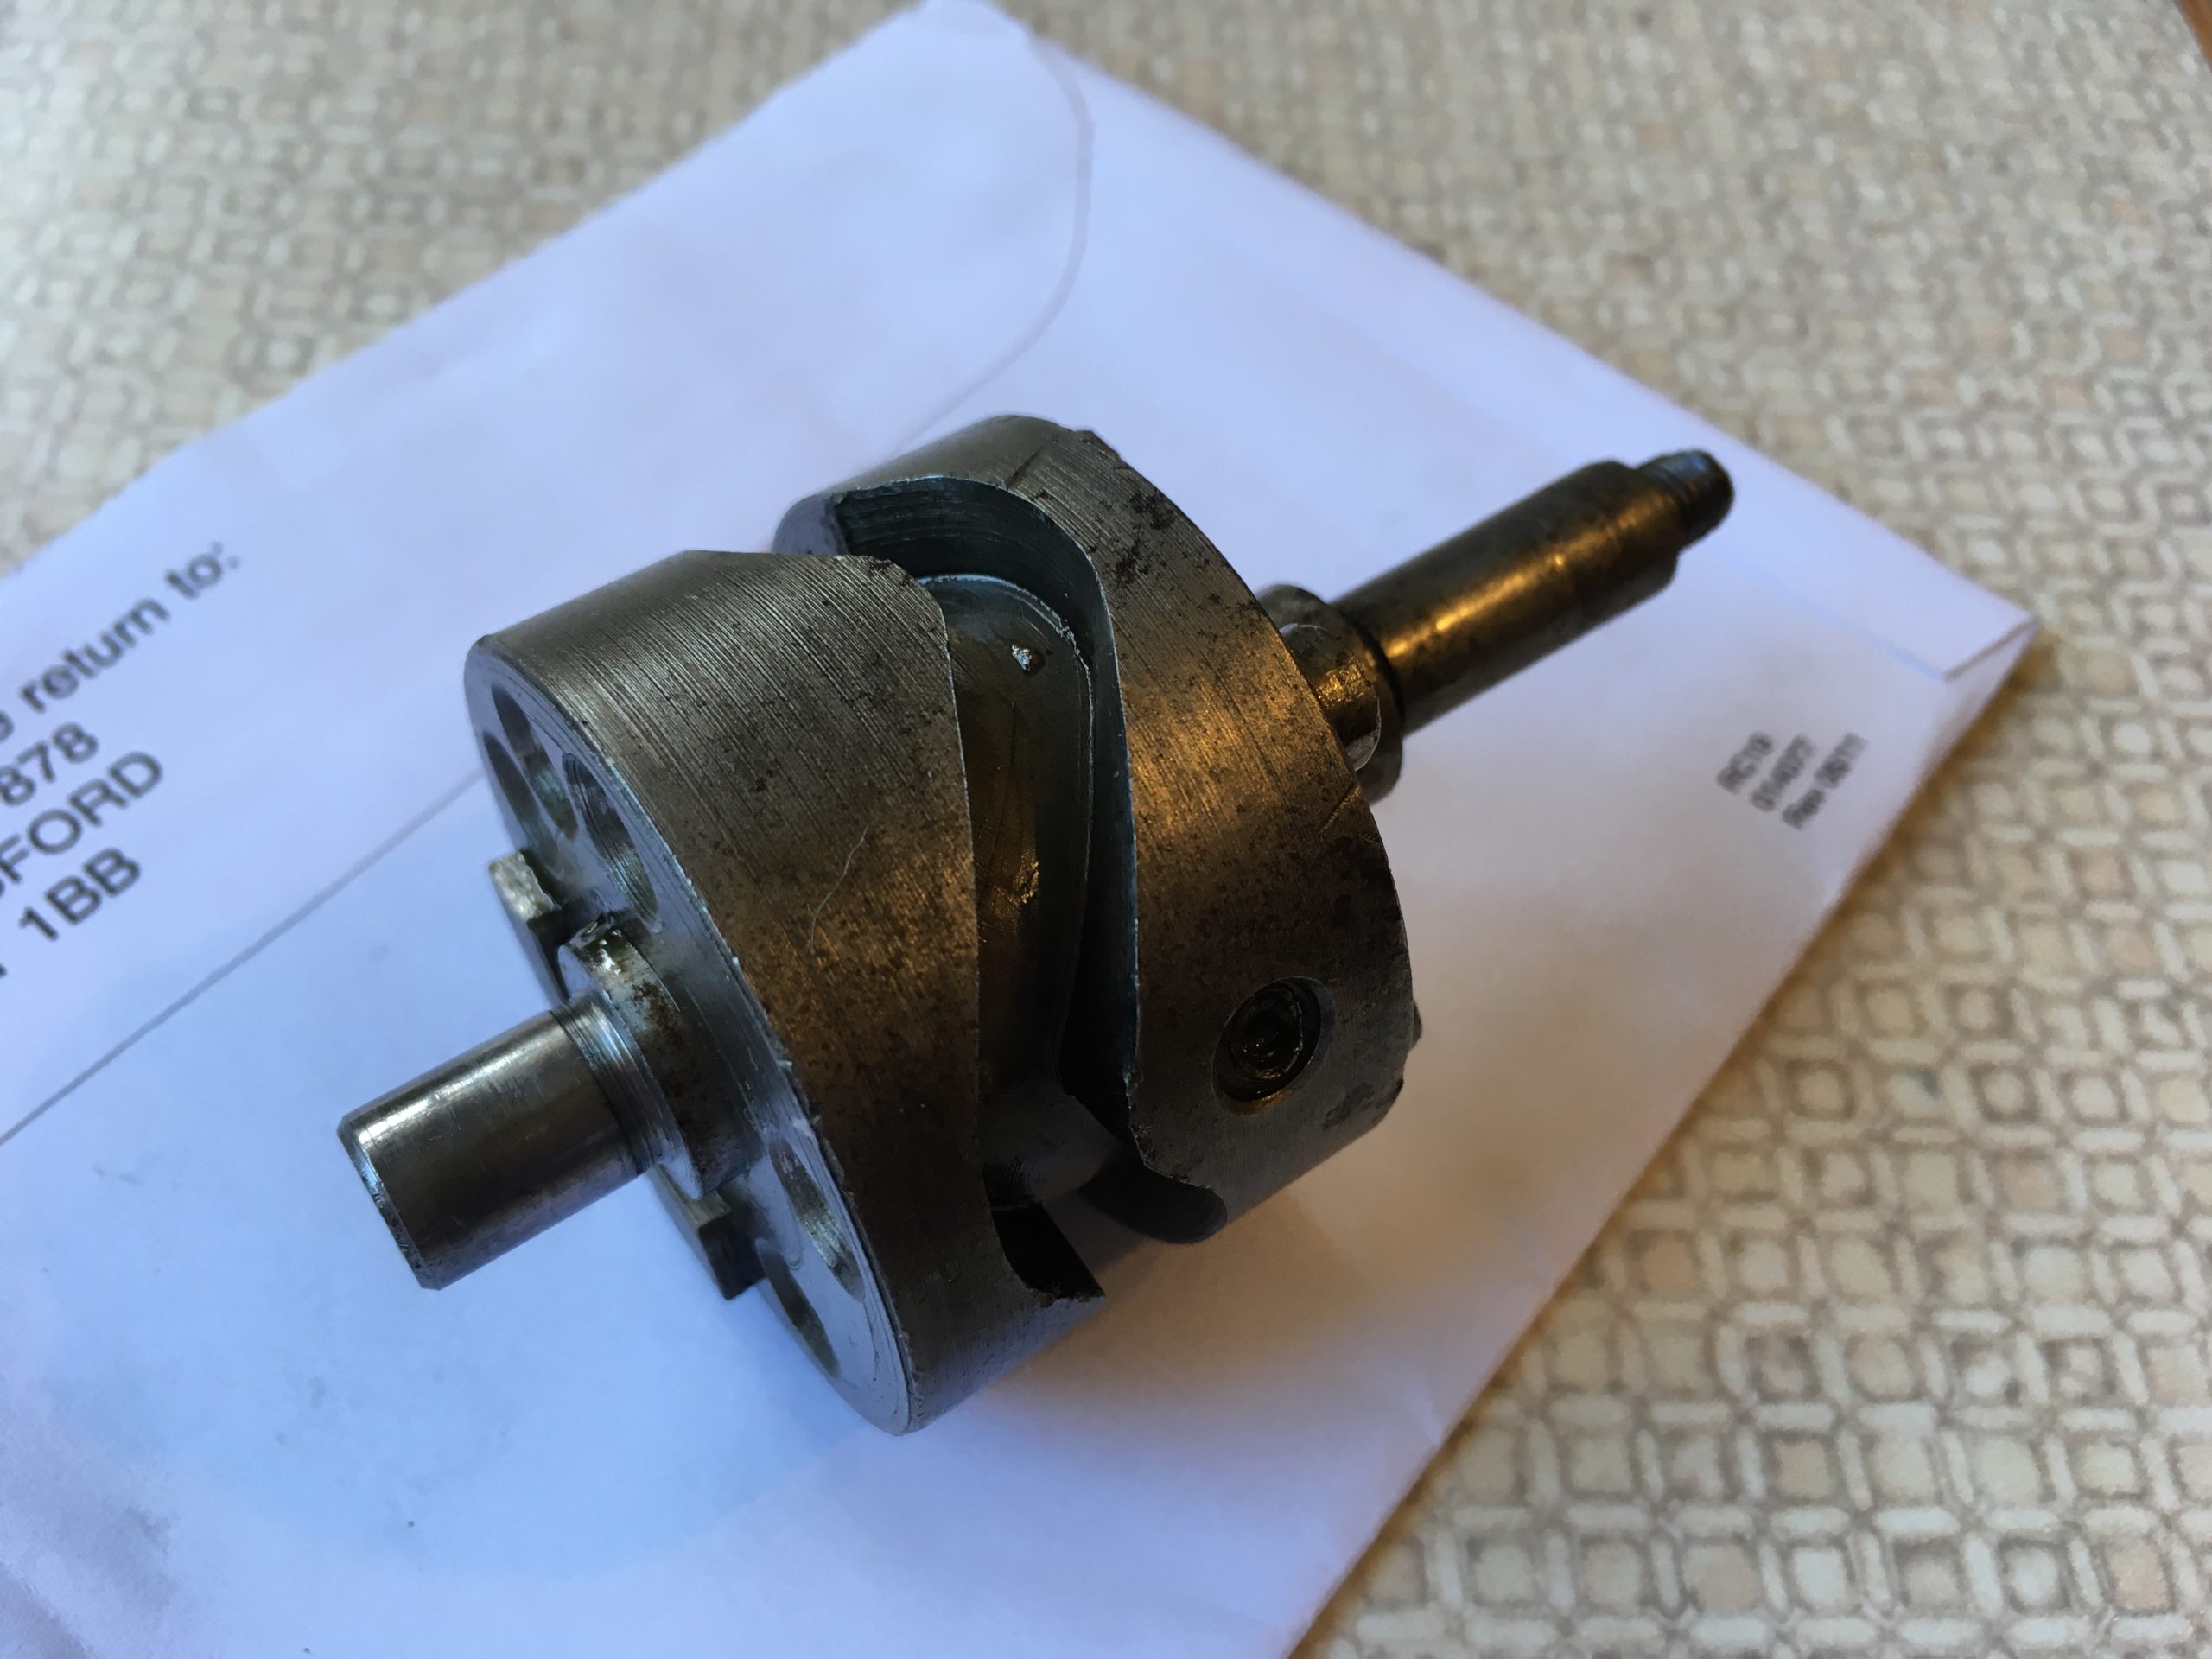
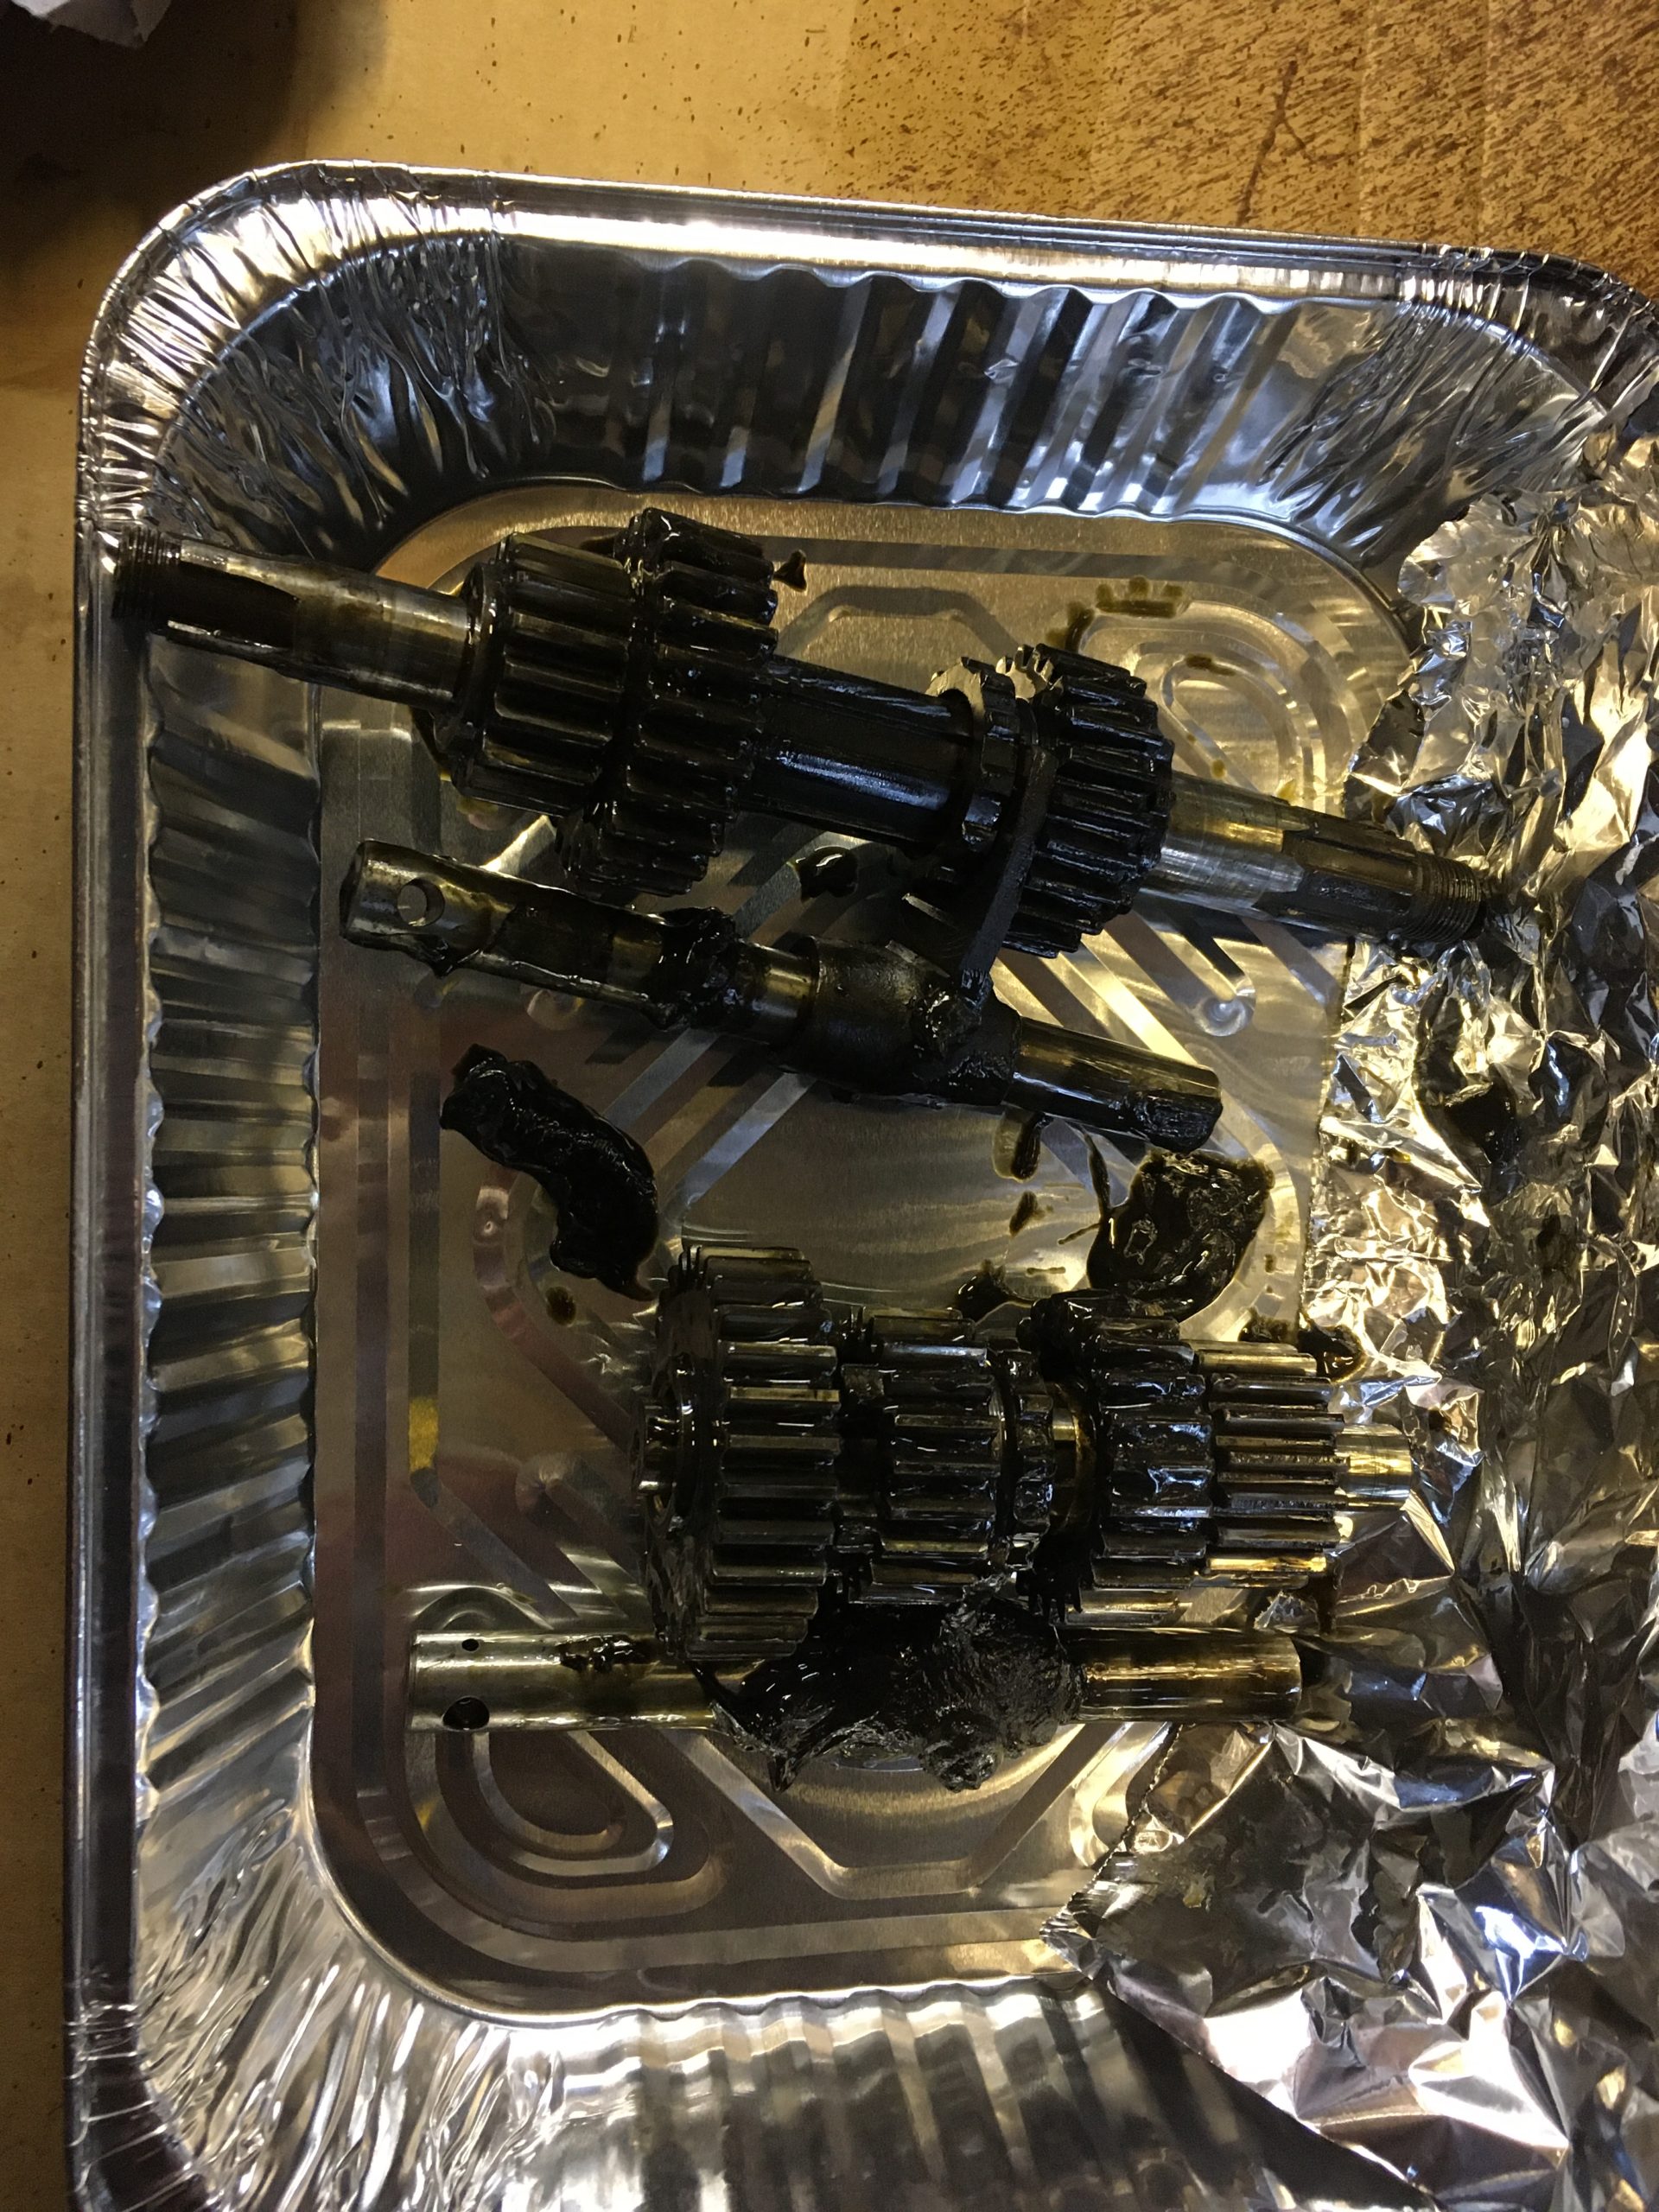
You will note that the mainshaft, selector fork and one of the gears are very blackened. I suspect it has been overheating due to insufficient lubrication in the bushes. If these had been seizing and turning in the sleeve gear, this could have caused the apparent sudden loss of power I was experiencing when the dynamo nut parted company with its shaft. It’s just a thought.
I was concerned that the mainshaft may have been bent by the chain tension. I checked it on a friend’s lathe with a dial gauge…luckily all was well. If the mainshaft is bent due to excessive lateral load, it is often irreparable.
The missing core plug was replaced by clearing out the original seat, tapping in a new brass core plug and sealing it with Araldite for good measure. One of the selector forks was slightly bent and I got a hardly used set off eBay which were perfect for the job. I replaced the gear selector drum as the outer shaft and threads were worn. All seals were replaced, the gearbox reassembled using ‘Wellseal’ and new gaskets.
It was refilled using a multigrade gear oil, not available at the time the gearbox was made. The box feels lovely now and the clicking has gone. I did notice that there was some odd wear to the clutch actuator. It turned out that whoever assembled that part of the bike during restoration, had fitted the little steel ball at the clutch end of the actuator shaft rather than at the actuator itself; I corrected this.
In many ways, the need to rebuild the gearbox was probably a good thing. I found many issues which would undoubtedly have cost more in the long run to fix.
The clutch was carefully inspected, cleaned, reassembled and readjusted after all the chains had been refitted and adjusted too.
Here’s another slider showing the reassembly images I took. The story continues below the slider.


Once the above was completed I made sure the chains had lubrication on them and started up the bike. I ran it on its stand and all was well. The clutch and gearbox worked perfectly too so I rode the bike around the garden. My intention was to refit the outer primary chaincase and refill it with oil.
Then came the ‘tink…tink tink’ noise when turning the engine over, and petrol dripping from the carburettor. Two more issues to solve, one easy, the other…not so much.