This post is about getting your RPi Wobbulator working on the new Raspberry Pi 2 computer. It assumes you are already using one on the older Raspberry Pi’s. The Raspberry Pi Wobbulator Kit is available from Cut Price Cables and I can heartily recommend it..although there are quite a few SMD components to install. If you are starting from scratch, then all the information may be found at A Slice of Raspberry Pi…construction details plus how to configure and test your wobbulator.
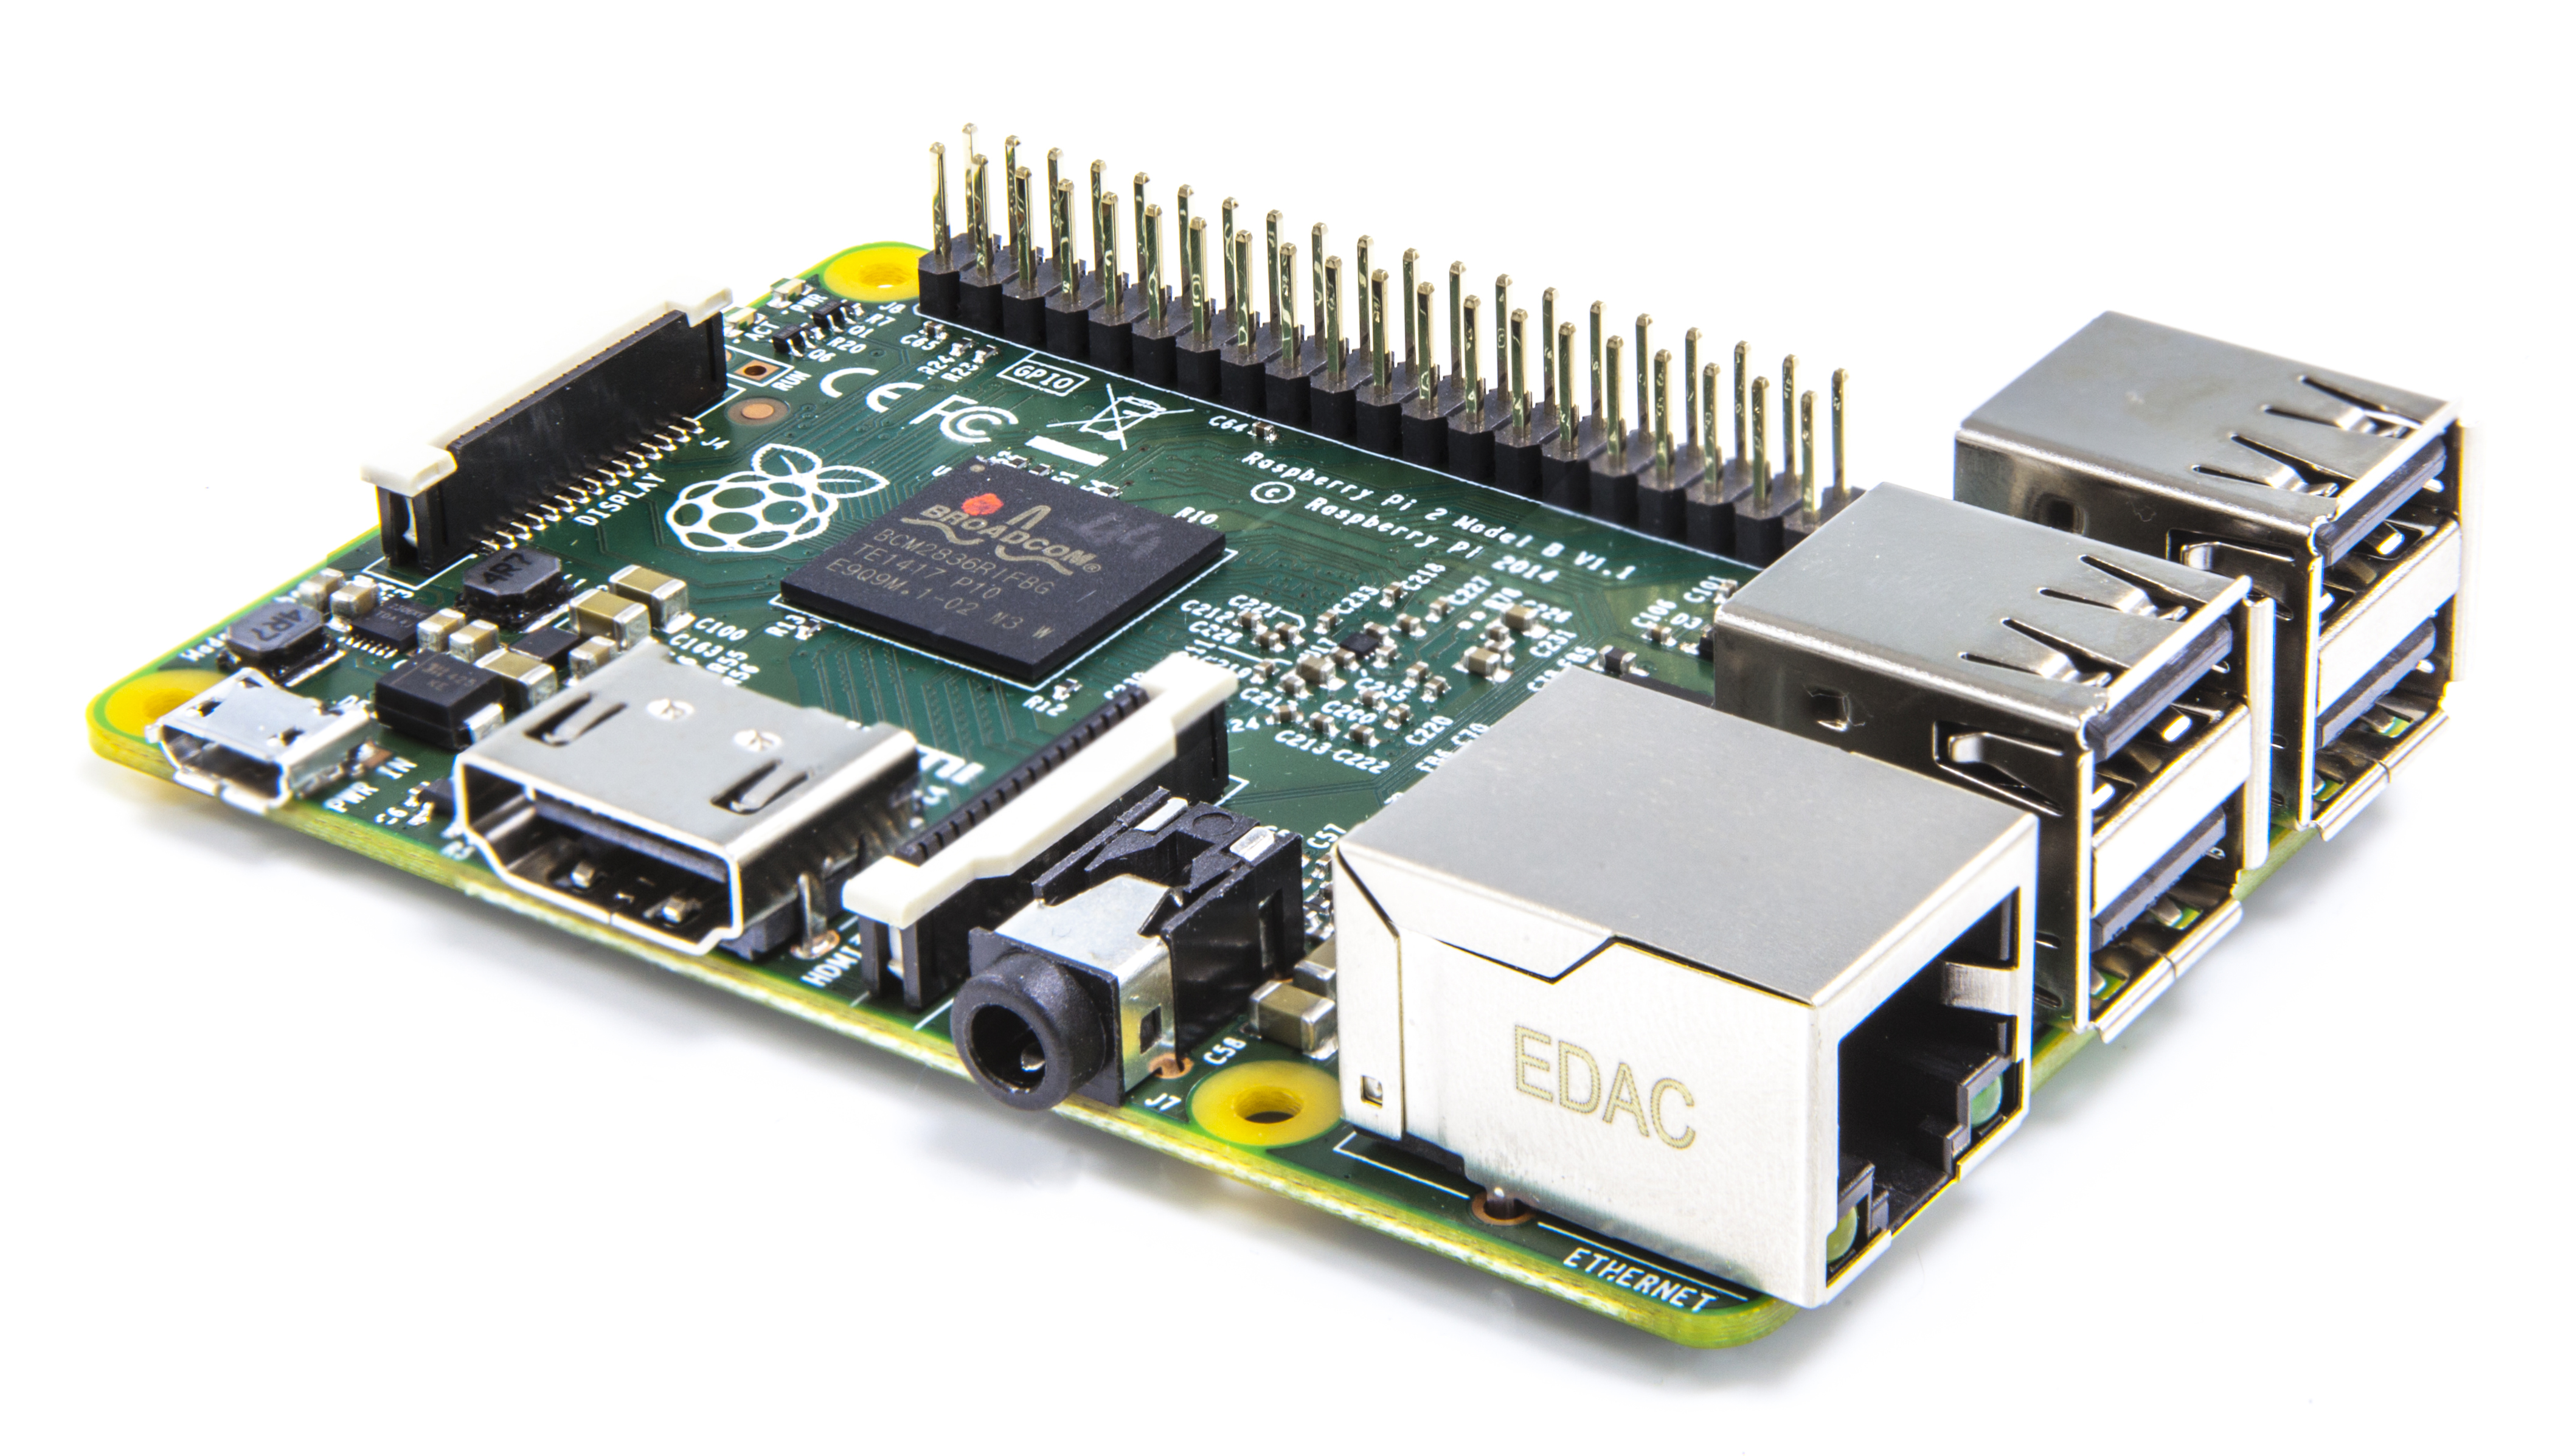
Raspberry Pi 2
I’m not a Raspberry Pi expert by any means, and I’m assuming in this post that you have the regular Raspian image on your SD card…I know nothing of NOOBs or other such things. This post is also for PC users only. There is greater detail at The Pi Hut if you need it.
Introduction
I bought the original Raspberry Pi purely to use with the Wobbulator kit…for measuring the characteristics of various crystal filters I had, and for aligning bandpass filters on receivers and the like. Up to 30MHz, the limit of the DDS, it does that very well…but often very slowly. It took me a while to get the thing up and running as I’m not a Linux guru, but it worked well eventually. Despite improvements to the wobbulator code, it was still very slow when running wide or narrow step scans. The Raspberry Pi 2 offered much more speed and extra features…I ordered one from CPC as soon as they were more widely available.
First Steps
The old Raspberry Pi uses an SD card for its operating system and files whereas the new model uses a Micro SD card. You will need facilities for reading and writing to these on your computer.
If someone tells you that you simply need to copy the image from SD to Micro SD, they are wrong…unless you have been religiously keeping the system files up to date. Most people don’t and when you try and run the copied image, you will get a blank screen on your Raspberry Pi 2.
Backing Up your existing SD card
If you don’t back up your stuff, one day you will lose it. Updating and imaging your Raspberry Pi system is a good time for that to happen, so we will make a backup of your working system…just in case.
First of all, you need to install Win32 Disk Imager from SourceForge…there is a green box on the website saying ‘download the unnamed sequel’ which is the one you need to click on. Follow the usual install procedure for applications.
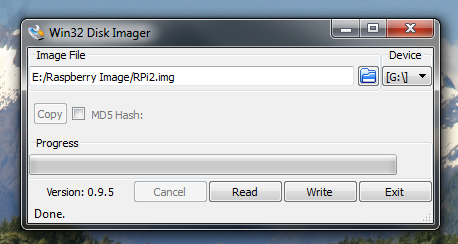
Win32 Disk Imager
Plug your original Raspberry Pi SD card into your card reader and check you can see it in Windows; make a note of the drive letter it has been assigned. Then start Win32 Disk Imager and you should get a window like the one on the right. Click on the little folder icon and choose where you want the image of your SD card to reside and give it a filename…you will need to add the ‘.img’ extension or it will be invisible later. Make sure the ‘Device’ dropdown shows the drive letter of your SD card, assigned by Windows when you plugged it in. Assuming that is all OK, click on ‘Read’ and your image will be created for disaster recovery. Wait until the green bar has finished its travels and you get an ‘OK’ message. Safely remove the SD card from your computer, plug it back in to your original Raspberry Pi and restart the latter.
Initial Updates
Unless you have been keeping your system up to date, you will need to do some work now, before you copy the image to your new Micro SD card…or it simply won’t work. This is due to the new and much improved CPU on the Raspberry Pi 2.
So, open a terminal window on your Raspberry Pi and run the following two commands; each needs a press of the return key to set them away…but you knew that 😉 The first is normally quite quick but the second takes longer…time for a cup of tea. Answer ‘Y’, of course, to any requests to continue.
sudo apt-get update
sudo apt-get upgrade
There should be no errors…if there are, you may have to restore your image; for that, use the process described later, but on your SD card.
Now run either sudo halt or sudo shutdown -h now to stop your Raspberry Pi. Then remove the SD card and re-run the backup procedure above, giving your file a different name to the first one.
Getting the Micro SD card loaded…or restoring if something went wrong
Remove the SD card from your reader, using the safe procedure of course to avoid corruption. Now insert your new, and higher capacity, Micro SD card…check the drive letter it is assigned by Windows. Start Win32 Disk Imager and use the folder icon to browse for the most recent image and make sure your ‘Device’ shows the correct drive letter. Be really sure you get this right or you could lose files on your computer.
Once you are sure, click on ‘Write’ to copy the image onto your new Micro SD card; it will take quite a while…so maybe another cuppa. Once finished, safely remove the Micro SD card from your PC and install it in your new Raspberry Pi 2.
Power up and final settings
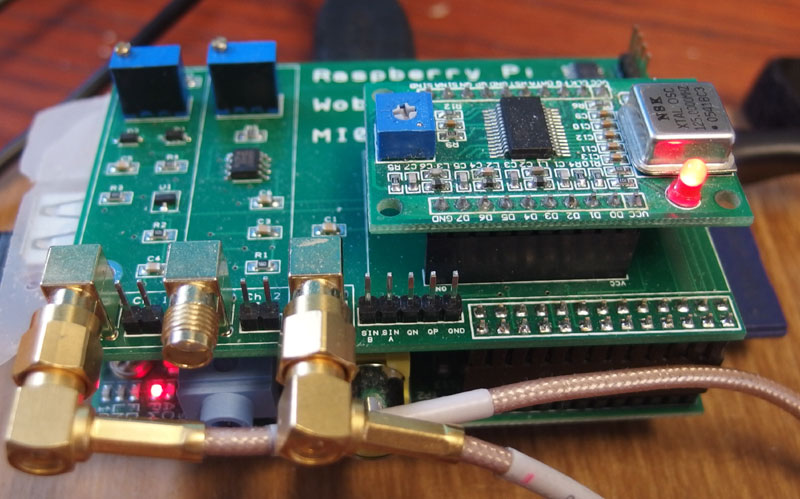
Raspberry Pi Wobbulator
Ensure you put some insulating pads across the USB connectors on your Raspberry Pi 2, to prevent the Wobbulator PCB shorting out, then install the PCB in the same location as on your old Raspberry Pi. The connector has more pins on the new model so ensure you plug the PCB in using the pins towards the end of the board. Connect up your new Raspberry Pi 2 and power it on. The desktop should appear as before…but much faster.
There are some configuration changes we need to make so that a) the remaining updates will install and b) the i2c modules will run properly.
The original root file system partition is likely to have only been 2GB in size, which is too small for the remaining upgrades and changes. So, open a terminal window and run the command sudo raspi-config – you will get a DOS like text window, with the option ‘Expand root partition to fill SD card’. Select this using your arrow keys and the ‘enter’ key. You should get confirmation that the change will be implemented when you reboot. Run the command sudo reboot to do this.
Once the desktop appears, open a terminal window. Run the command sudo apt-get dist-upgrade which may take a while, followed by sudo apt-get install raspberrypi-ui-mods which is fairly quick. The last command is optional but it gives you the latest desktop updates. At this point, I’d reboot your Raspberry Pi 2 again…see above.
OK, all being well, your new board is up and running…but the wobbulator will probably not run. It will give errors regarding missing files and directories…which may lead you a merry dance until you do the following.
Open a terminal window on your Raspberry Pi 2 and run the command sudo leafnote to open Leafnote with root privileges. Browse to find the file /boot/config.txt and open it. This file contains several lines of text, commented out in the main using ‘#’. At the end of the file, add the following two lines of text:
dtparam=i2c1=on
dtparam=spi=on
Save the file and close Leafnote. Reboot your Raspberry Pi 2 and try running the Wobbulator. It should be really fast now…enjoy.
I’ve assumed you can find your way round file manager windows and the like, and I’ve assumed there will be no problems with the above. Let me know if I’ve missed anything and the last thing you need to do is…backup your Micro SD card with the now working image…just in case 😉