This was most frustrating as I felt it was one of a number of issues happening one after another. I was about to pop the bike on its stand in the garage and refit and fill the primary chaincase. When I turned the engine over with the decompressor lever pulled in, there was a tink…tink tink noise from the engine area. What the hell can that be?
Could it be a tight spot on the primary chain or something I’ve missed? I slackened off the primary chain and checked everything associated…nothing.
Slightly Bent Adjuster Cup
Next I ‘felt’ for the mechanical movement associated with the noise. It seemed to coincide with the magneto and I could feel the ‘tinks’ on the casing. The magneto came off but no change.
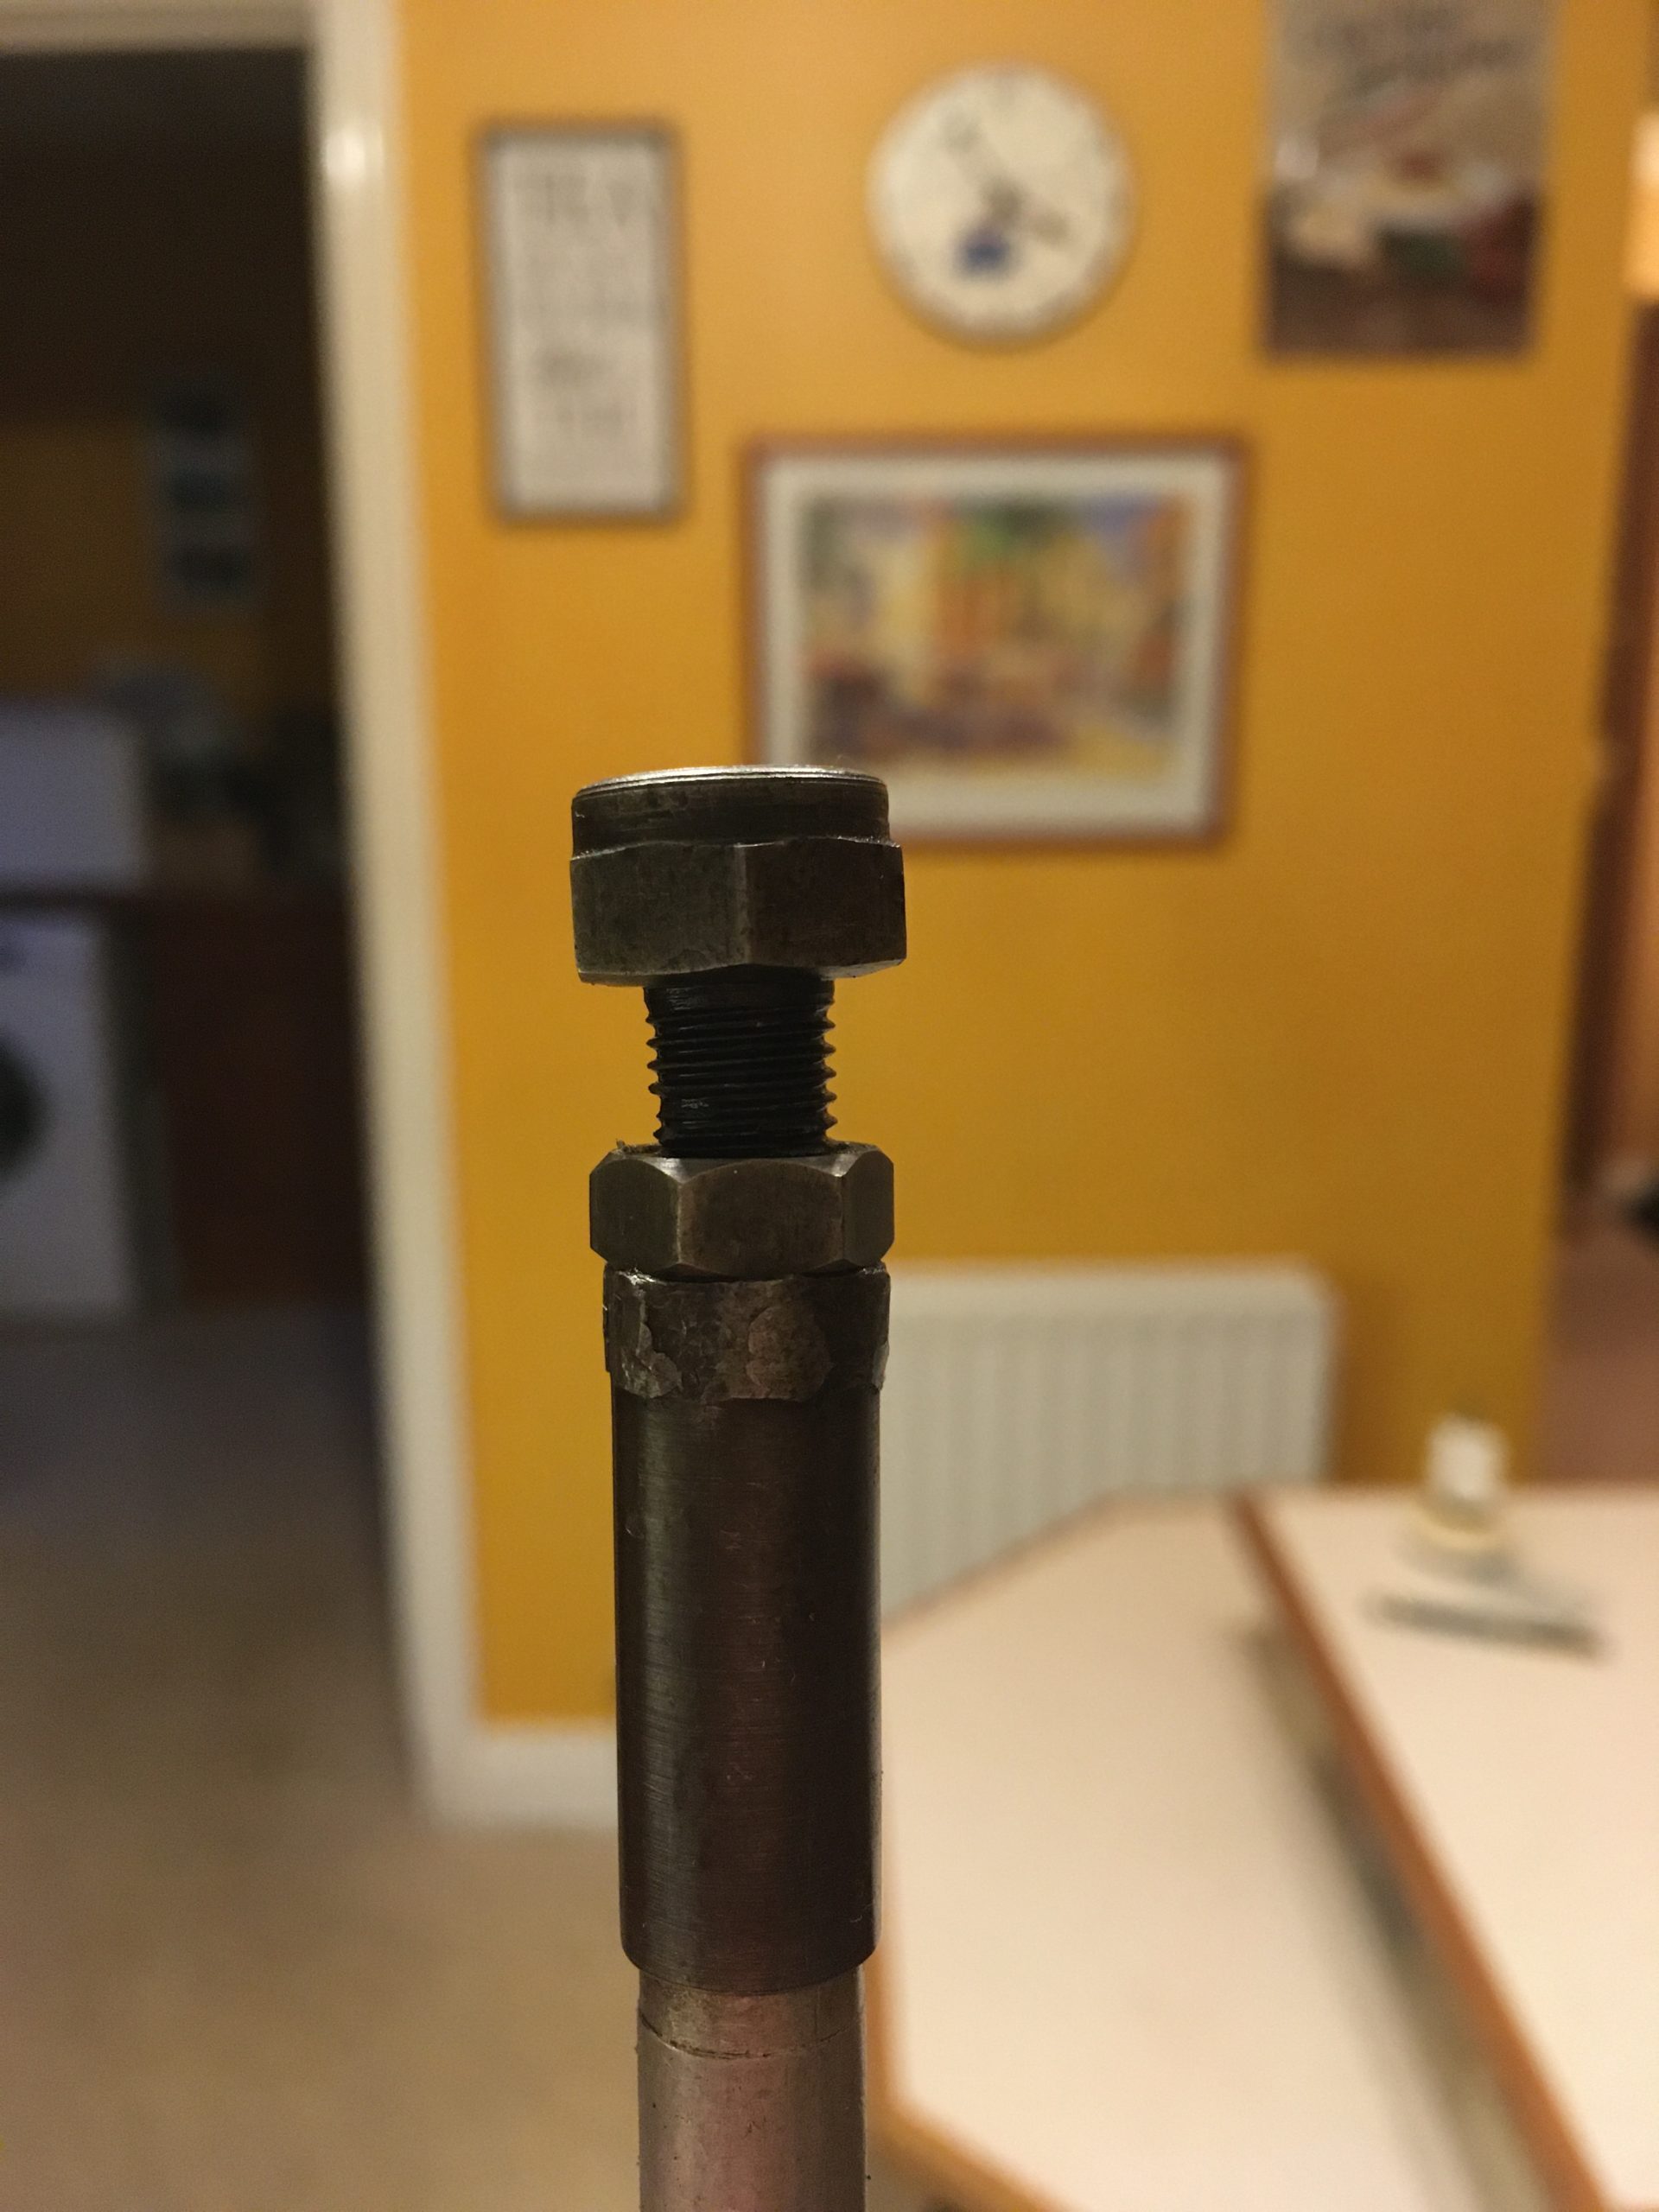
It had to be something to do with the cams, pushrods or associated components. I took off the fuel tank having drained ten litres of fuel out of it. The rocker box cover was removed and I found some wear on the side of the inlet pushrod and a slight bend in the cup on the end. Ah ha, I thought, it’s been catching. I discovered that without the inlet pushrod in place, the ‘tinks’ disappeared. I thought I’d cracked it so ordered new adjusters and cups plus a couple of rocker box gaskets. Once they arrived, I fitted the new parts, secured the rocker box and set the pushrod clearances. The ‘tinks’ however, were still there!
Off came the timing cover and all was revealed…at least I believe it is as it’s too damned cold to go outside and fix it. There are shims between the cam gears and the timing cover. The end float needs be really only about two thou. The exhaust timing gear has a spindle and is easier to check…mine was moving but not much. The inlet timing gear has no shaft and cannot be checked without dismantling the engine or…by using Plastigauge.

New Adjusters and Gaskets
When I checked, the six thou(*) inlet timing gear shim had completely failed, meaning that the timing gear could move in and out by enough to cause the ‘tinks’ under pressure from the valve springs.
I bought a selection of shims from Steve at AMC Classic Spares to make sure I had what I needed for reassembly. Looking at the shim that failed, I can’t help wondering if it was a bit tight to begin with. I will check the exhaust cam gear end float and will probably end up replacing that shim whilst I’m inside.
(*)I used my Plastigauge to measure the end float on the inlet cam gear; it was about six thou. I measured the intact bits of the failed shim and found it was probably somewhat more than six thou thick, maybe as much as ten…hence the reason for its failure. It was replaced with a new five thou shim.
The end float on the exhaust cam gear was over ten thou…it had been twinned with a five thou shim by others. That shim was removed and a ten thou shim installed. I wonder if the person who reassembled the engine fifteen years ago put the shims in the wrong way round?
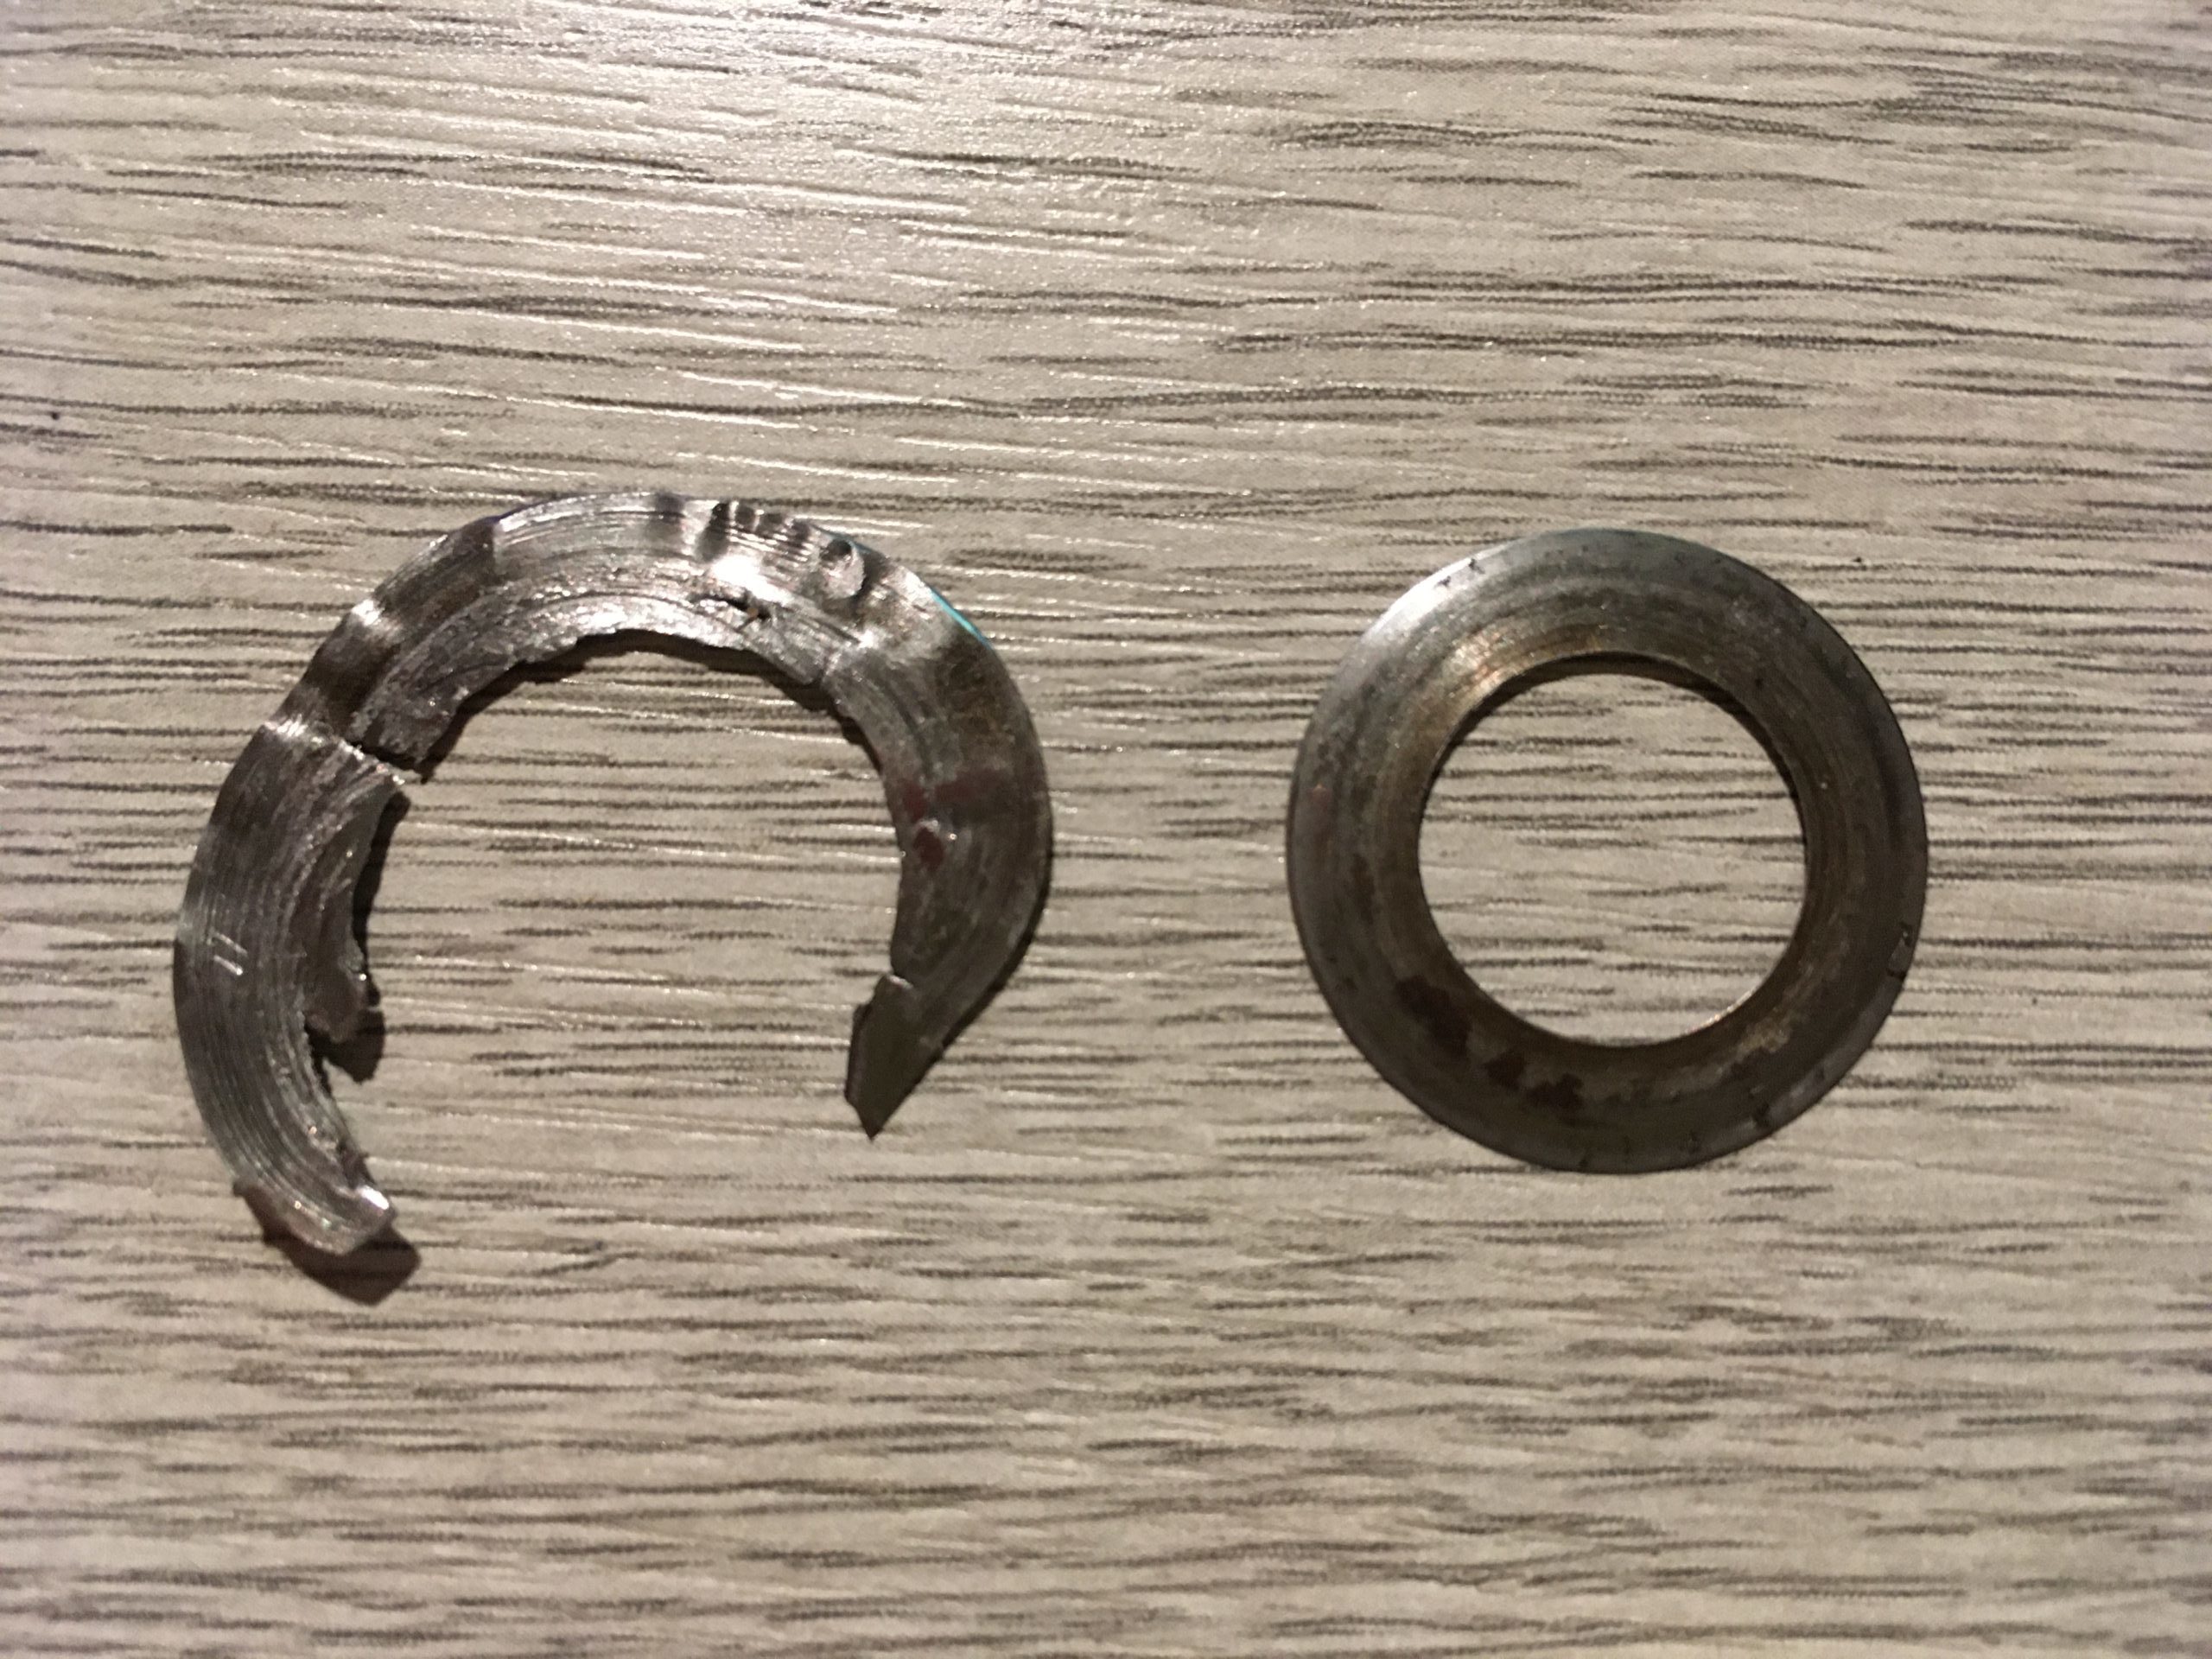
Shims – spot the difference
Setting the timing is fairly straightforward, once your eyes spot the dot on the crank pinion. The exhaust cam gear didn’t have the usual two dots, but a single stamped line…I assume it’s from an earlier bike, which might explain the excessive end float.
The surfaces were cleaned, Wellseal applied and the cover refitted. The pushrod adjusters were roughly set, and I turned over the engine. There is still a little ‘tinking’ but it is purely the timing gears moving a couple of thou when operating the pushrod and valves.
The rest of the timing section was reassembled after resetting the ignition timing. I turned the bike over to make sure there was enough oil flowing, after pouring a little extra down the pushrod tubes. The remainder of the bike has been reassembled and the engine and gearbox run perfectly. Whilst the primary chaincase has been refitted, I’m waiting a day to let it settle before putting oil in. Then, it should be good for a short test ride.
I’m hoping this will be the last major problem, although I do plan a series of checks during 2021 to ensure everything else is OK.
It’s always difficult to be sure you’ve checked everything, unless you do check everything! There are still a few issues to resolve.
Whilst I have worked out many of the issues myself, using common sense, what my Dad and cousin taught me…and of course the manuals, I have had a great deal of help and support from members of Matchless Motorcycle Lovers on Facebook, members of the AJS and Matchless Owners Club via the forum, and Steve at AMC Classic Spares.
I’ve bought spares from the AJS and Matchless Owners Club, AMC Classic Spares, Draganfly Motorcycles and a chap on eBay in France called Norbert. The Plastigauge came from an eBay seller who’s ID is ‘astonmparts‘…I’m sure you can take a stab at his main business!
I’d strongly recommend you join the AJS and Matchless Owners club as they have a huge archive of information, technical advice and a great spares scheme…they do re-manufacture spares that are unobtainium where necessary. AMC Classic Spares are very friendly and helpful, more so than most. Many of the parts for my bike during the original restoration fifteen years ago, came from Russell Motors who were very good at the time…I’ve just not used them this time because I could find what I need from the others.
Many thanks to all those that have helped me, I’ll keep adding information to this section of my website ‘as and when’…it may help someone else. I’ll probably create a blog category for general bike stuff.