Much of this is the same as for my G12 steering damper, so do excuse the similarity of the content.
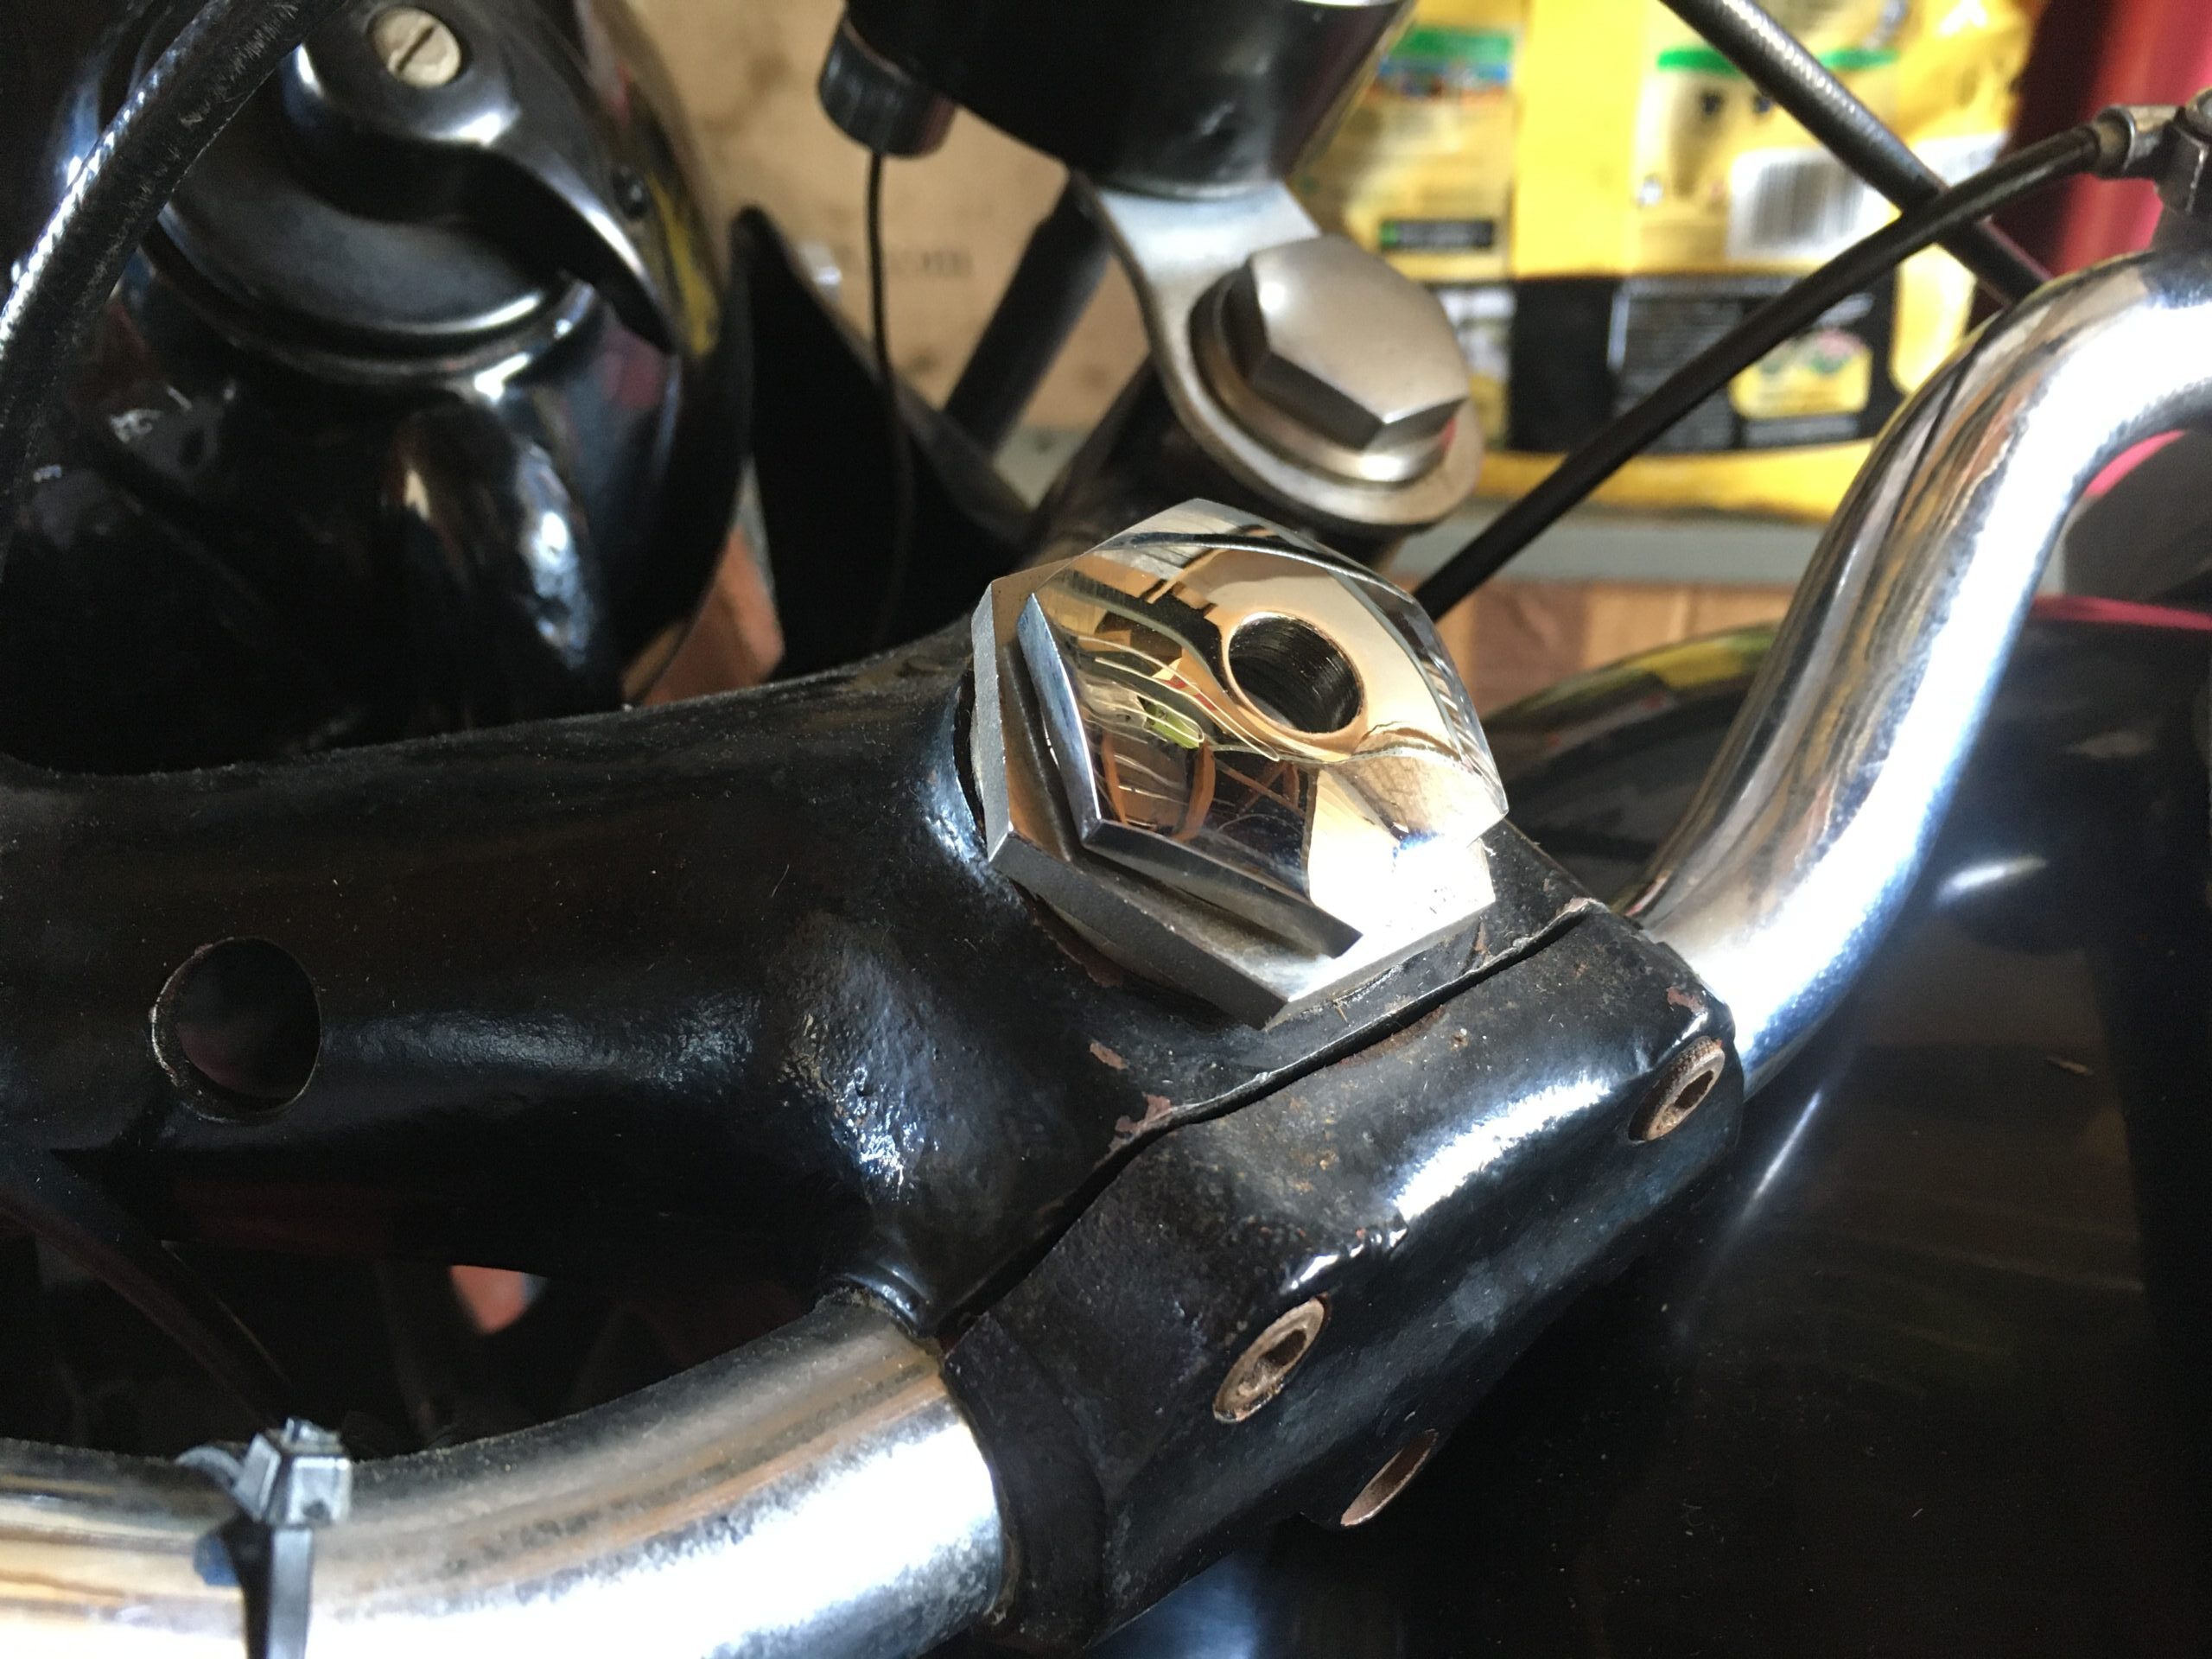
Fork yoke with new top nut
In case you didn’t know, steering dampers were simple devices designed to give some friction to the action of turning the handlebars. Essentially, they have three fixed plates with two friction plates between them, much like a basic clutch. There’s a knob in the middle of the steering yolk which the rider can turn to increase or decrease the friction between the plates, and therefore the damping on the steering. Many people rely on them to prevent ‘tank slap’ or oscillating left / right movement of the steering due to uneven roads, especially at speed when cornering. It’s important to remember to loosen the damper off in slower moving traffic, such as in town.
They are optional on road machines, but considered essential if you have a sidecar attached to your bike. There are uneven roads where I live and the steering dampers on my solo bikes definitely help.
The frame of every Matchless motorcycle I’ve ever seen, has the necessary part of the friction-style steering damper, cast into it….complete with tapped holes for the fixing bolts. The dampers were standard on the ‘CSR’ versions of the bikes, or could be ordered as an extra for standard models. In case you didn’t know, ‘CSR’ stands for ‘Competition-Sprung-Roadster’.
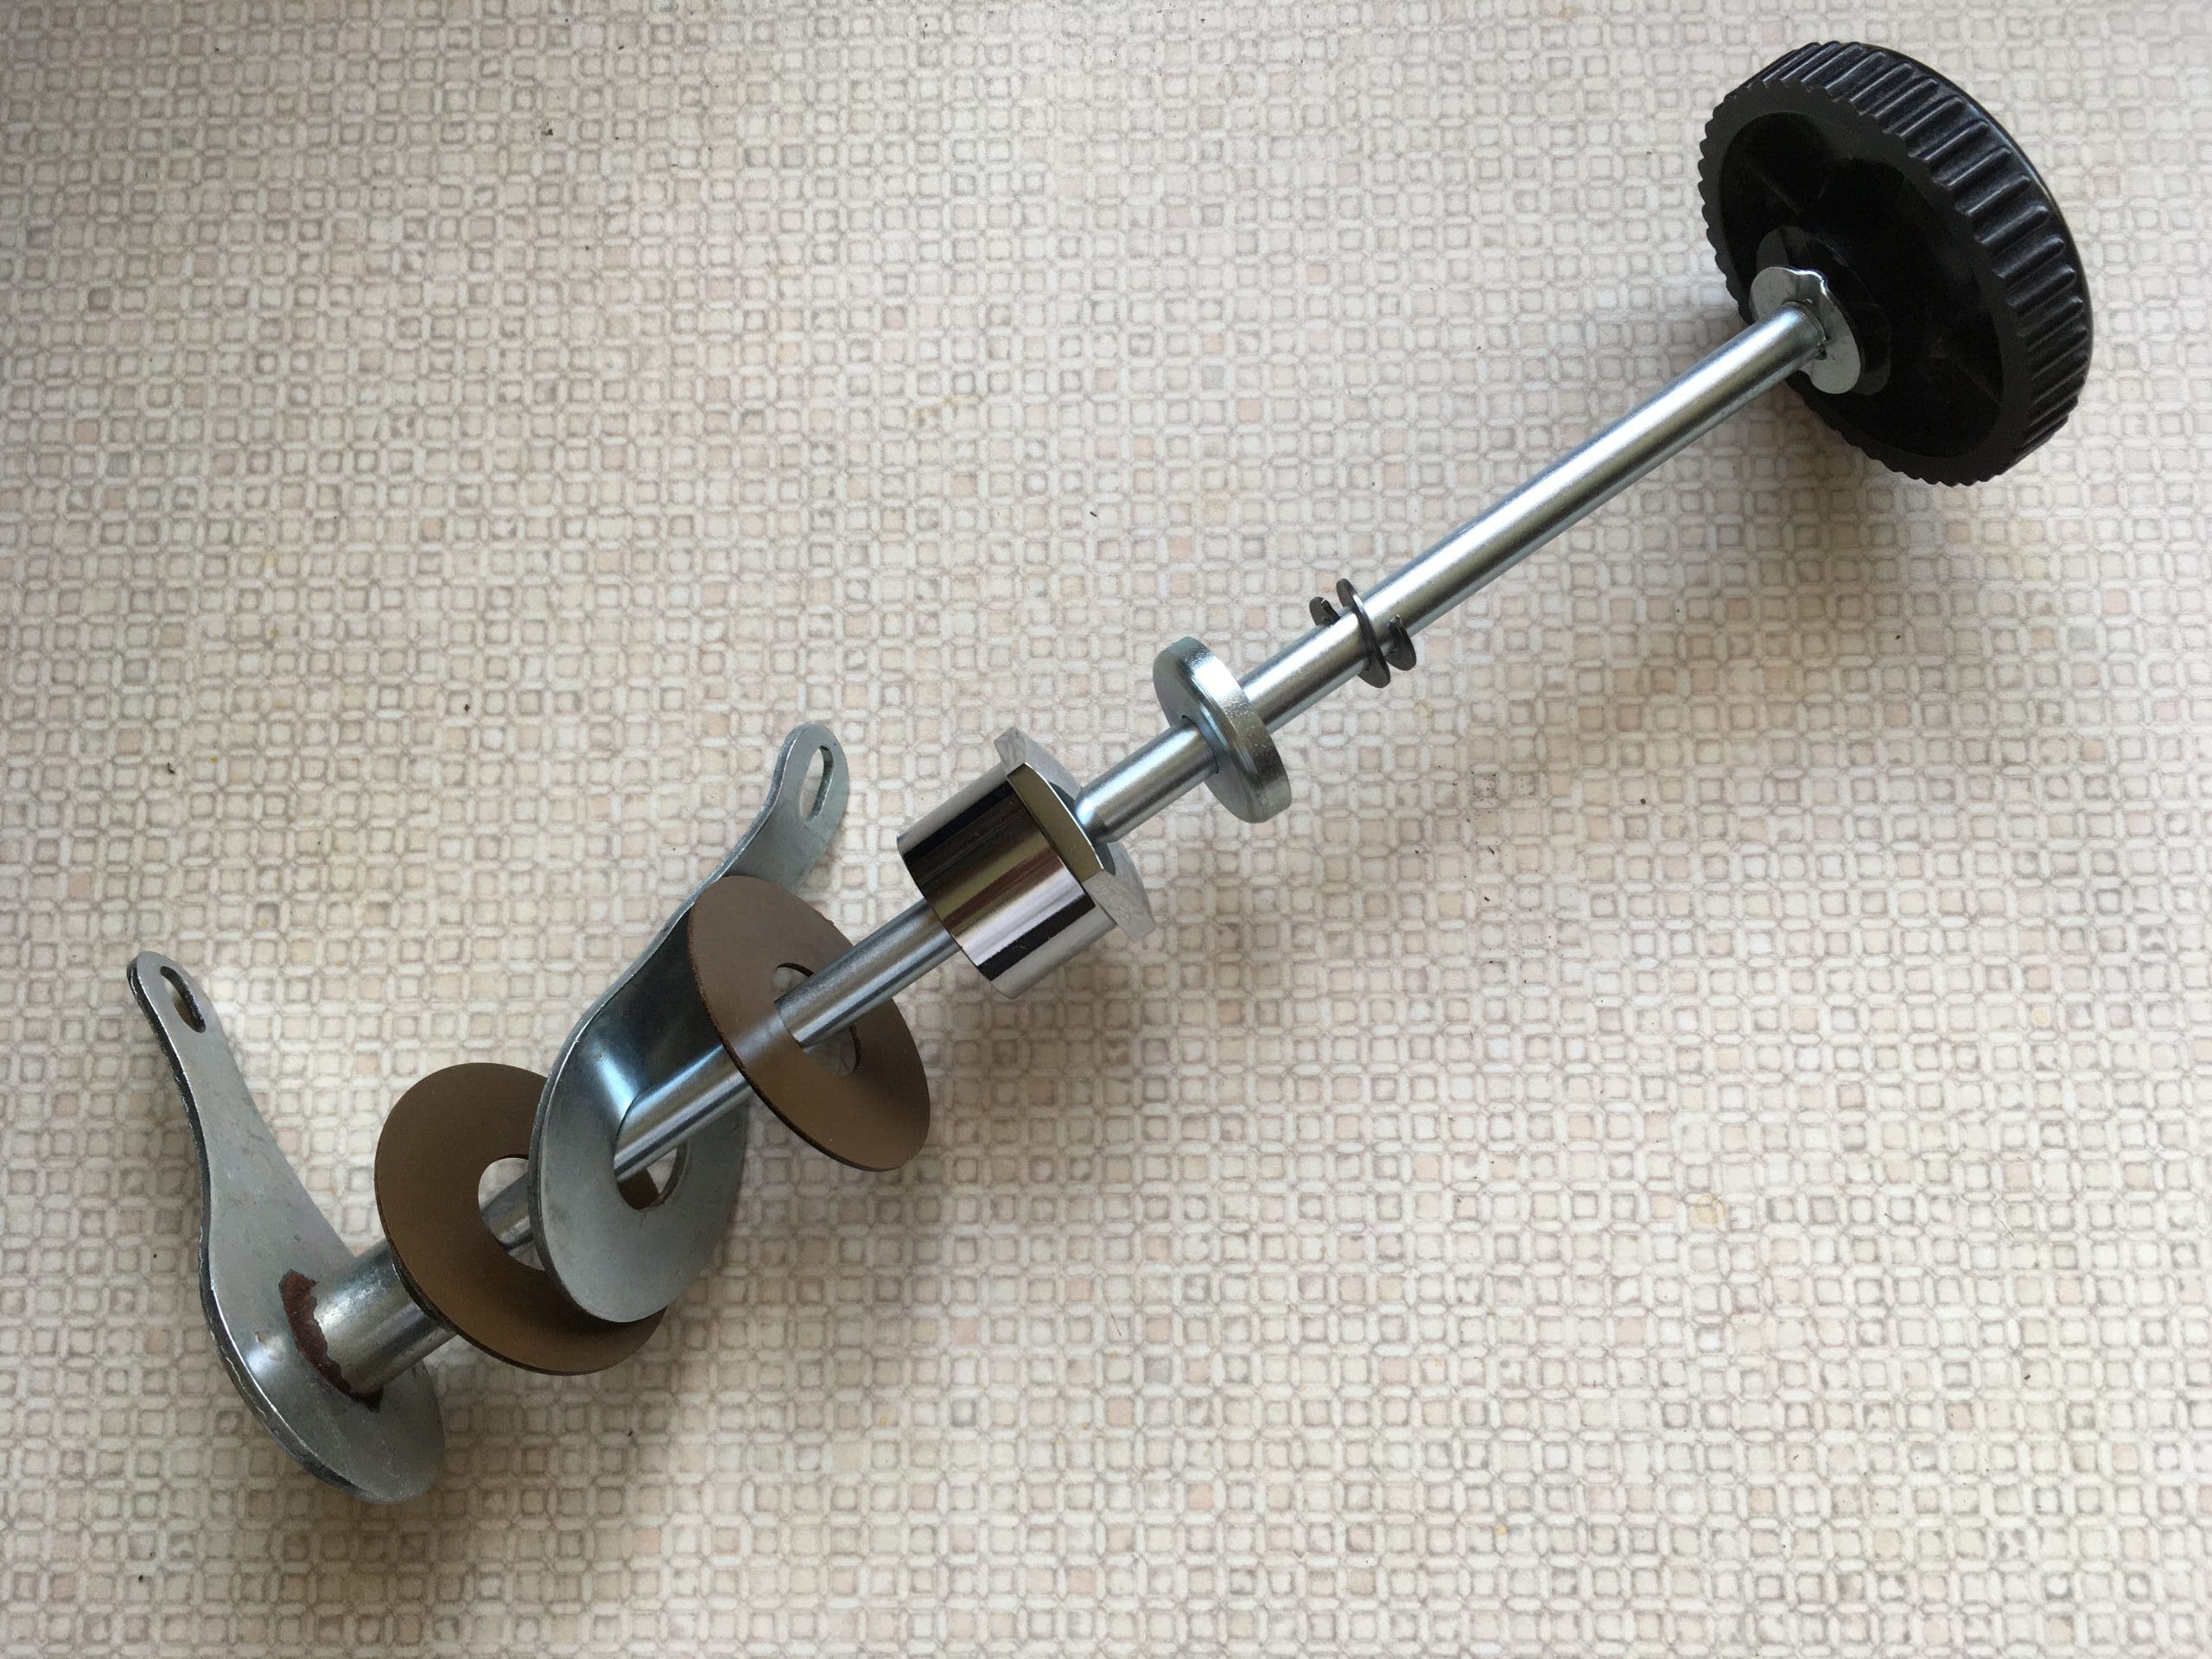
Steering Damper Assembly
My G3LS had never had a steering damper fitted to my knowledge, so I ordered a complete damper assembly from Steve Surbey at AMC Classic Spares. I also ordered a top nut with a hole in it…you can drill yours carefully if you wish to save a few pounds. My 1953 G3LS has the 1 ¼ inch fork stanchions. If you ask Steve, he will include the two bolts you need to install the damper, complete with plain and lock washers. Fitting is relatively straightforward. The parts fit in the order they are supplied, as shown in the photo. Remove the lower fixed plate and boss so that you can install the drawbar from the top of the fork yolk after you’ve installed the new top nut. Remember to tighten the plate and boss back up again and tighten the lock nut.
I did find I needed to adjust the bends on the loose, second fixed plate, to fit my bike. Steve assures me this is not usually necessary but it certainly was on my bike. I found that I needed to use a 0BA tap to clear paint from the threads on both screw holes; 0BA matches the diameter and pitch of the threads on the two bolts and the holes. I will need a longer bolt for the frame as the outer threads had been damaged in the past.
Modern bikes use what looks like a small shock absorber to do a similar job.
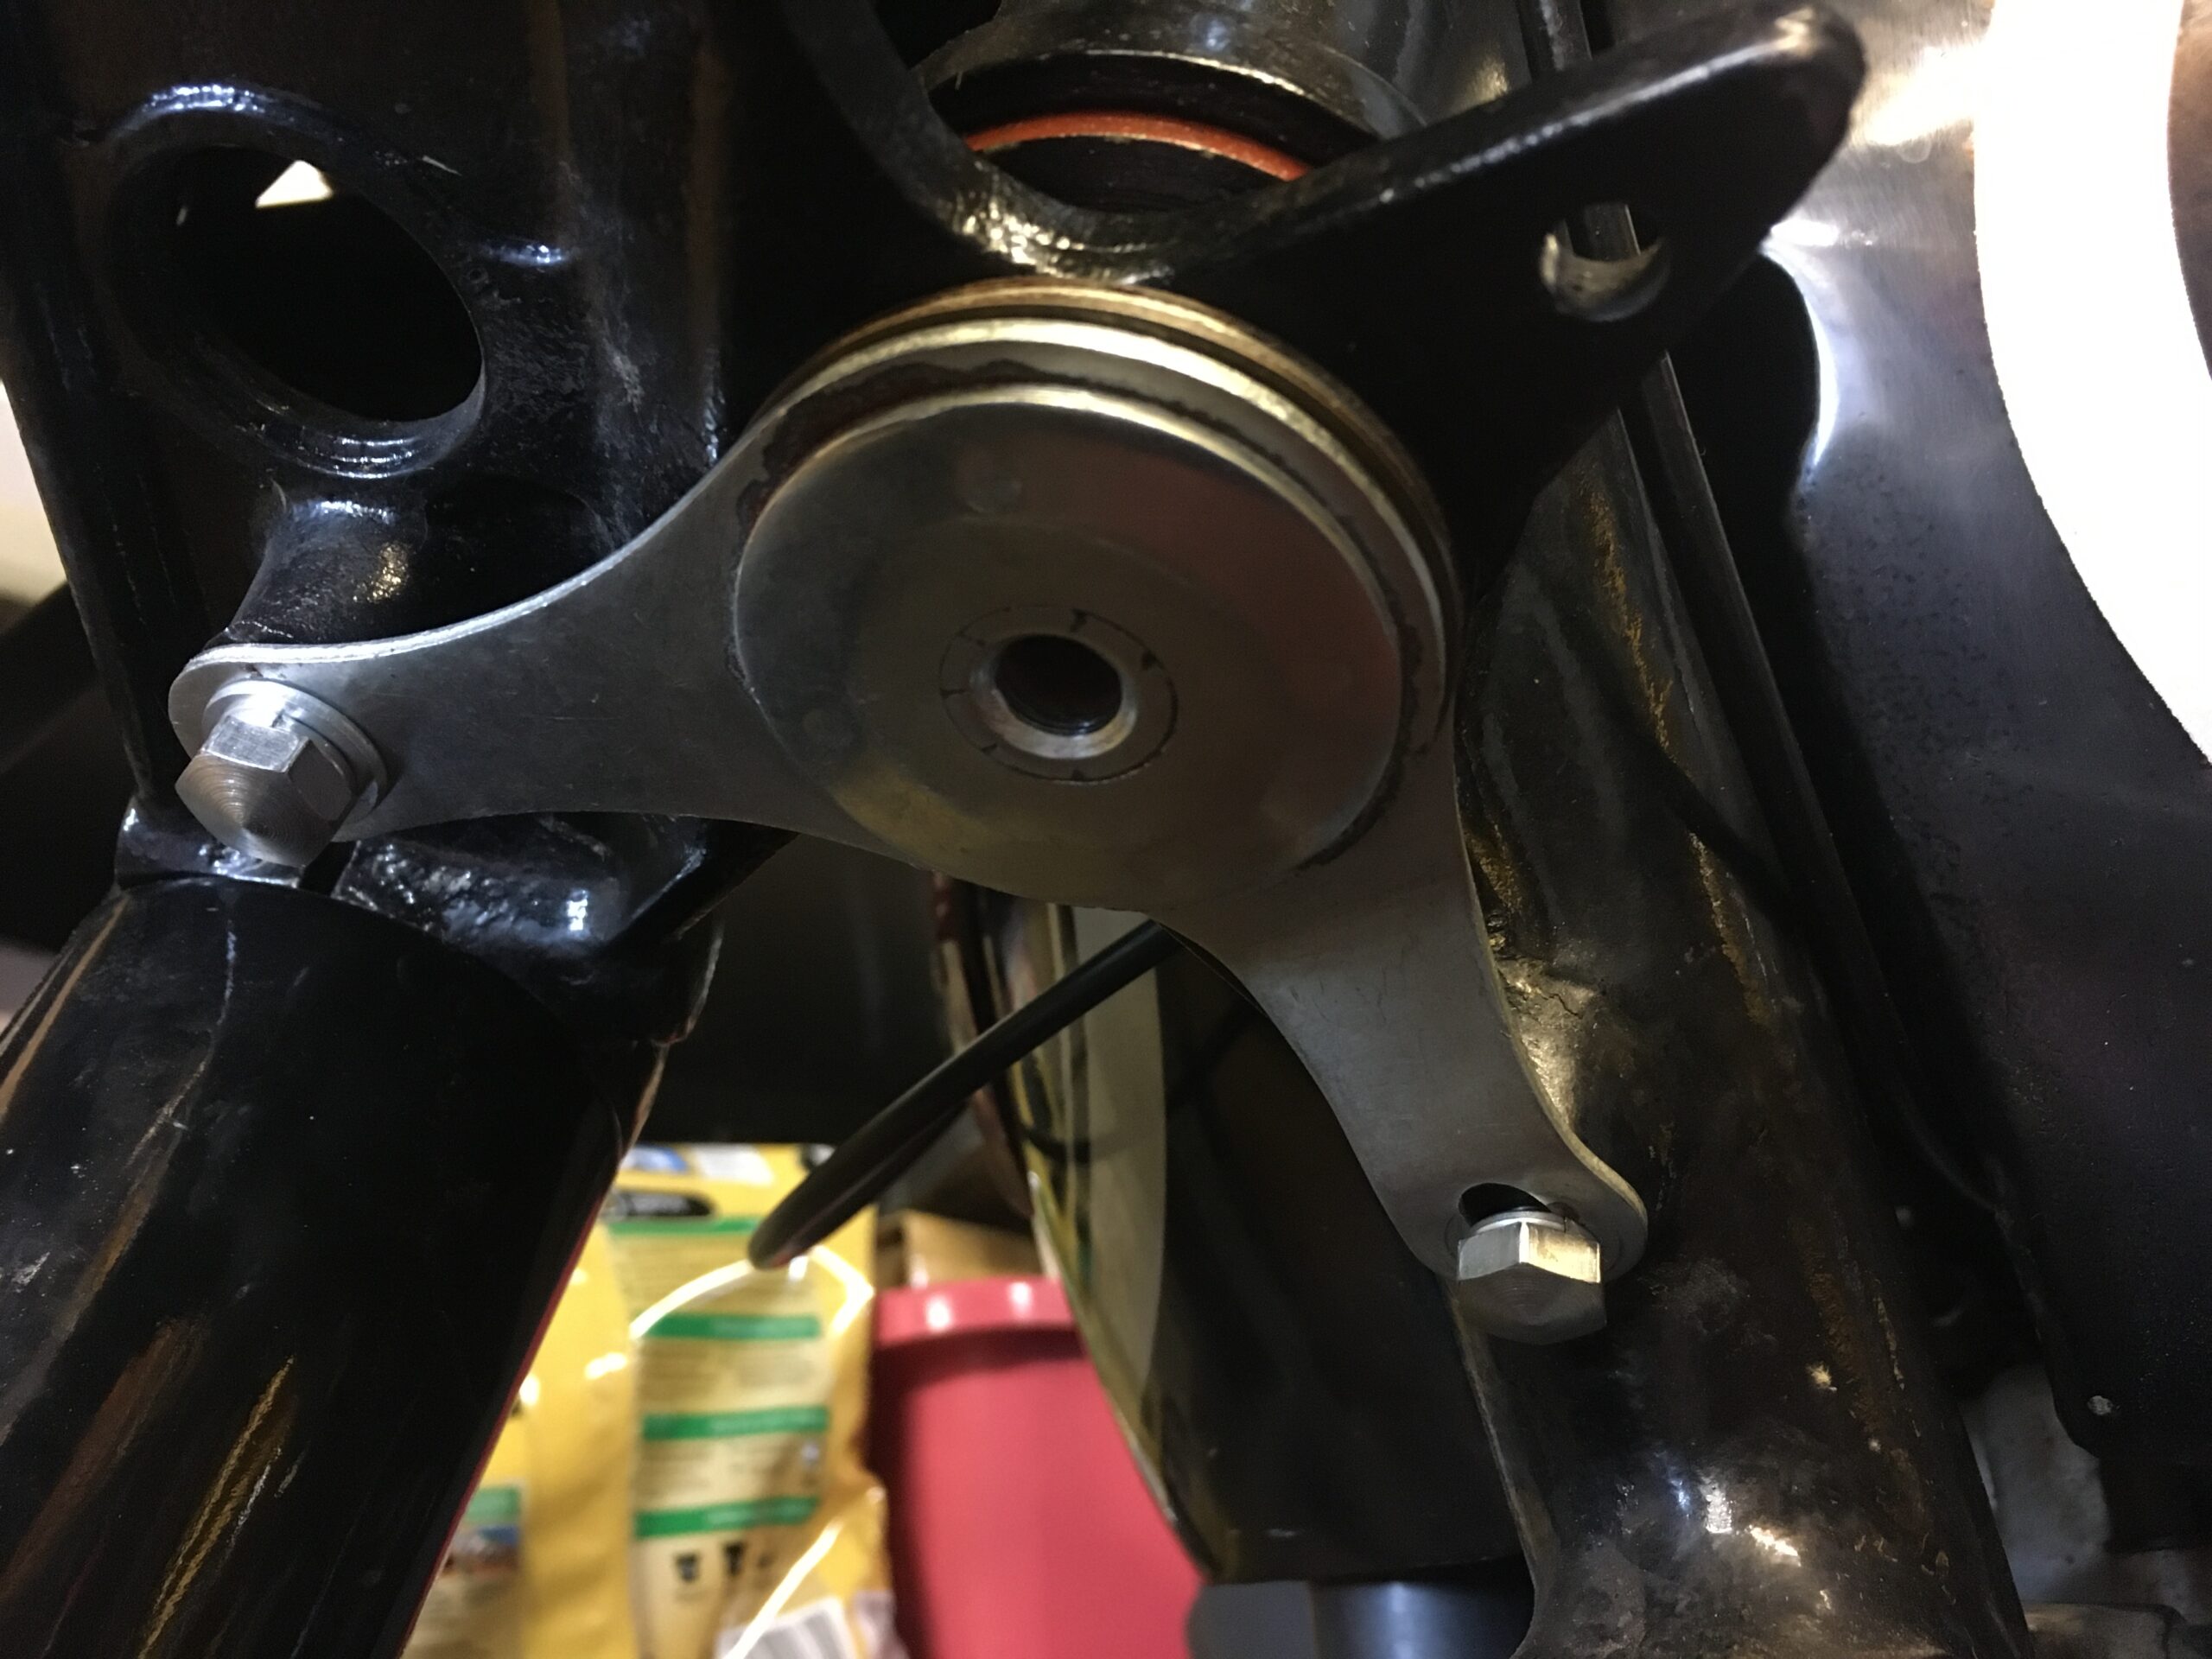
Steering Damper Fitted
Here’s another picture of the damper, this time it’s fitted to the bike. The underside of the steering yolk has the first fixed plate, a friction plate is then sandwiched between that and the next fixed plate which is bolted to the bike’s frame.
Another friction plate is then sandwiched between that and the bottom fixed plate, which is bolted to the bottom fork yolk. This means the adjuster knob just increases the friction between the plates, without becoming part of the process directly.
If you’re ordering a steering damper, there are two sizes of fork assembly, 1 ¼ inches and 1 ⅛ inches. Make sure you get the right size complete with the correct top nut.