 Way back in the mists of time, the late 1970’s to be precise, yours truly used to drive a Tahiti Blue Austin Allegro Mark 2, 1300 4 door saloon with boot (reg EWL 481S). Built in stereo systems and speakers were far from normal then; most cars had a hole you could use for your radio cassette…but more often than not, you had to cut holes in trim panels to fit speakers.
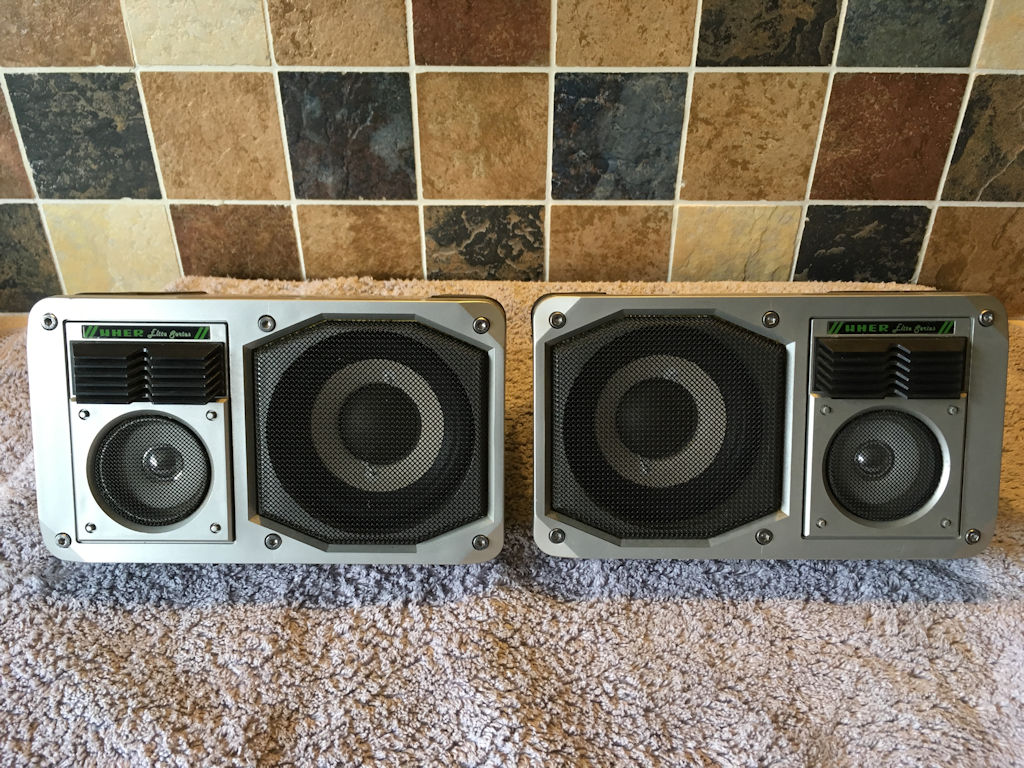
Whilst I did this for my front door speakers, I chose to buy a pair of rather fine UHER Elite Series parcel shelf speakers. They cost £49 in 1979 – apparently that’s £173 in today’s money. They sounded great…I’ve never seen another pair though, nor could I find any reference on the internet. Life moved on and they were forgotten about.
After my Mum died in 2013, I found them again in a box in her house…obviously they had been taken out of the car before it was nicked in the early 1980s…why would anyone nick an Allegro? Well, I don’t like chucking stuff out so I tried them…only to find the foam had disintegrated around the bass speakers. They probably weren’t worth repairing as modern bass drive units are priced at around £30 each. But all was not lost…I could simply replace the foam.
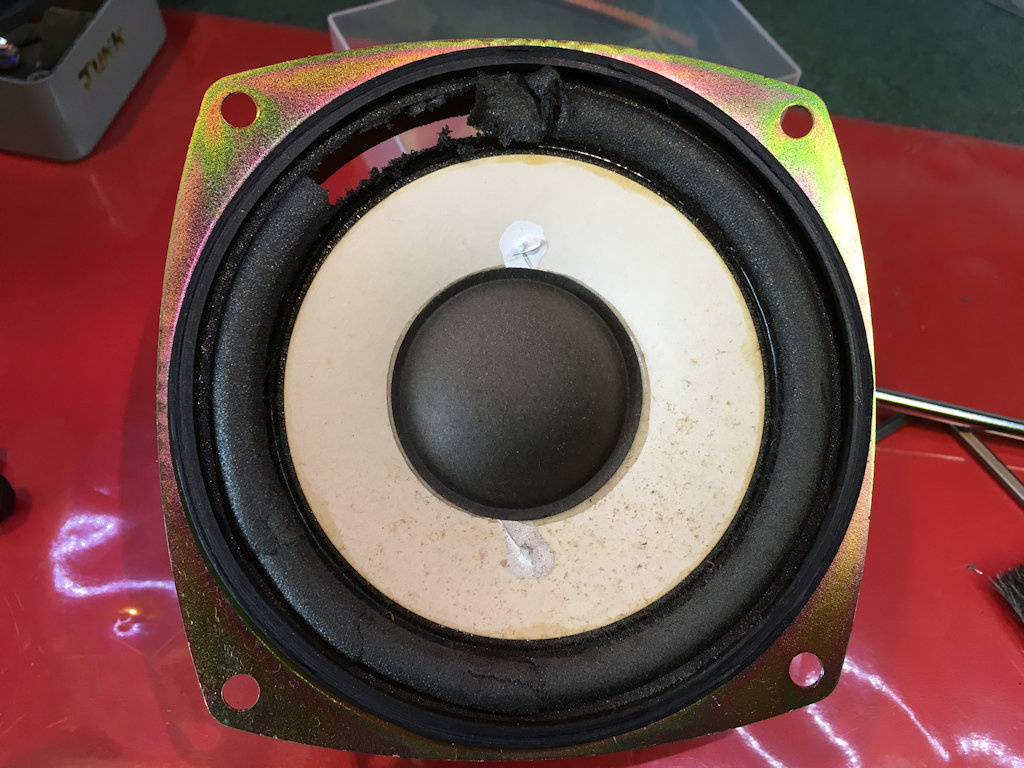 You can see from this image that the foam has deteriorated with age until it falls apart when touched. It’s nasty horrible black stuff that gets in to everything and sticks to your carpet fibres.
There was also an essential gasket around the outside of the foam which had to be retained and refitted at the end. The gasket was fairly easy to remove using a flat blade screwdriver; pushed under the gasket into the degraded foam underneath it. I then twisted the screwdriver to ease it off, bit by bit, all the way round. It was fragile so the edge was carefully tidied up using a craft knife.
 The foam was then carefully removed from the metal frame, as much as possible, using a flat blade screwdriver and knife. The foam was stuck to the underside of the speaker cone. I supported the cone with my fingers whilst using the flat blade screwdriver against the rear of the cone and my finger, to gradually scrape the majority of the old foam off.
Finally, in a well ventilated area away from flame, acetone on a tissue was used to dissolve and remove all the excess foam and glue from the frame. I used a copious quantity of cotton buds dipped in acetone and then ‘twirled’ round the edge of the underside of the cone to remove the ‘gunge’ from there…you won’t get it super clean. The end result is above right. The frame was now clean and would take glue, the underside of the speaker was still a bit gungy so the best alternative was to mount the new foam on the front of the cone.
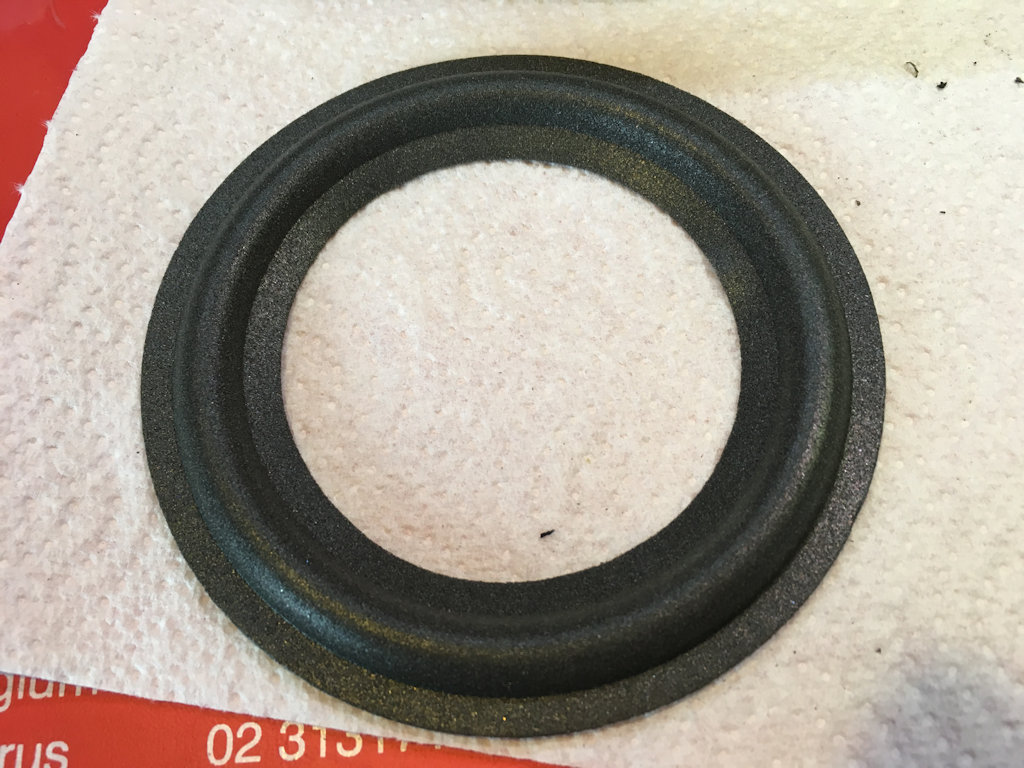 The new speaker foam replacements were bought from Speakerworks.com in the USA for the princely sum of $20.35 including special glue, a brush and shipping. The stock codes used on my UHER speakers were SWK4B and if you click on that code it should take you straight there. Here’s a picture of one of them prior to fitting.
Speakerworks do provide full instructions on how you can repair your speakers; make sure you use their glue. I did the job in two stages. 1) I used the supplied glue on the part of the foam surround that sticks to the cone first, making sure everything was well centred and using a lightweight carton, to apply gentle pressure to the inside flat of the new foam surround. I left each one for two days to dry, checking carefully every 15 minutes for the first two hours. 2) Glue was applied to the metal frame and the outside edge carefully centred and pressed around the circumference. More glue was applied on top of the foam and the original gasket put in place. Once I was sure everything was centred, a roll of wire was used to provide pressure on the gasket and foam whilst it again was left to set for two days. Checking was again at about 15 minutes for the first couple of hours.
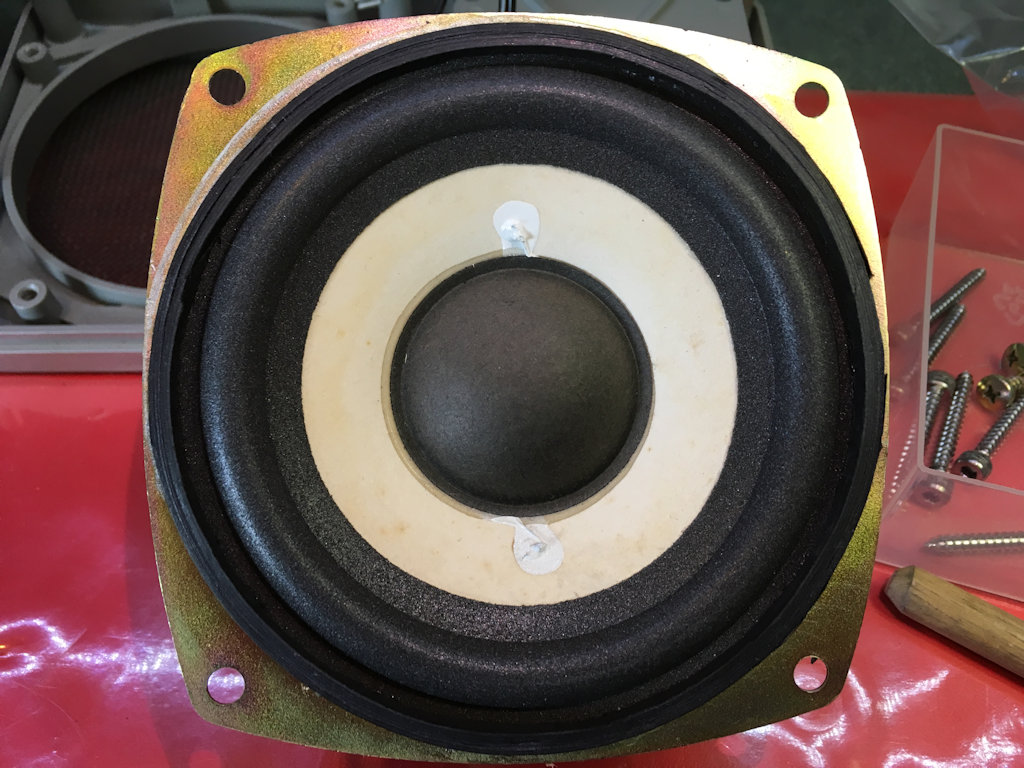 Once the second gluing phase was over, I left the speakers face down for another week, just to be sure…note that the gasket stops the surround touching the supporting surface; but only just. Here’s the finished result before reassembly in to the speaker housing…if you do this, make sure you back up the screws and feel for the step, so you are using the original ‘threads’ made in the plastic by the original assembler. The speakers sound every bit as good as they did in 1979…definitely worth the effort.