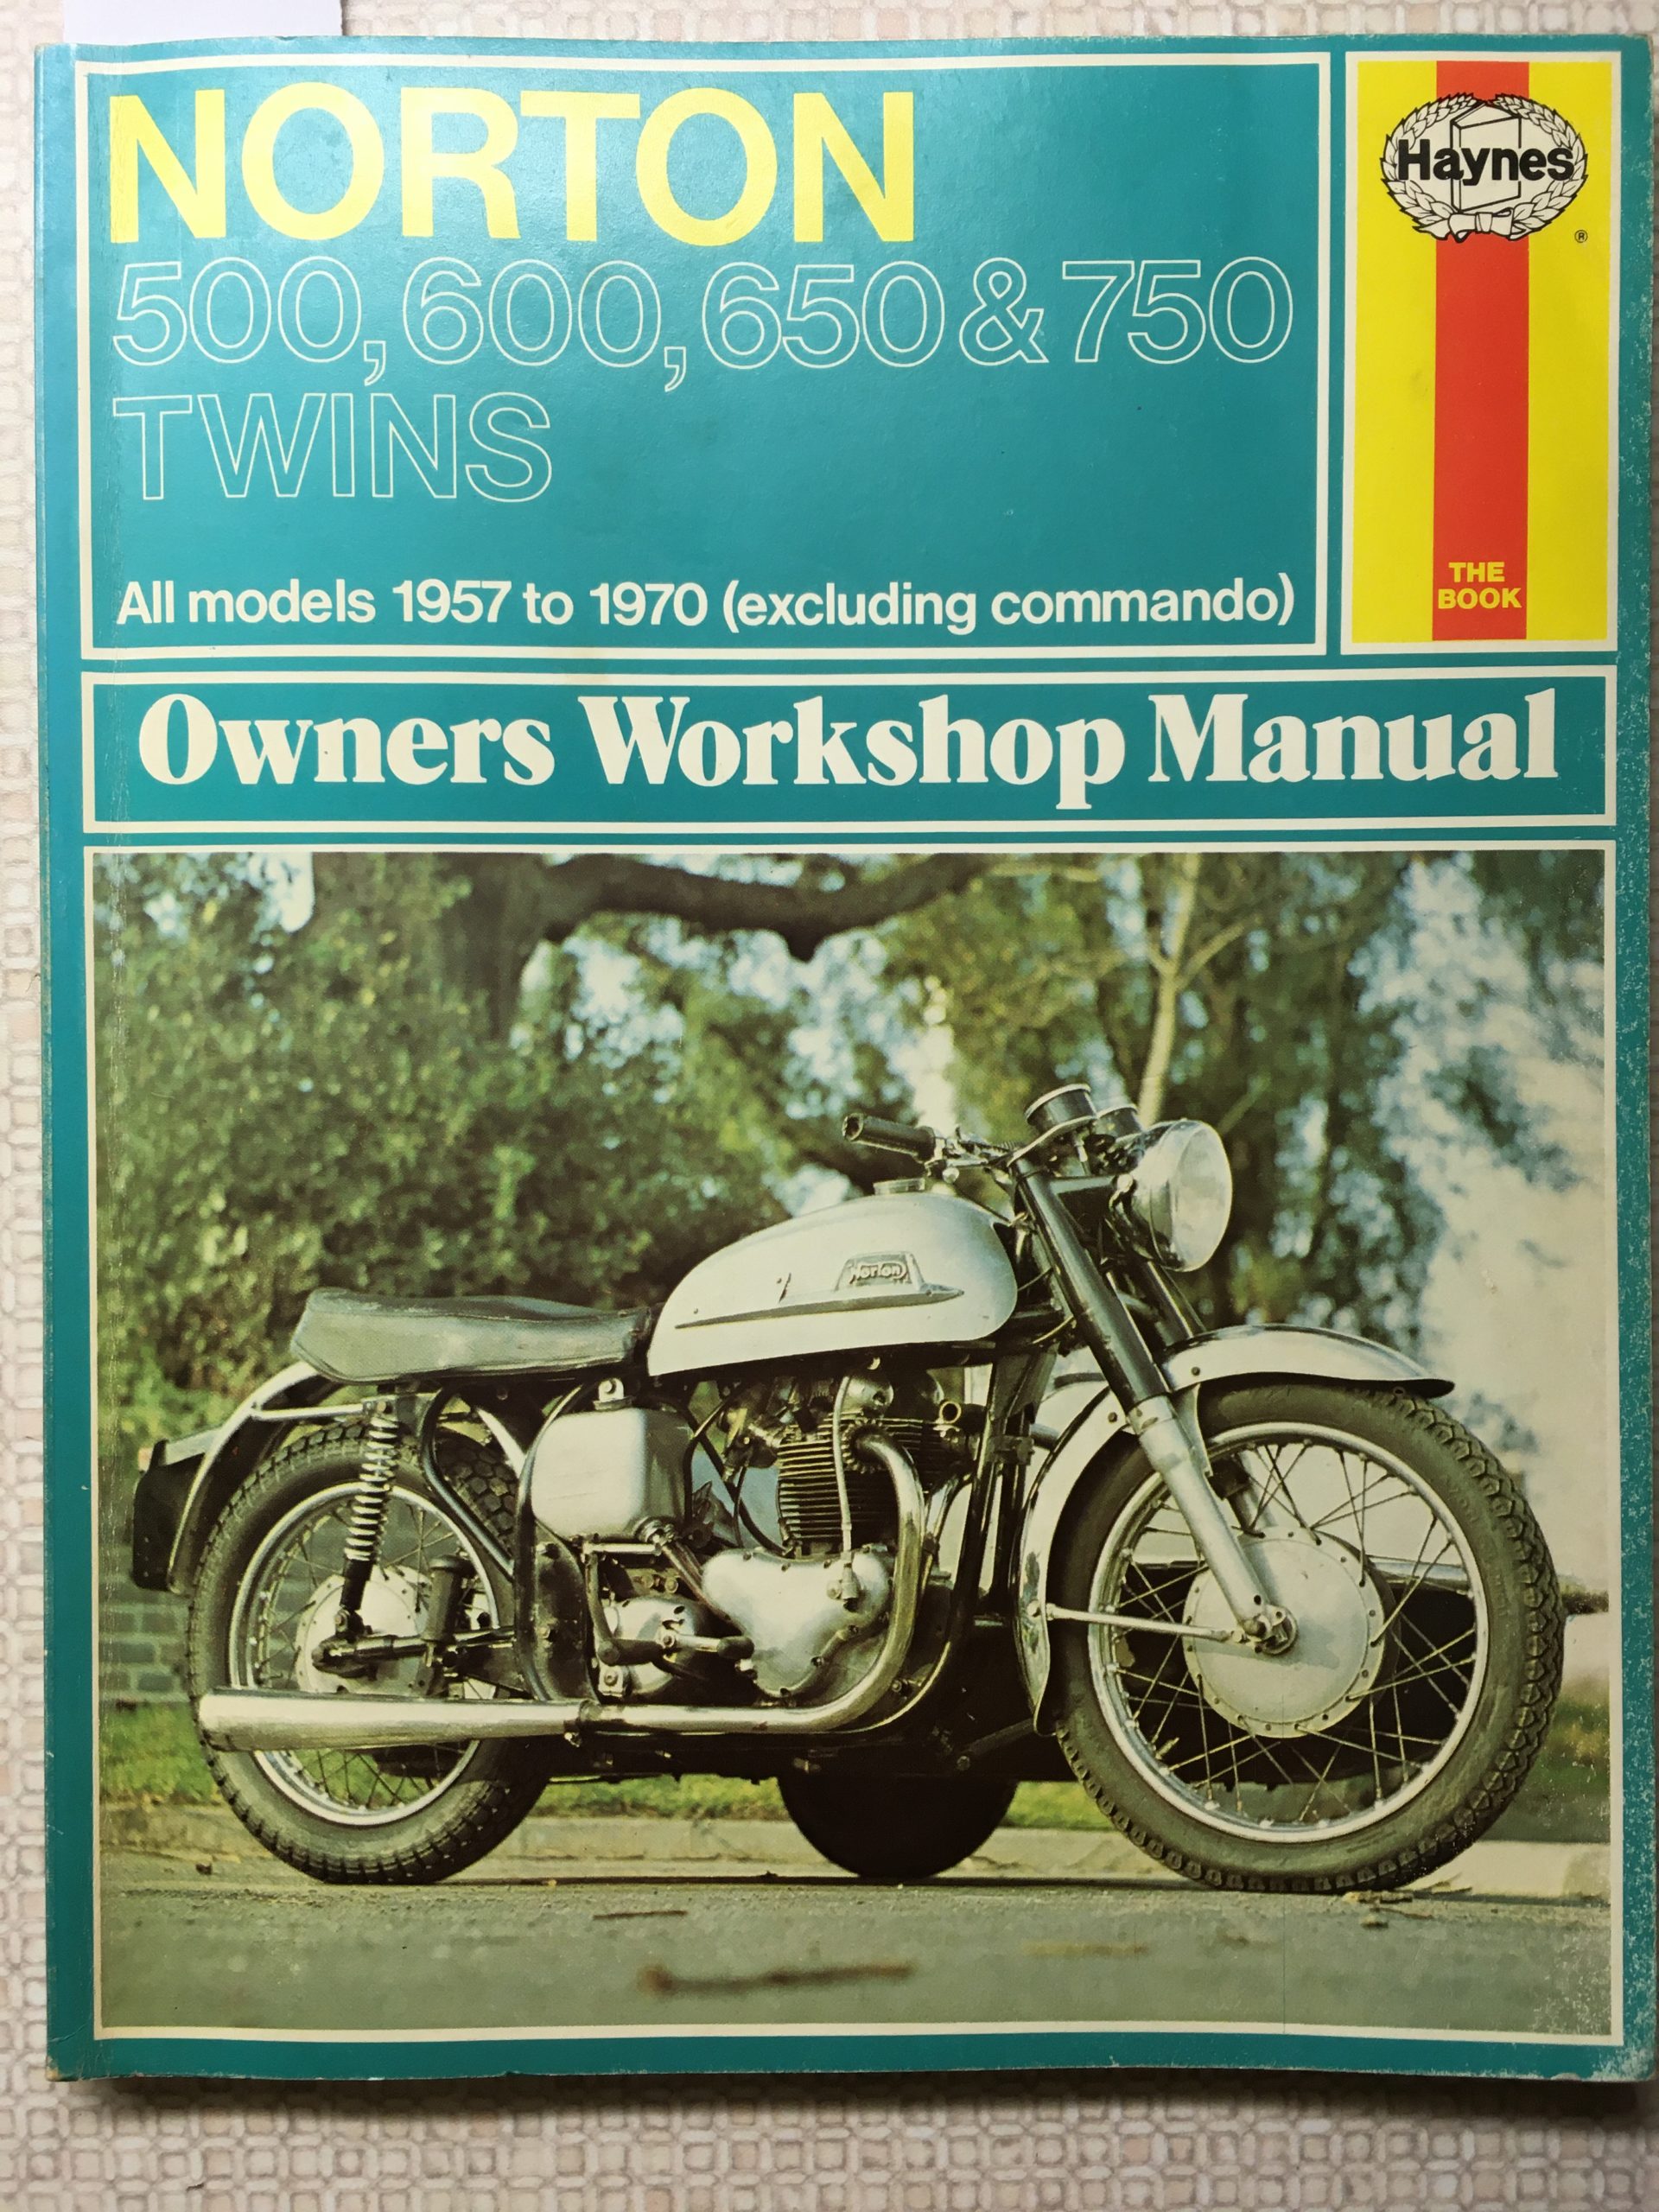
Haynes Manual 187
After having had both wheels rebuilt with new rims and spokes, it would have been daft not to fully check the hub assemblies and wheel bearings; once again, I’m pleased I did. Wearing my surgical gloves, I inserted an index finger into the centre of the single row front wheel bearing…it felt a bit rough…rough enough to convince me it would be a good idea to dismantle and rebuild both hubs. It may also stand me in good stead, should I ever decide to take evening classes to become a proctologist.
Your wheel bearings and hub assemblies need to be absolutely right…if in any doubt at all, rebuilt them.
Once again, there are several guides on the internet and a plethora of sources for the parts you will need. Most parts are fairly cheap, and you should be spending just £100 or so on them; just change the bearings, don’t bother cleaning and repacking them if you didn’t fit them yourself…I’ll tell you why in a moment. My parts came from Andover Norton and a local company RGM Norton.
Might I suggest you get and early copy of Haynes Workshop Manual number 187. It covers Norton Twins of varying sizes from 1957 to 1970 but strictly excludes the Commando, meaning many people don’t desire ownership of such a travesty. Fortunately for us, it covers many parts common to our 1966 G12. There is a great section on wheels and brakes for example, with plenty of pictures to help.
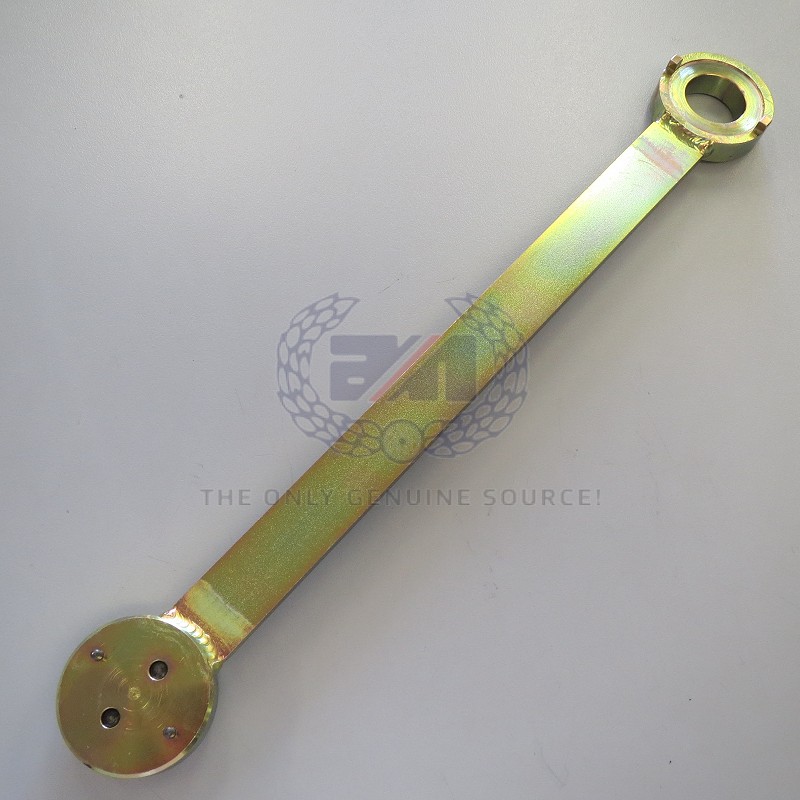
Peg Spanner
When you are buying your hub components, unless you can borrow or make one, buy part number 06.3965 from Andover Norton; it’s a peg spanner for the front wheel locking ring, it’s also a tool for removing the rear wheel locking ring and front disc brake fixing. It makes the job so much easier than bashing the locking rings with a drift and hammer.
Another issue that concerns me, is the frequent advice to use a mallet and your wheel spindles to drive out the bearings. No, don’t do this! If you do, it will probably splay the ends of your spacers and spindles so you’ll need to dress them using a fine oil stone in a lathe, or by hand; this is what I found on both my rear wheel spacer and the front wheel spindle…both were hard to remove and would not go back in until they were dressed. You may also bend the spindles of course.
Get some 12mm threaded steel rod, some strong washers and nuts to fit, along with a selection of medium and large sockets. If you’re careful you can use these to fashion a variety of puller combinations to both remove and replace the bearings in your hubs.
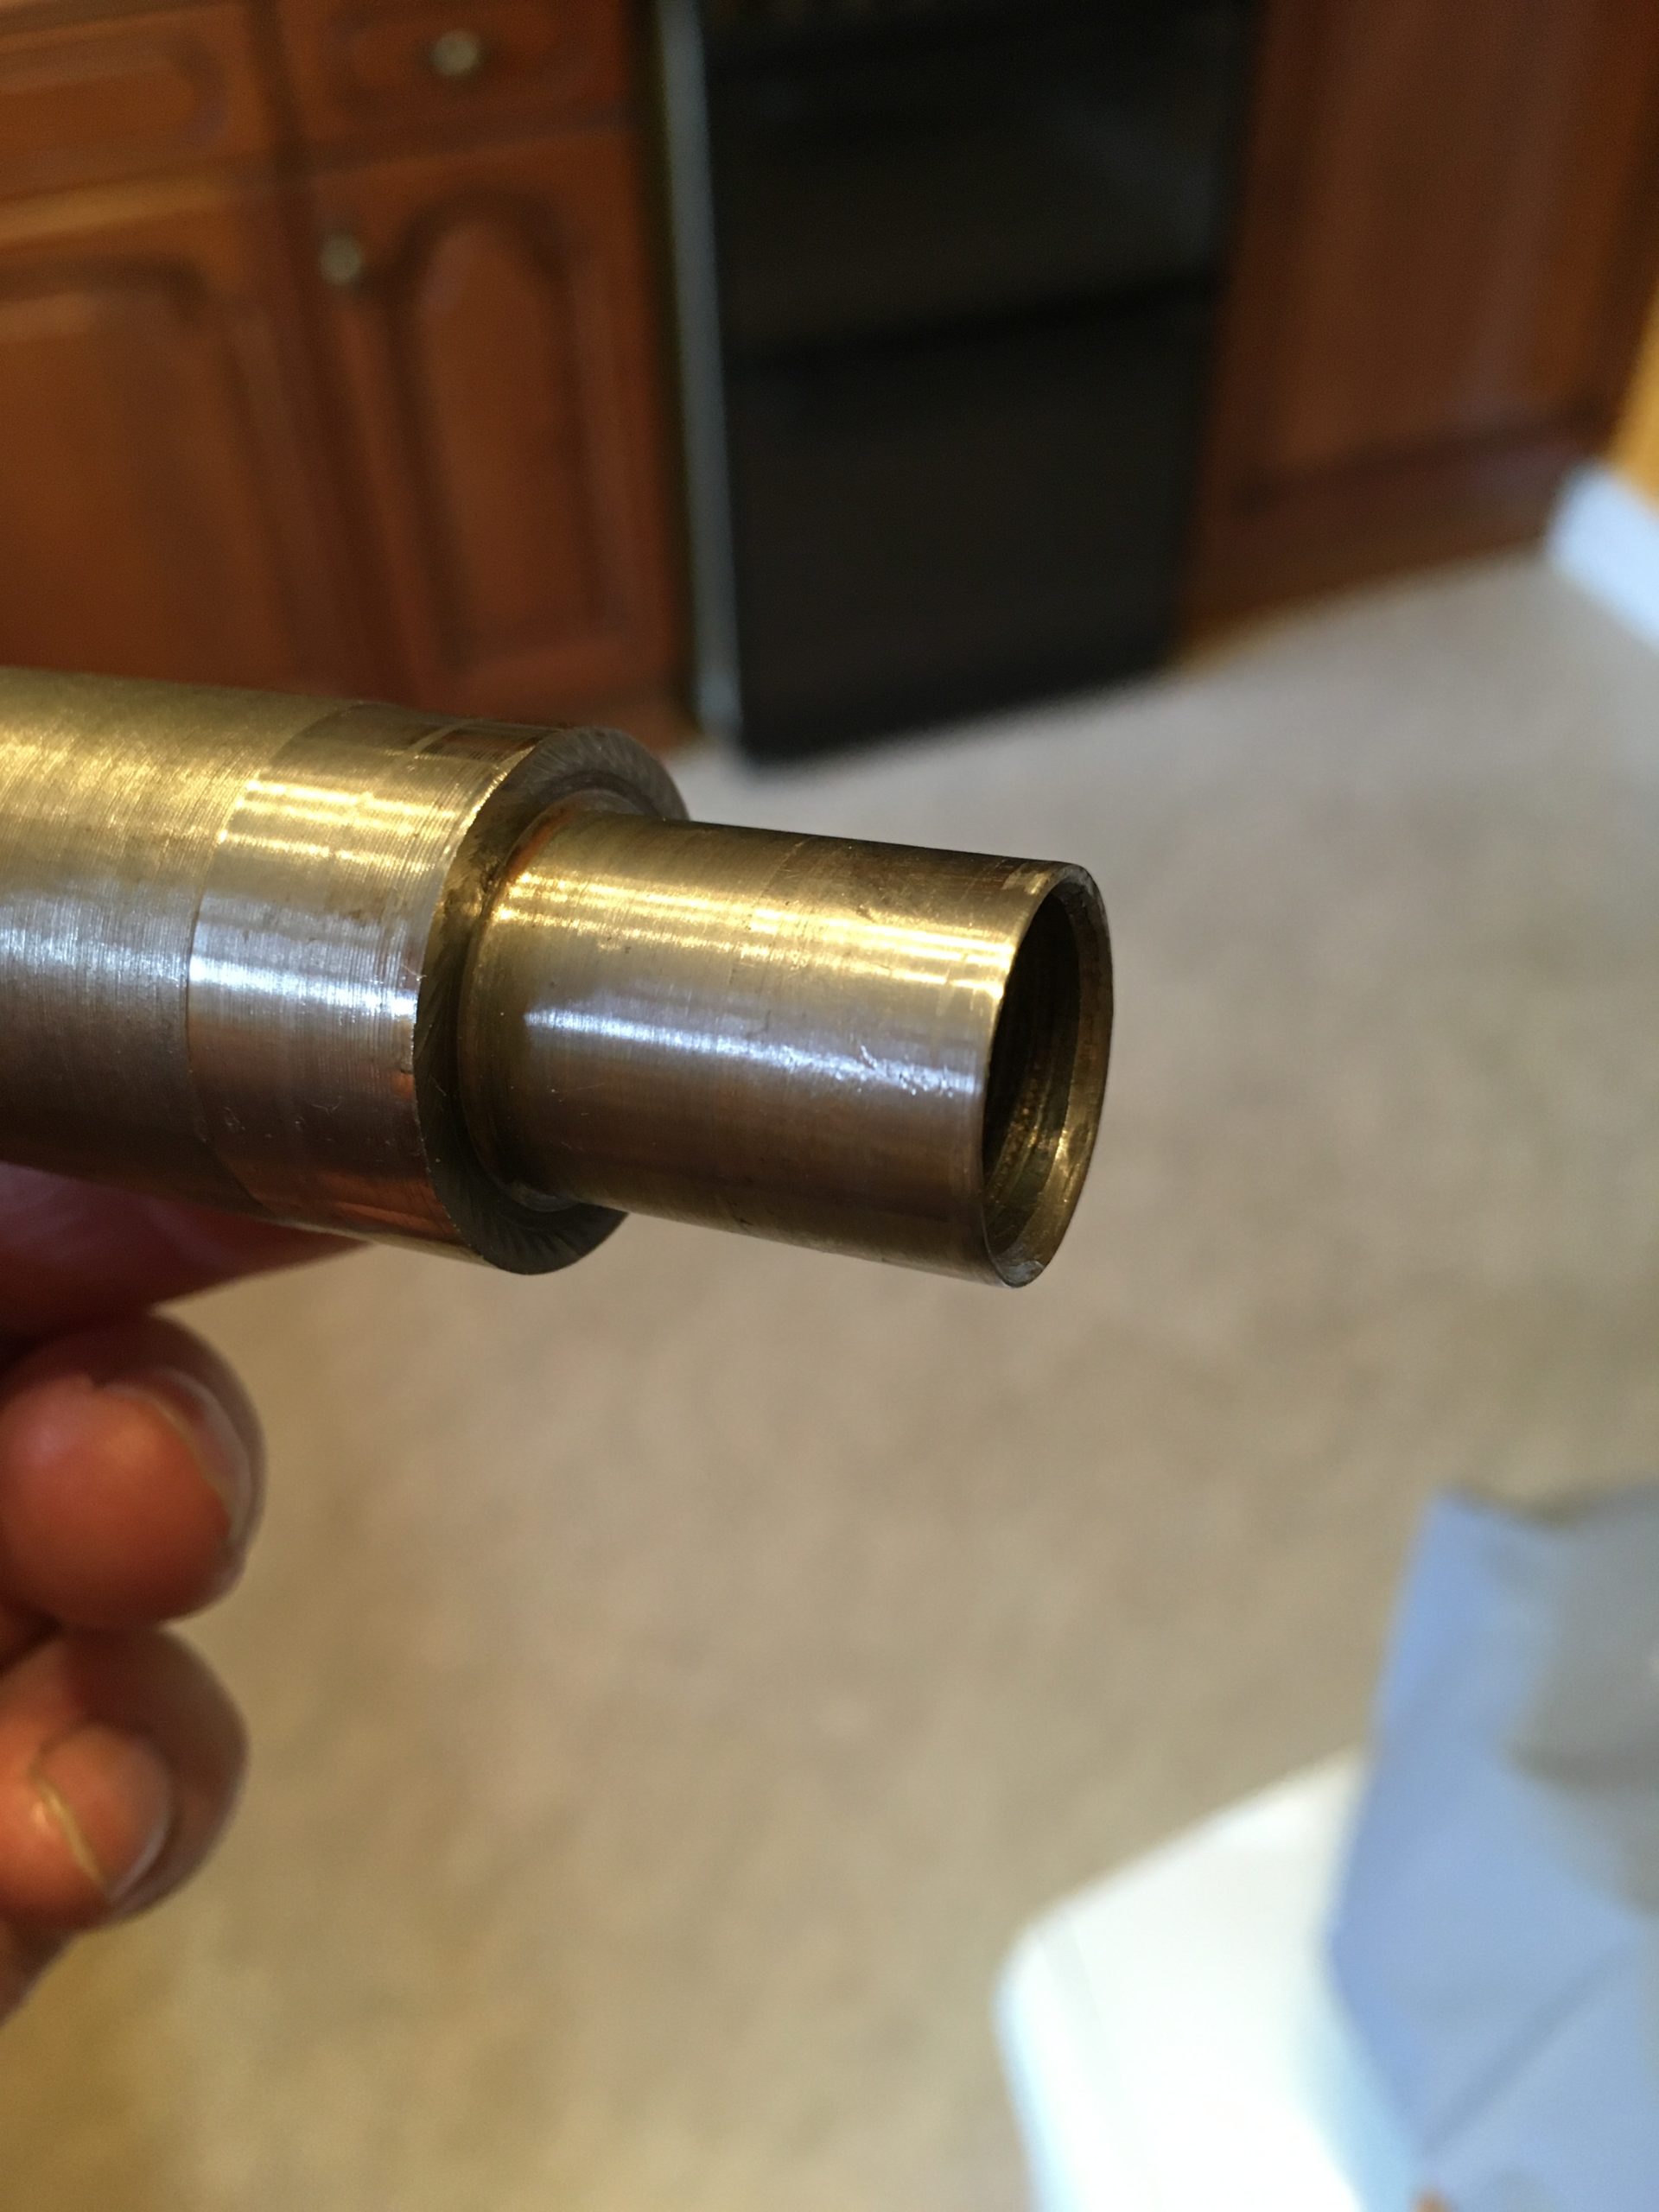
Dressed Rear Spacer
The other issue with bashing the bearings out with a hammer is, that if you have fitted them yourself previously, you may actually damage the balls and races preventing repacking and reuse.
Remember to thoroughly clean and regrease everything before assembly. I used sealed single row bearings and open double row ones, which needed packing with grease. Replace the thin metal washers and felt seals; one of my felt seals had been incorrectly fitted and had been drawn in to the hub bearing creating a mushy mess.
On the brake drum side of the front wheel, the final part to install is a flat washer which is ‘peened’ into place to stop it dropping out. Behind it is a felt seal and behind that is a thin metal sealing washer. I found that the standard felt seals provided by all the suppliers I used, were too thick to fit…almost double what was needed. I did check and everything was in place correctly. As it turned out, the original thinner felt seal was in perfect condition, just needing a good clean before being reused.
I suppose I’d better keep a note of the mileage as this all needs doing again in 10,000 miles apparently.
I hope the above, and the rest of this section, is useful to you. It isn’t a step by step guide as there are plenty about…but it focuses on the issues I came across and resolved, not mentioned in the manuals or guides.